The Web Only Reviewer role may be removed from an existing user.
1.From the ribbon toolbar, click Administration.
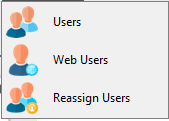
2.Click the Users dropdown.
3.Click Users.
The User Accounts dialog similar to the following displays:
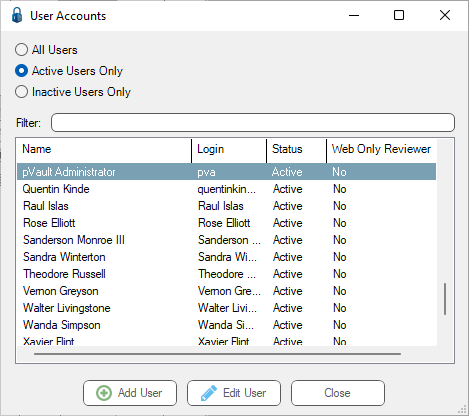
Note that there is a Filter text field where you can start to enter a user to narrow the list.
4.Start typing in the Filter field to narrow the list similar to the following:
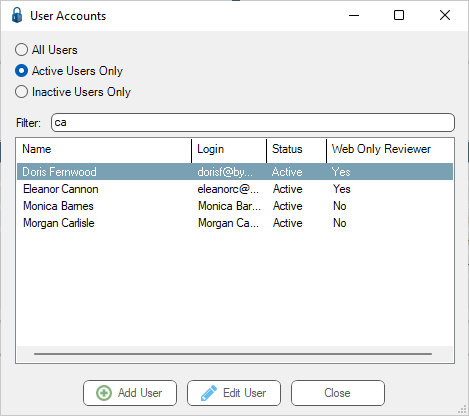
Not only can you filter on the Name column entries, but you can also filter on the Login column entries too.
5.Scroll the list to locate the Web Only Reviewer name and click the name to highlight it.
Note: In the Web Only Reviewer column, Yes displays for this user
6.Click Edit User.
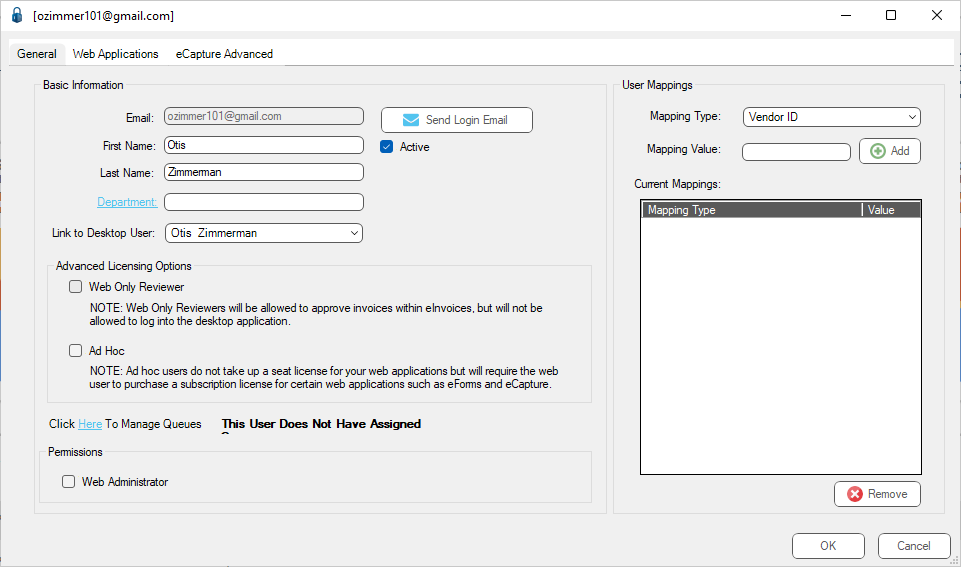
The User Properties dialog similar to the following displays with the General tab active:
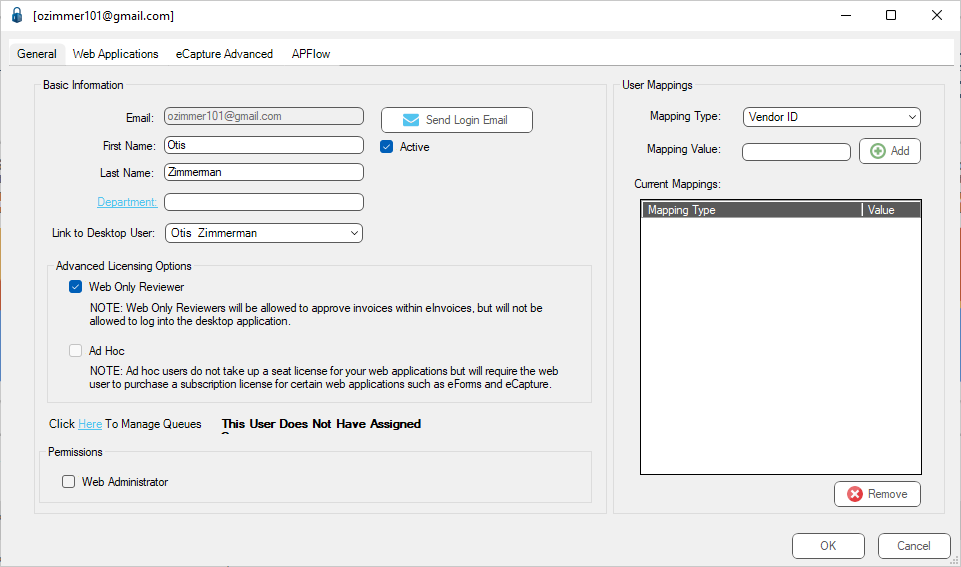
7.Verify that the name in the First Name and Last Name fields matches the name of the user who's role of Web Only Reviewer is being removed.
8.Click the Web Only Reviewer check box to deselect it.
The User Properties dialog resembles the following:
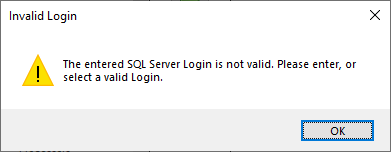
The Login ID field must be changed.
Note: If you do not change the Login ID field, a prompt displays if this field was not changed:
Resetting Windows Authenticated Users
1.Click Active Directory.
The Active Directory Users lookup dialog displays.
2.Locate the user name in the list and highlight it.
3.Click OK.
The User Properties dialog transforms, updating the Login ID field and making all fields editable.
4.Continue setting the user up by clicking the Security Groups and APFlow™ tabs and making the appropriate selections.
Resetting SQL Authenticated Users
1.Click SQL.
The Select SQL Login dialog displays.
2.Locate the user name in the Available Logins pane and highlight it.
3.Click Select Login.
The User Properties dialog transforms, updating the Login ID field and making all fields editable.
4.Continue setting the user up by clicking the Security Groups and APFlow tabs and making the appropriate selections.