Using the Vendor Approval System
The Vendor Approval system is designed to allow those individuals with the proper approval permissions to review the insurance data entered on the Vendor record level and approve the data before Greenlight CM™ starts the tracking and automated notification process.
Configuring the Vendor Approval System
1.From the ribbon toolbar, click Greenlight.
2.Click Manage Greenlight.
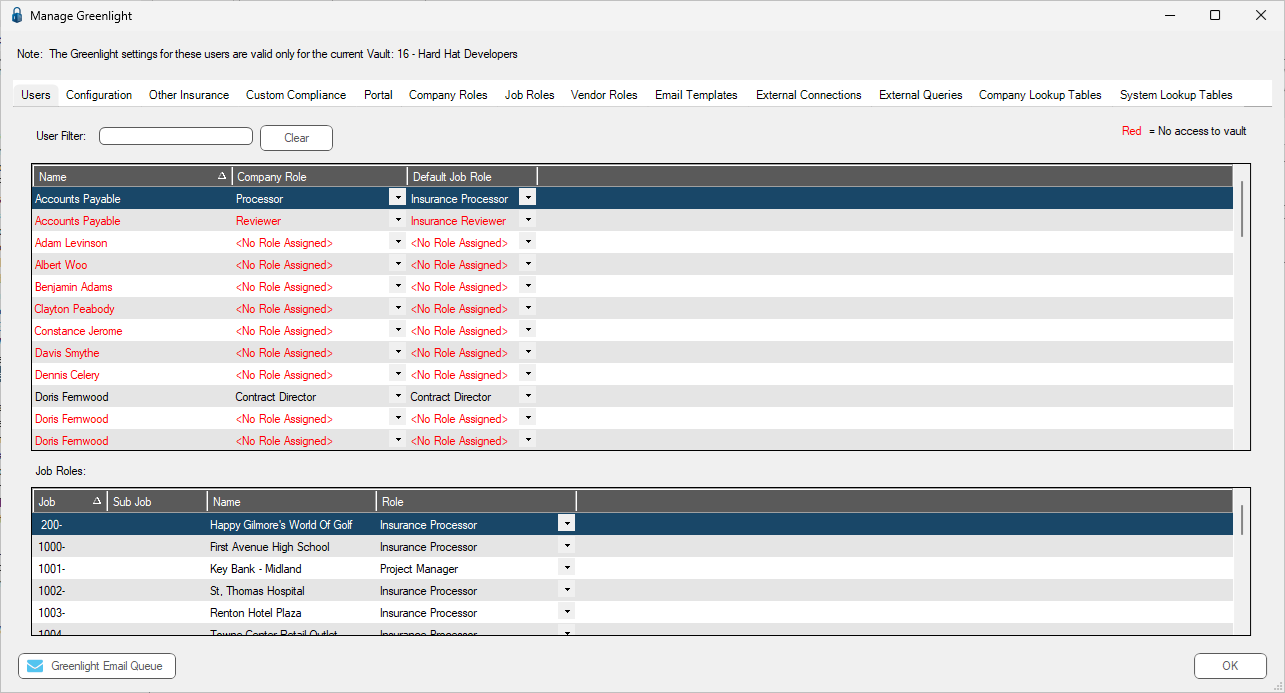
The main screen displays with the Users tab active:
3.Click the Configuration tab.
The following screen displays:
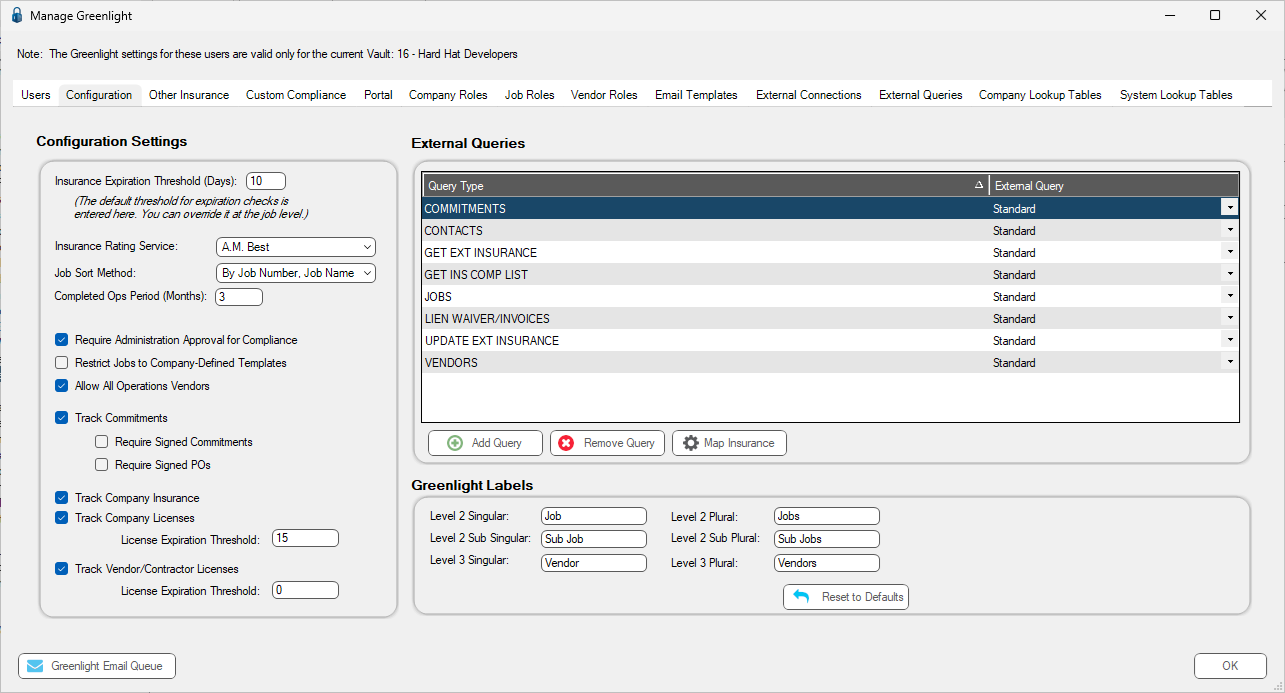
4.Locate the Require Administration Approval for Compliance check box.
5.Click to select the option.
6.Click OK.
As part of the Vendor Approval System setup, be sure you have a job role with the assigned task to Approve Vendor Compliance. Permission to perform this task allows you to approve vendor compliance on any vendor assigned to this job. Read more about job roles and assigned tasks, click here. |
Approving Vendors
Once a vendor is flagged for approval, and after reviewing the insurance data, an individual with approval permissions needs to access the Vendor record to approval the vendor.
1.From the ribbon toolbar, click Greenlight.
2.Click Greenlight.
The main screen displays with the Dashboard tab active:
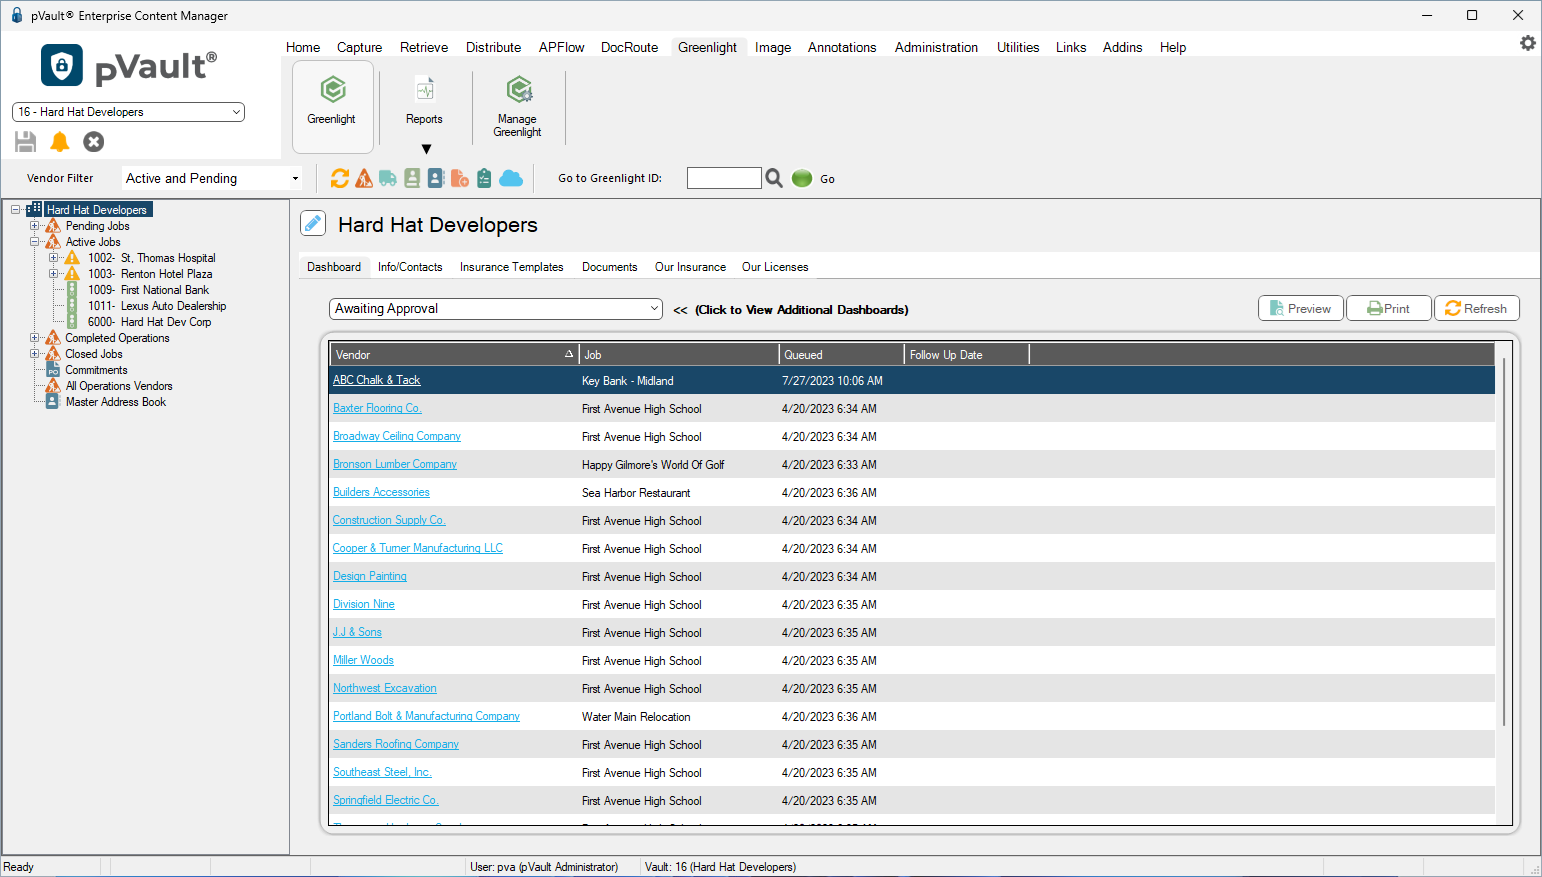
3.In the Dashboard field dropdown, select Awaiting Approval.
The following screen displays:

4.Click the vendor hyperlink.
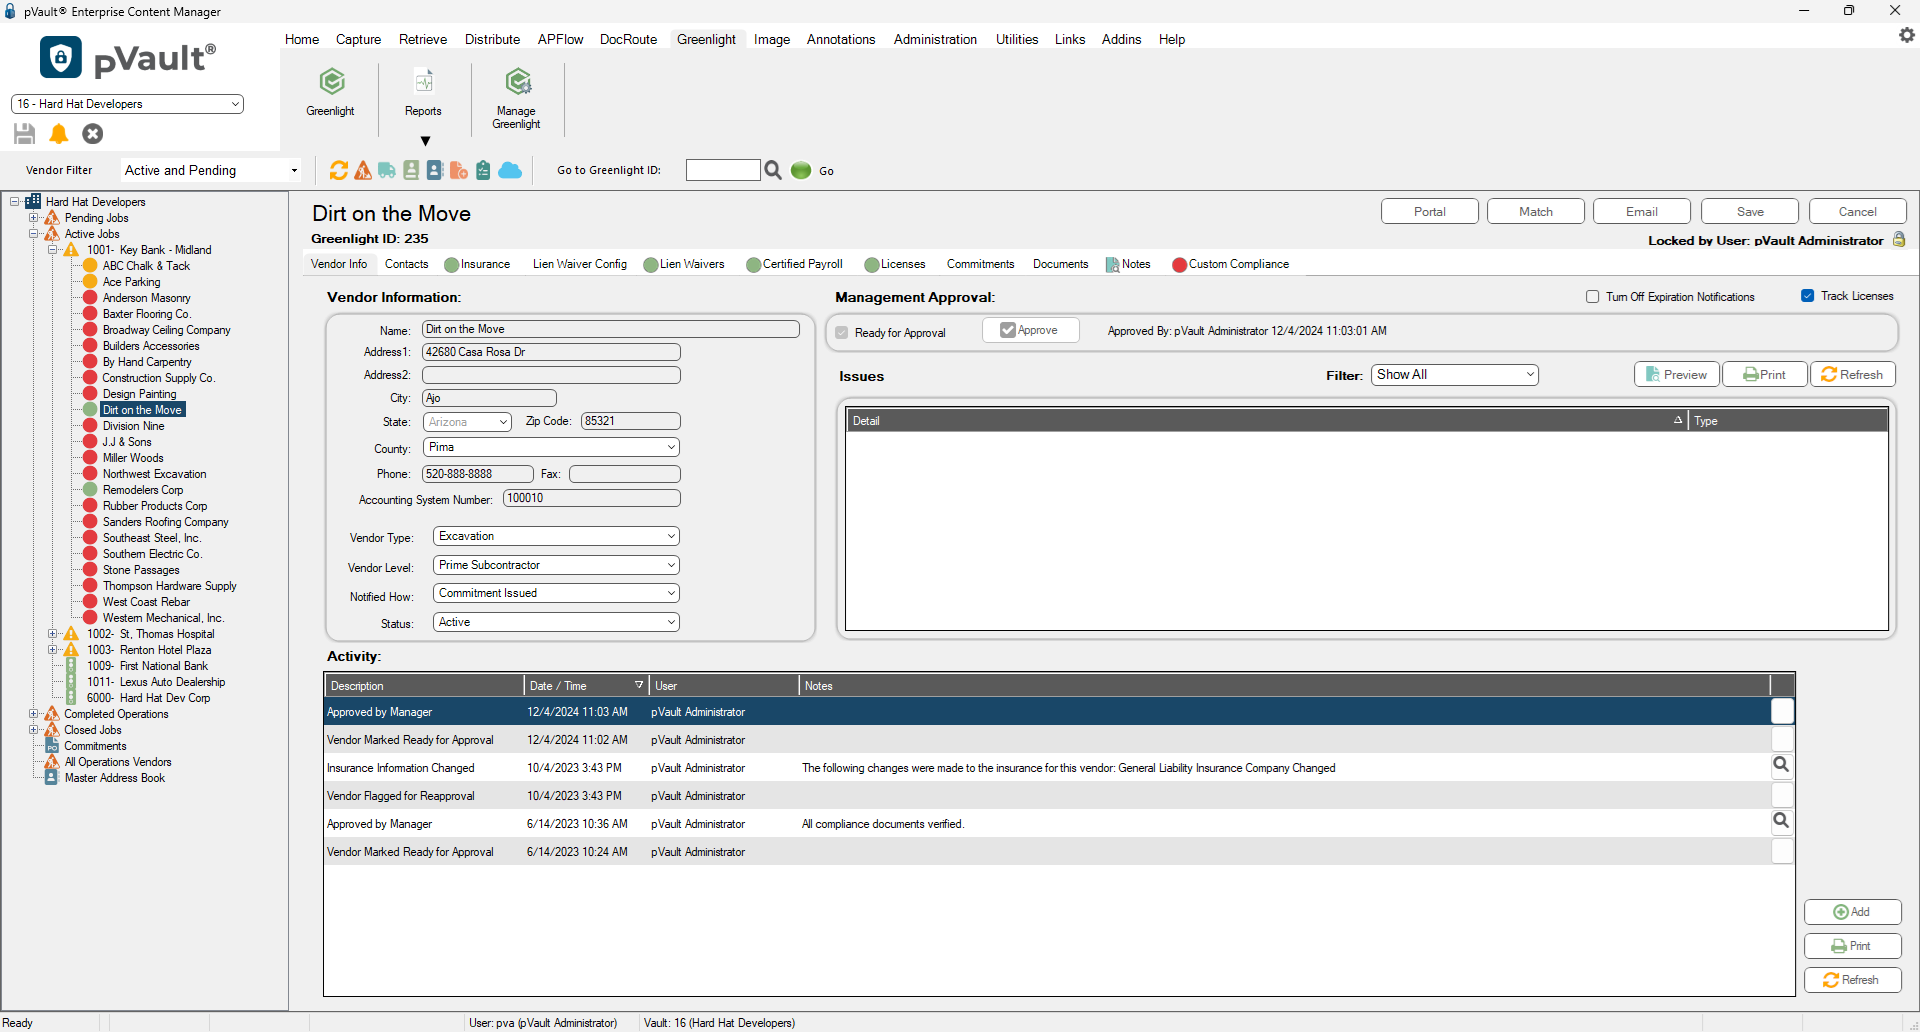
The Vendor main screen displays with the Vendor Info tab active:
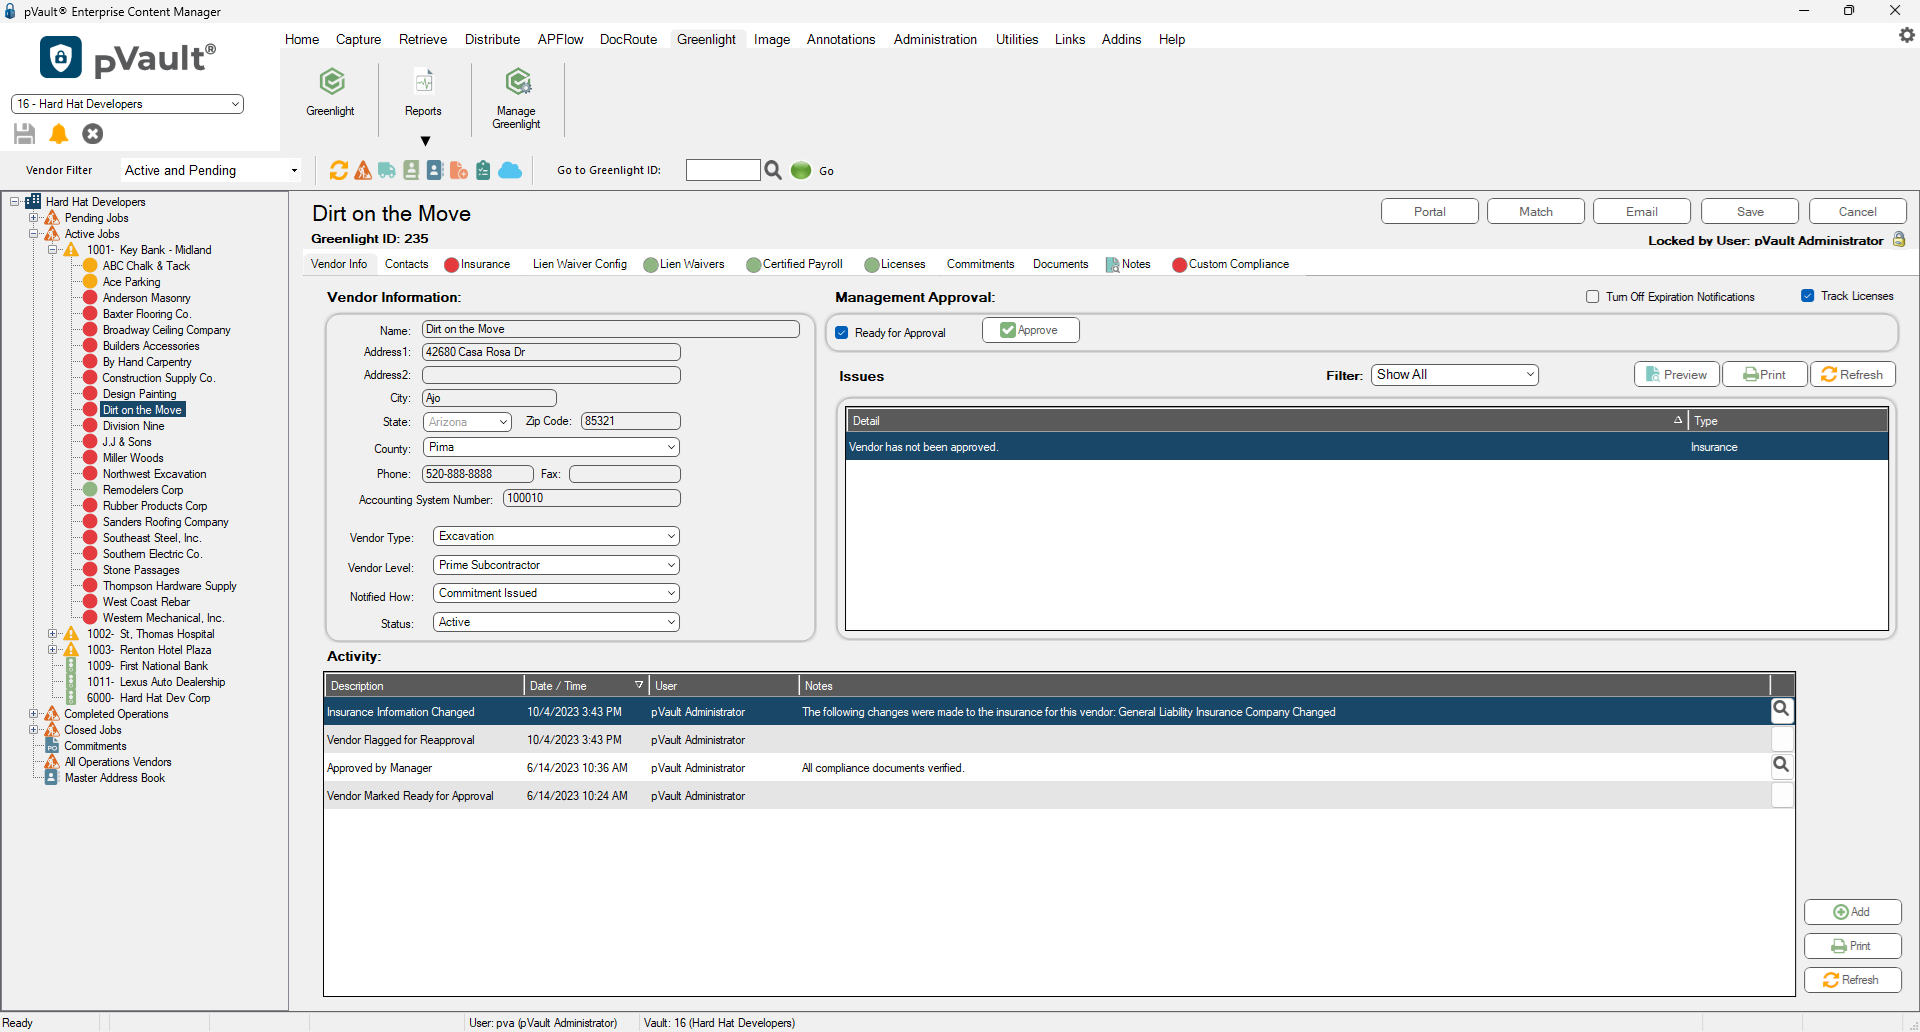
5.In the Management pane, click the Approve button.
The following warning prompt displays:
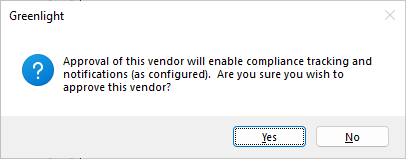
6.Click Yes.
The following Vendor Approval Notes text box displays where you can enter relevant information:
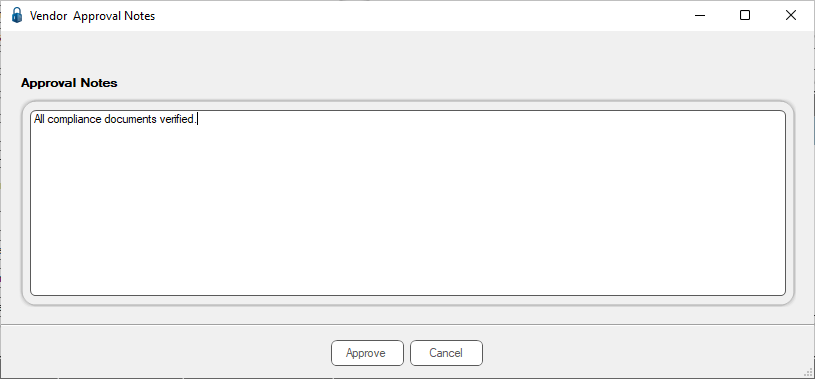
Note: Entering information in this text box is not required.
7.Click the Approve button.
The Activity Log is updated with a new entry similar to the following: