Access
1.From the ribbon toolbar, click APFlow™.
2.Click Invoice Search,  .
.
The Invoice Search screen similar to the following displays:
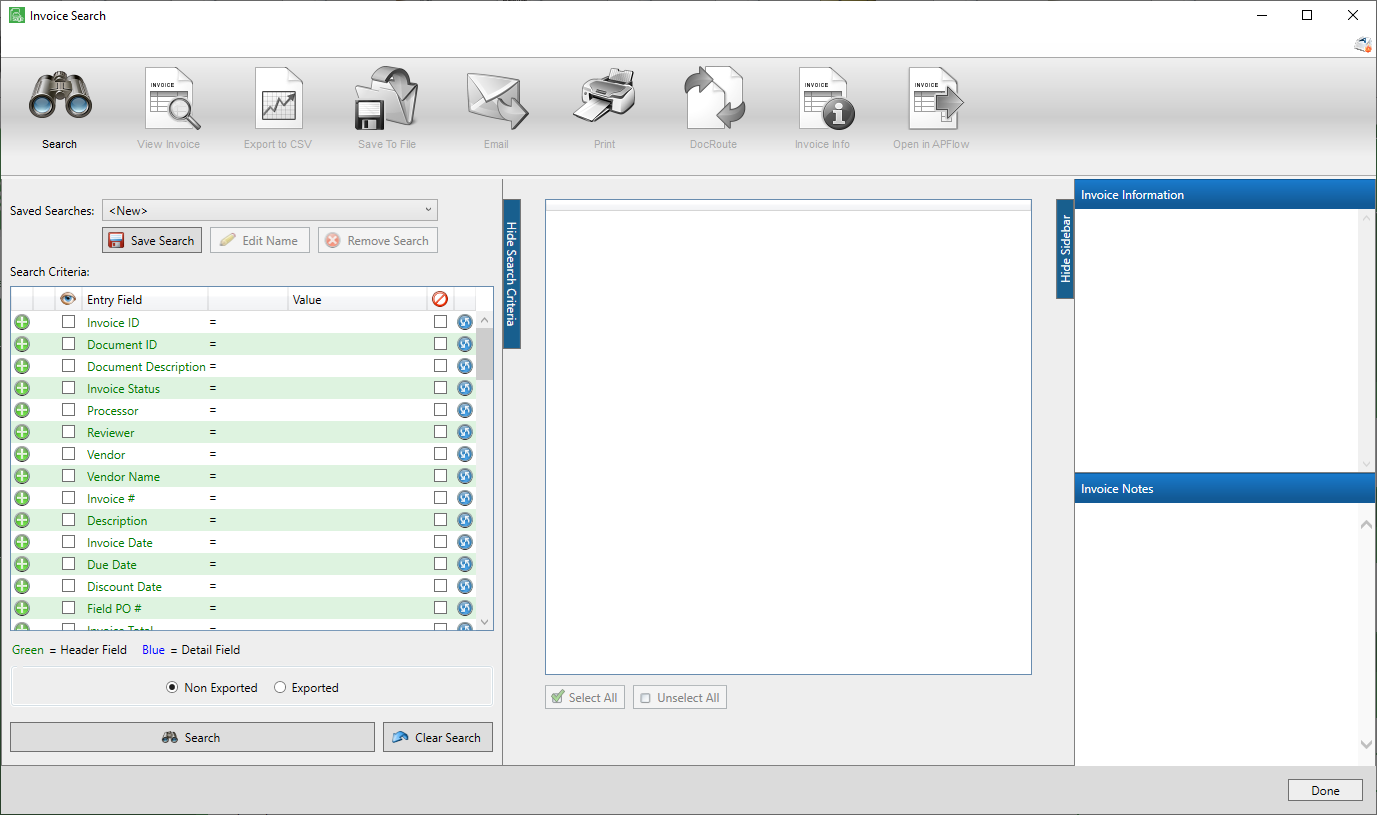
Toolbar
Icon |
Label |
Function |
|
Search |
Click to perform the search based on the specified search criteria. Note: The search can also be performed by clicking the Search button, |
|
View Invoice |
Click to display a read-only version of the invoice in the Invoice Entry screen. This icon becomes active after clicking to select an entry in the Search Results pane. |
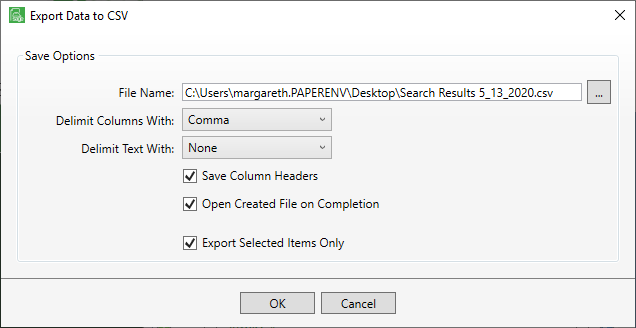
Export to CSV |
1.Select one, many or all entries listed in the Search Results pane. 2.Click the toolbar icon to display an Export Data to CSV dialog box similar to the following: 3.In the File Name field, keep the systematically generated file name or click the ellipsis ( 4.In the Delimit Columns With field, use the dropdown to select how the columns are separated. Comma is the default. 5.In the Delimit Text With field, use the dropdown to select how the text is separated. None is the default. 6.Click to select Save Column Headers for column headings to display on the CSV File report. 7.If the report should open immediately after it is created, click to select Open Created File on Completion. 8.If multiple entries display on the Search Results grid, but not all entries should be included in the export, click to select the entries on the Search Results grid that should be included and then click the Export Selected Items Only check box. Otherwise, leave the Export Selected Items Only check box blank so all Search Results entries are included in the export. 9.Click OK to open the saved CSV file in Excel.
Use the Excel file for reporting purposes. |
|
|
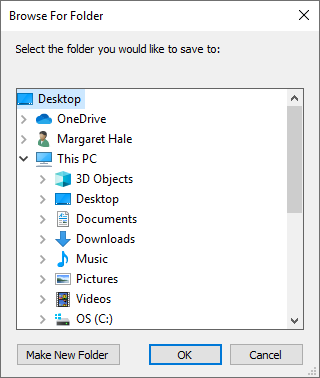
Save To File |
Click to display the Browse For Folder dialog box similar to the following:
This is in preparation for saving the selected invoice(s) to an external file. For more details on the saving to file functionality within Sage Paperless Construction, click here. |
|
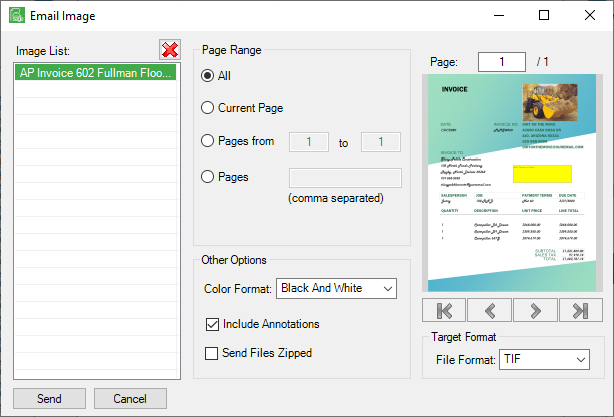
Click to display the Email Image dialog box similar to the following:
This is in preparation for the selected invoice(s) to be emailed. For more details on the email functionality within , click here. |
|
|
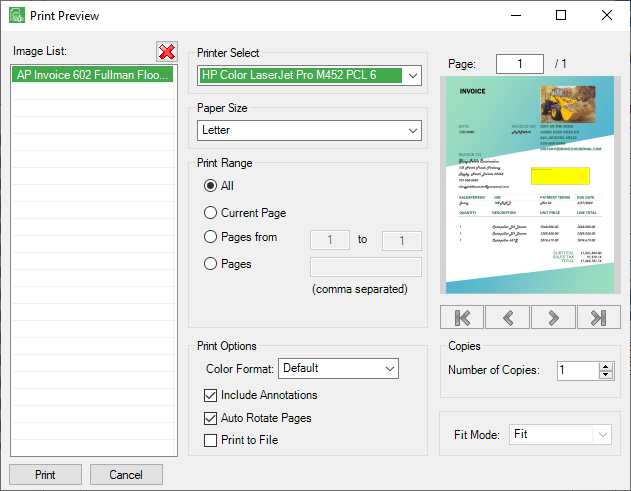
Click to display the Print Preview dialog box similar to the following:
This is in preparation for sending the selected invoice(s) to the printer. For more details on the print functionality within , click here. |
|
|
DocRoute™ |
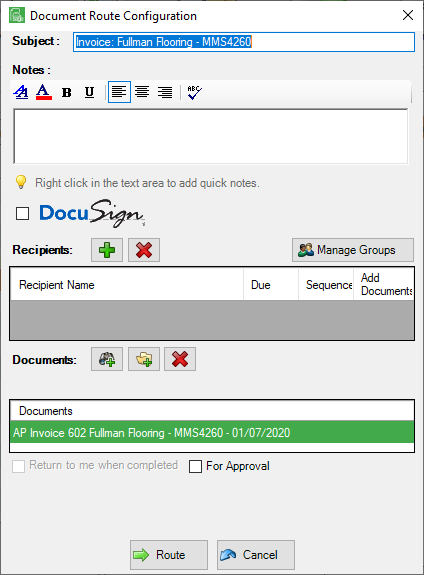
Click to display the Document Route Configuration dialog box similar to the following:
This is preparation of routing the invoice through the DocRoute™ module. A DocRoute™ license is required for this icon to be visible. |
Invoice Info |
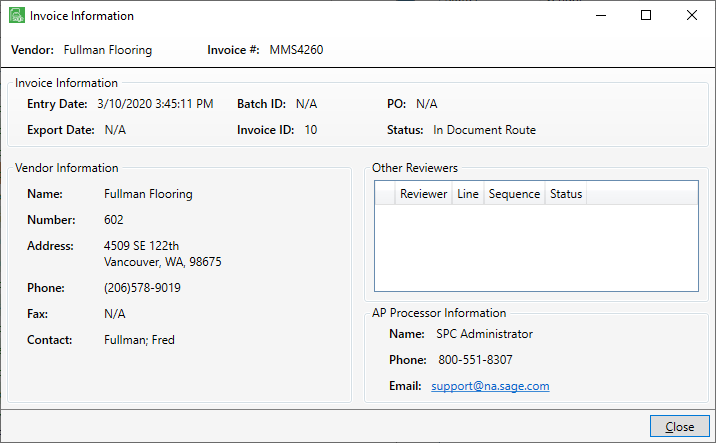
Click to display the Invoice Information dialog box similar to the following:
For more details on the Invoice Info functionality within , click here. |
|
|
Open in APFlow™ |
Click to open the invoice in the Invoice Entry screen. Access to the APFlow™ queue where the invoice(s) reside is required. This would be your queue--as user--or a different queue location because you have proxy access. Note: The invoice can be modified. |


 ) to open the Save As window to locate a different folder and/or a file name. Note that the system generated file name includes the creation date.


Similar to the hot key functionality available on the Invoice Entry screen, that same Configure user level hot key settings icon,  , is present on the Invoice Search screen. When you click the icon, the following window displays:
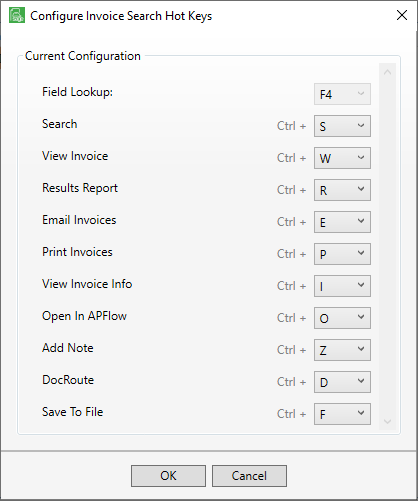
These are the default hot key configurations.
F4 is the Field Lookup key default. It is view-only. It cannot be changed here.
The Ctrl Hot Keys (A through Z except for Ctrl+C, Ctrl+V and Ctrl+X) eliminate the need to click on a toolbar icon to open the window. Ctrl hot key configurations are user specific. Every user can create their own list of Ctrl hot keys with the exception of Ctrl+C (Copy), Ctrl+V (Paste) and Ctrl+X (Exit).
The current Ctrl hot keys display directly below the ribbon toolbar icons. To hide the Ctrl hot keys, press the Alt key. This is the toggle key. If the Ctrl hot keys are not visible, press the Alt key again.
