Sage Paperless Construction Administrators can set up their own custom backfills based on tables located in their bridged accounting system, or from any database with a Query List set up in the Query List section. (Refer to Query Lists)
1.From the ribbon toolbar, click Administration.
2.Click Backfills,  .
.
The Backfills window similar to the following displays:
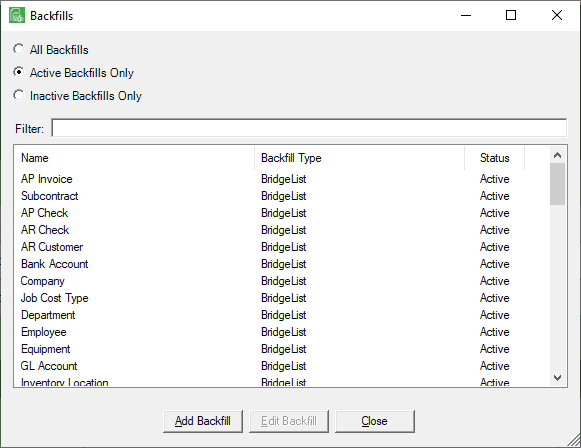
There is a Filter text field where you can start to enter a backfill to narrow the list.
Not only can you filter on the Name column entries, but you can also filter on the Backfill Type column entries too.
You can click to highlight an existing backfill entry. If the backfill entry you are looking for does not display on the Backfills window without scrolling, start to enter that backfill in the Filter text box. This will narrow the list of backfills.
To edit existing backfills, you can double-click on the backfill displaying in the Name column. The Backfill Properties window will open for that backfill.
3.Click Add Backfill.
A blank Backfill Properties window displays:
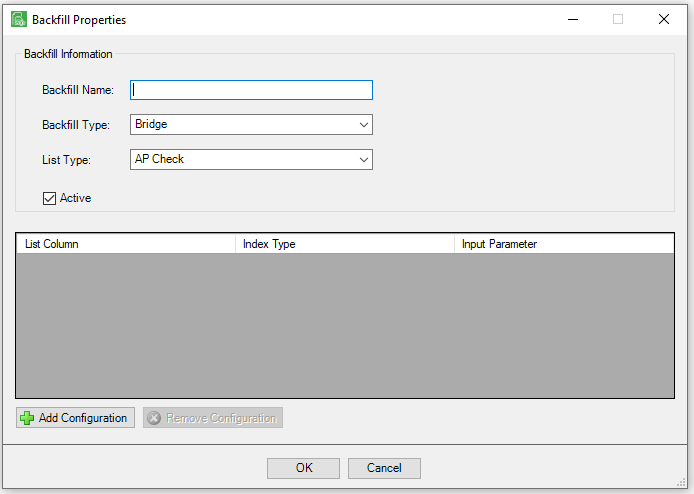
4.In the Backfill Name field, type the name of the custom backfill.
5.In the Backfill Type field, use the dropdown list to select the backfill type.
Choose from the following:
Bridge |
A list of predefined queries pulled from the accounting system to which the vault is currently bridged. |
Query List |
Query List query (Refer to Query Lists). |
Custom Backfill |
Reserved for custom backfills created by Paperless Environments. |
APFlow™ |
Sage Paperless Construction APFlow™ module tables. |
6.In the List Type field, use the dropdown list to select the list type.
Note: The options will change depending on the backfill type selected.
Bridge Backfill |
Lists the various tables queried from the bridged accounting system. |
Query List Backfill |
A customer query list. |
APFlow™ Backfill |
Choose from AP Invoice Header, AP Invoice Lines or AP Invoice Indicator |
7.Click Add Configuration to add a detail line to the custom backfill.
8.Select a value from the List Column that represents a detail from the query on which to base the backfill.
9.From the dropdown list, select the Index Type to which the query results should map.
10. From the dropdown list, select the Input Parameter (i.e. Job Number, Vendor Number, etc.) that the query is based upon.
The Backfill Properties window should resemble the following when completed:
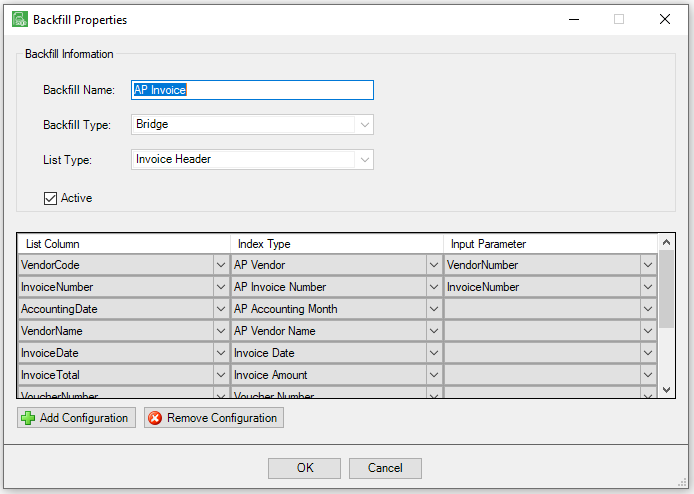
11. Click OK.
12. Assign the backfill to the appropriate document types by selecting it on the Backfills tab of the Document Type Properties dialog box.