In this wizard window, you will select those document types that individuals in this web security group will have permission to view or interact with in specific ways.
The upper panes (Available and Assigned) are where you identify the document types. The lower pane (Permissions) is where you determine what permissions--per document type--those individuals in this web security group will have.
Assigning Document Types
After clicking Next on the first Create Web Security Group wizard window, the second Create Web Security Group wizard window similar to the following displays:
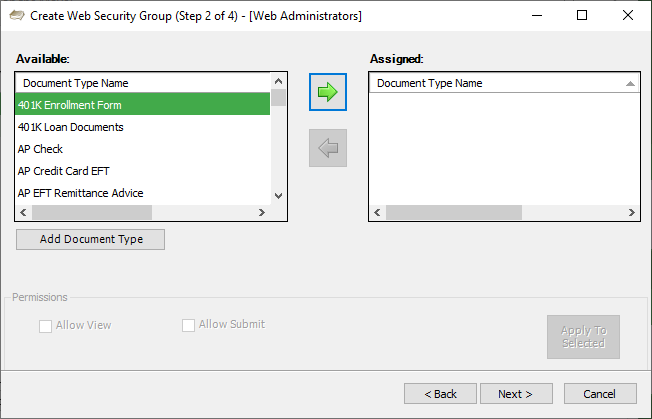
Note: The document types listed in the Available column are all documents coming from Sage Paperless Construction.
1.In the Available pane, use the vertical scroll bar to go through the list of document types.
2.For each document type to which this group should have permissions, highlight the document type listed in the Available pane and click the  icon to move it to the Assigned pane.
Note: Click Add Document Type to access the Create Document Type wizard where document types can be added.
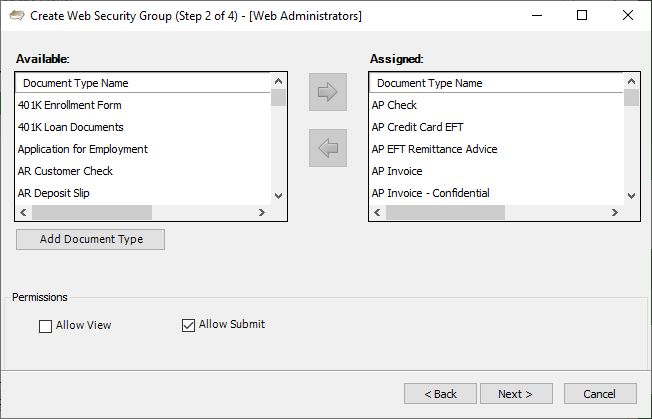
The window with the selected document type names displaying in the Assigned pane should resemble the following:
Determining Document Type Permissions
Once the document types are assigned, the next step is to determine permissions to this web group for each assigned document type. Of the 2 specific permissions, Allow Submit is systematically checked by default. Any permission may be checked or unchecked for any document type.
Allow View |
Can view email |
Allow Submit |
Bring into Sage Paperless Construction and store This is selected by default. |
1.Highlight each document type in the Assigned pane.
2.With the document type highlighted, click to check--or uncheck--any or all of the listed permissions.
3.If multiple assigned document types should have the same permissions, hold the Ctrl key on your keyboard down and then click any document types with the same permissions.
Note: To select the entire list of assigned document types, highlight the first document type in the list. Hold down the Shift key while scrolling to the last document type in the list.
However the multiple document types are selected, the Create Web Security Group wizard window will resemble the following:
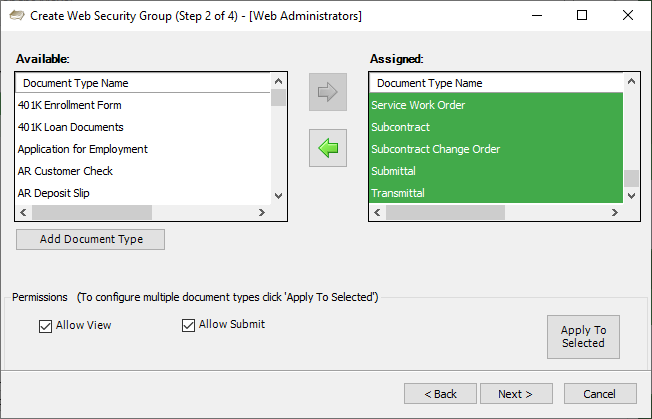
4.Click to select or deselect the specific permission.
5.Click Apply To Selected,  .
.
Note: If a single document type is selected and transferred to the Assigned pane, the Apply To Selected text box does not display.
6.Click Next. For the next wizard window details, click here.