1.From the ribbon toolbar, click Administration.
2.Click the Users dropdown,  .
.
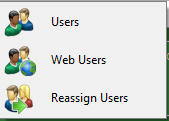
3.Click Web Users.
The Web User Accounts window similar to the following displays:
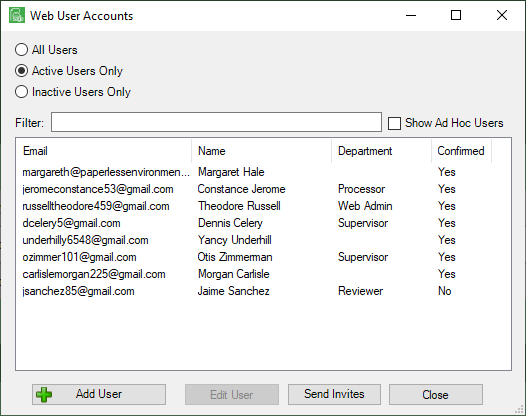
If looking to view Active and Ad Hoc Users, click the Show Ad Hoc Users check box.
Note that there is a Filter text field where you can start to enter a user to narrow the list.
4.Start typing in the Filter field to narrow the list similar to the following:
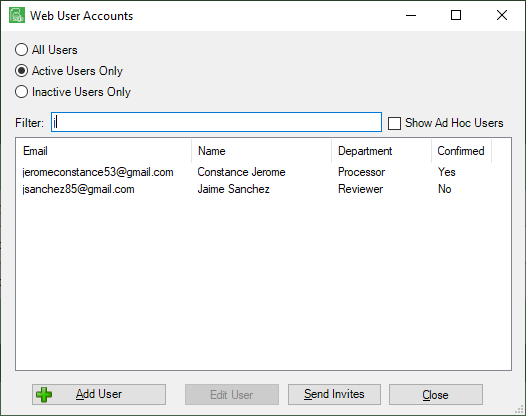
Not only can you filter on the Email column entries, but you can also filter on the Name column and Department column entries too.
To edit existing web users, you can double-click on the email displaying in the Email column. The Web User Properties window will open for that web user.
5.Click to highlight an existing user entry.
6.Click Edit User.
The Web User Properties window similar to the following displays with the General tab active:
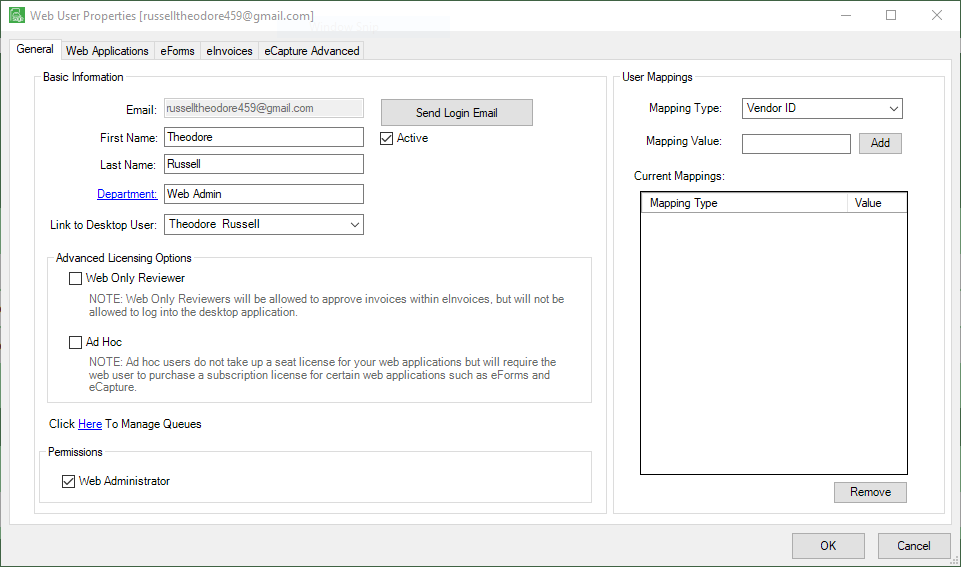
7.To verify the queues, and make any necessary changes, click the link on the screen, Click Here to Manage Queues.
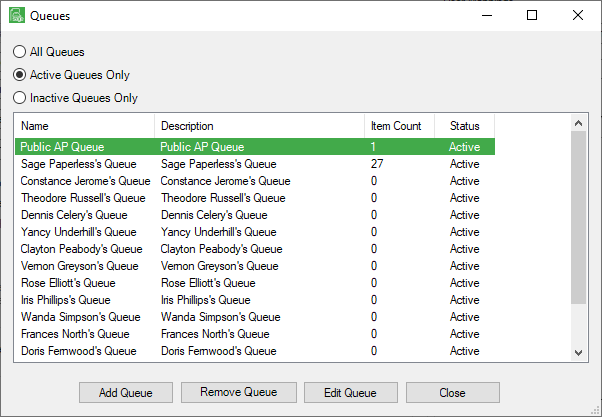
This opens the Queues window similar to the following:
Access is available here so that you do not have to click the Queues icon,  , on the Administration toolbar to verify queue settings for an existing user.
8.Click to highlight the user and then click Edit Queue.
The Queue Properties dialog box for the highlighted user displays:
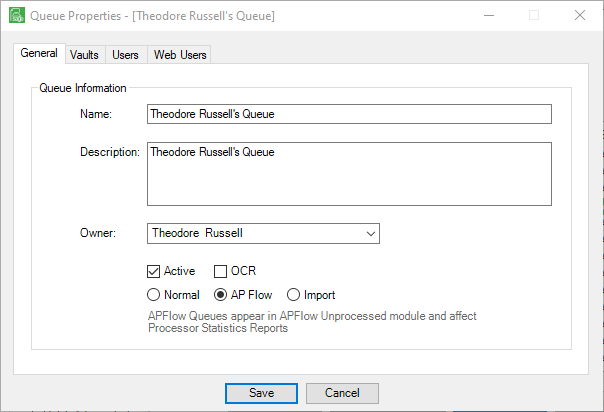
9.Make any modifications here and click Save.
10. Click the Web Applications tab.
The screen similar to the following displays:
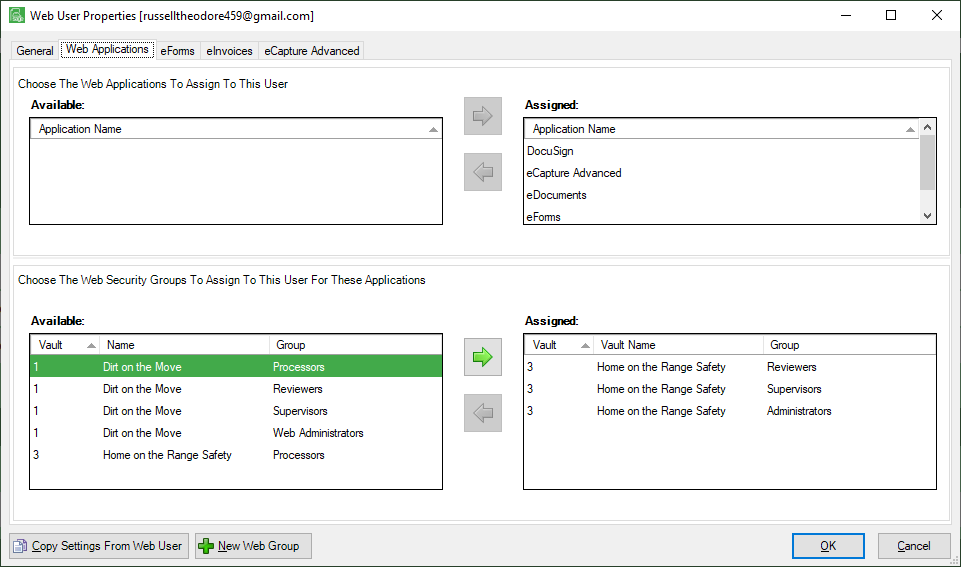
11. Make the necessary changes to the web applications and to the web security groups.
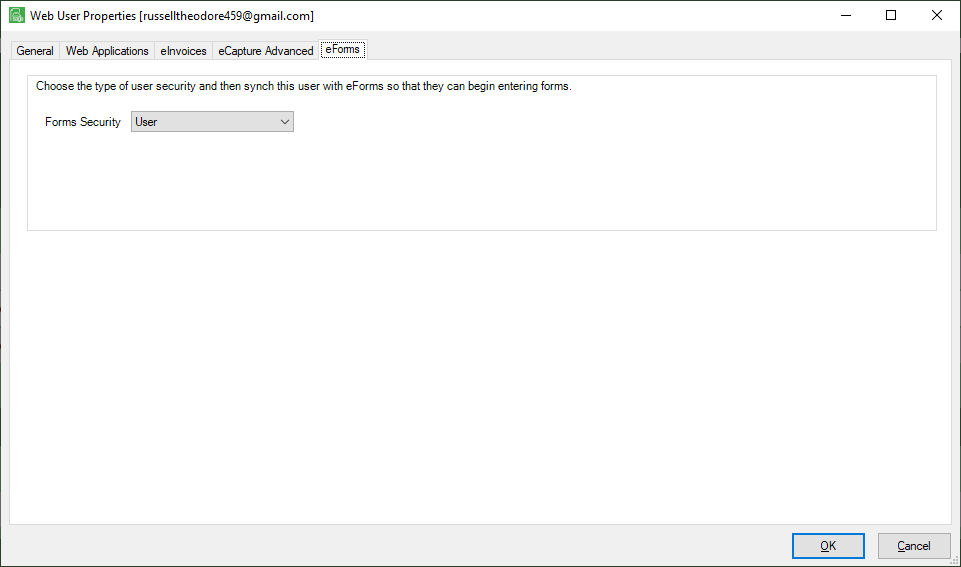
eForms™
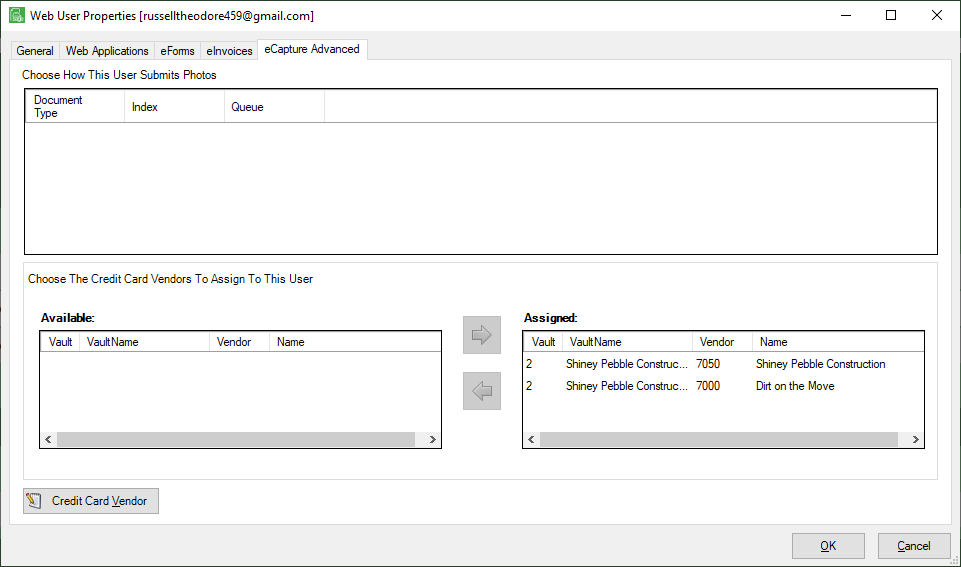
eCapture™ Advanced
eInvoices
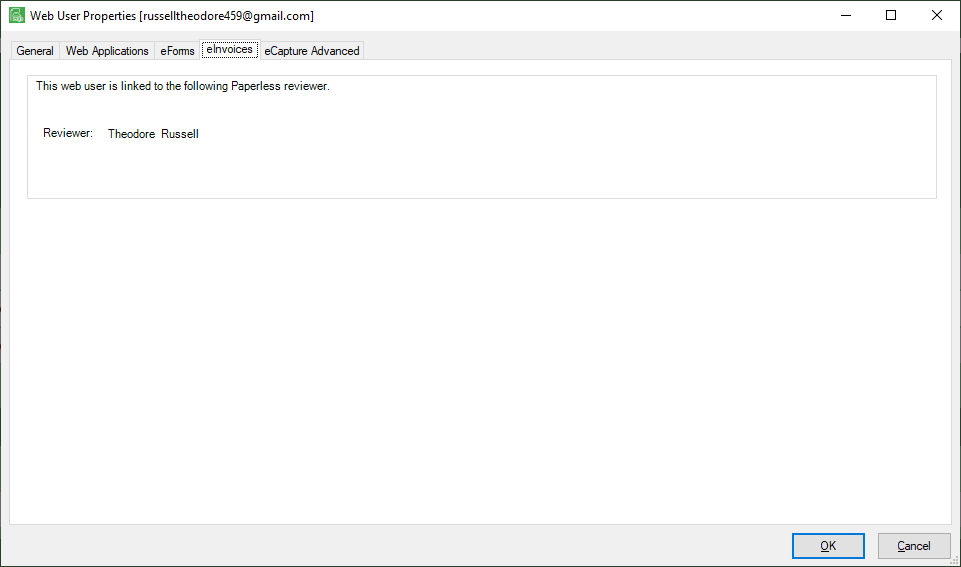
12. Click on any of the web application-associated tabs that display to make any necessary revisions.
13. Click OK when all changes are entered.