There are a few additional user settings that are available on the User Properties screen that are outside the Add User Wizard.
1.From the ribbon toolbar, click Administration.
2.Click the Users dropdown,  .
.
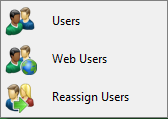
3.Click Users.
The Users Accounts window similar to the following displays:
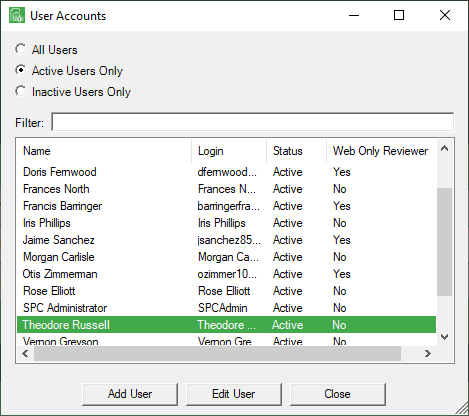
Note that there is a Filter text field where you can start to enter a user to narrow the list.
4.Start typing in the Filter field to narrow the list similar to the following:
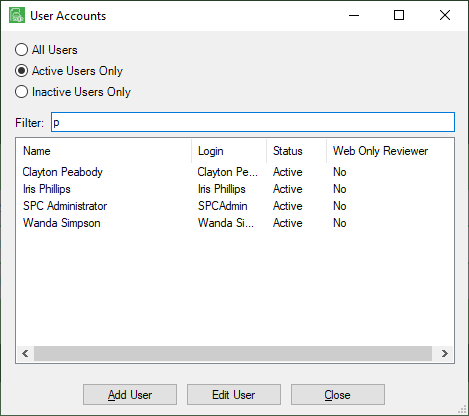
Not only can you filter on the Name column entries, but you can also filter on the Login column entries too.
5.Click Edit User.
The User Properties window similar to the following displays with the General tab active:
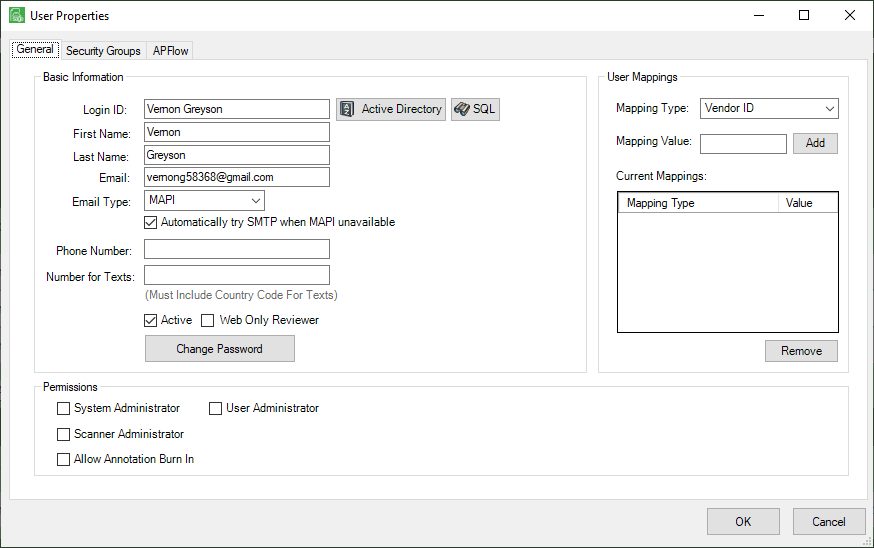
6.Click to uncheck the Active check box to deactivate the selected user.
7.Click Change Password to change the selected user's password, particularly if the user is set up as SQL authenticated.
8.In the Mapping Type field, use the dropdown to select one of the following:
Vendor ID
Customer ID
Employee ID
These mappings are used for Index Level Security and for Document Routing Rules.
9.In the Mapping Value field, click the lookup (F4 is the default) to select from the list of available values.
The lookup is based on the Mapping Type selection.
For instance, if the Mapping Type is Vendor ID, the Mapping Value lookup is Vendor.
10.Click Add to map the value.
Any Mapping Values will display in the Current Mappings pane.
A user may have several mappings. They may be mapped to an Employee ID (as an employee) and also mapped to a Vendor ID (for accounts payable purposes).
11.Click OK to save changes.