Lien Form email templates allow users to quickly and efficiently send pre-filled lien forms to their suppliers and subcontractors.
1.From the ribbon toolbar, click Greenlight.
2.Click Manage Greenlight,  .
.
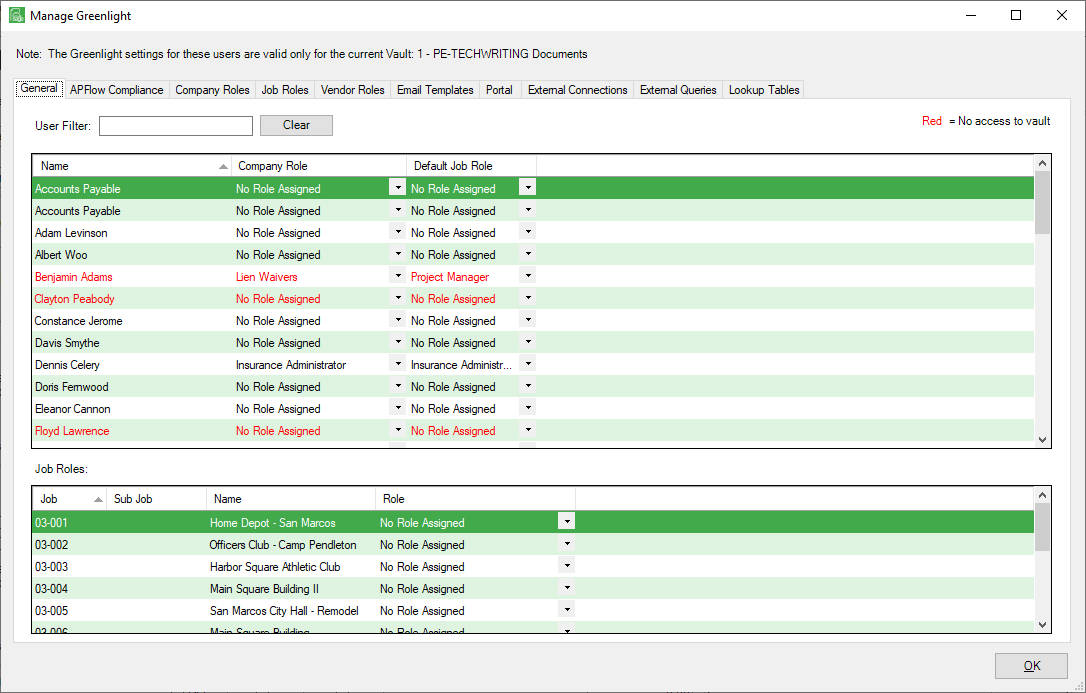
The main screen displays with the General tab active:
3.Click the Email Templates tab.
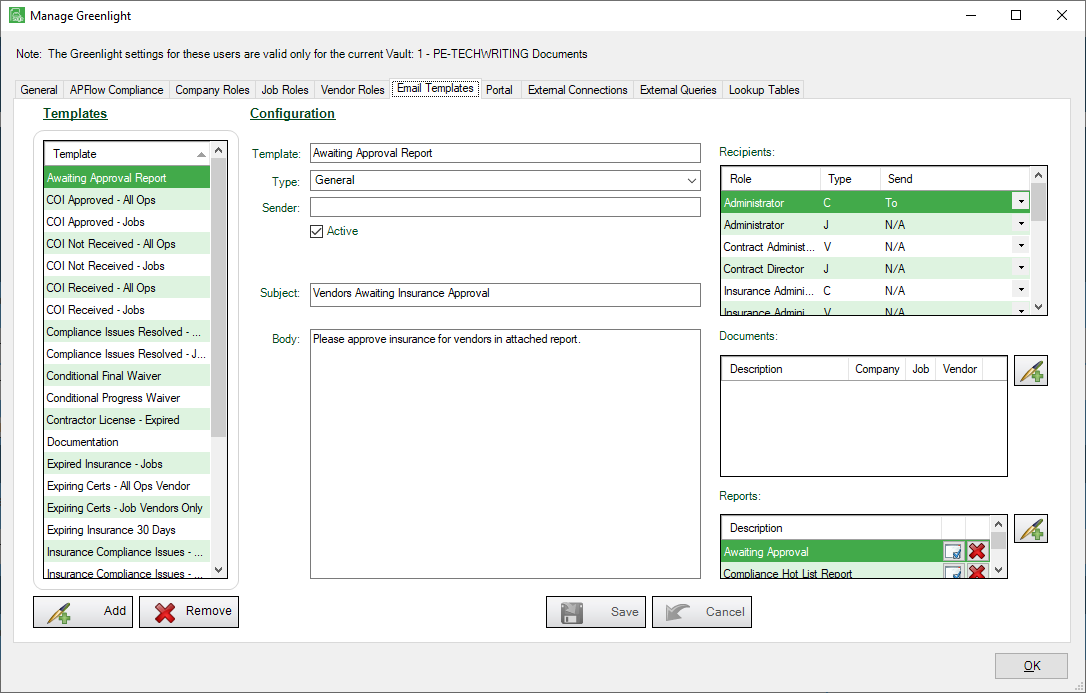
The following screen displays:
4.Click Add,  .
.
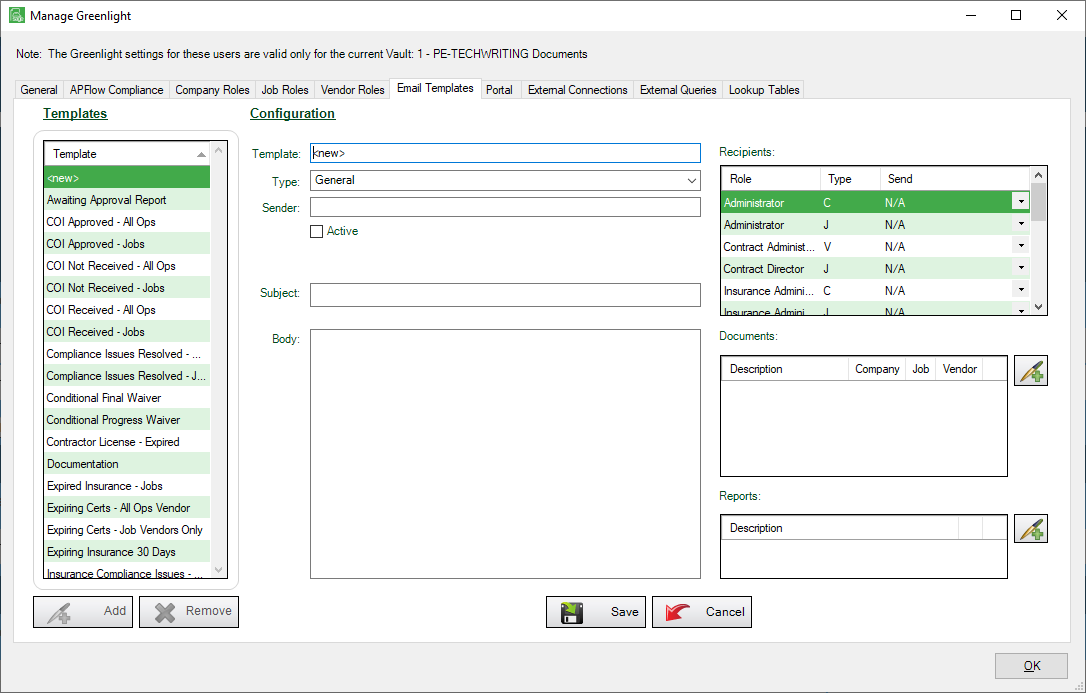
The screen Configuration section is now blank so you can add your new template information.
5.In the Template field, enter the name of new template. We recommend that you incorporate the type of lien form being sent out to vendors.
Note: If you will be sending Conditional Progress, Unconditional Progress, Conditional Final and Unconditional Final lien forms, you will need to create four different templates.
6.In the Type field, keep General from the dropdown list. This is the default.
7.In the Sender field, identifies the email address that will be used. Leave this field blank to default to your system configuration email that is already set up.
8.Click the Active checkbox.
9.Click the Automatically Generate and Attach Lien Waiver checkbox. This checkbox displays only if you have selected one of the waiver templates.
Note: You will not need to attach any documents or reports to Lien Form email templates. When a lien is generated and you use the email function, Greenlight CM™ systematically adds the .pdf version of the lien form to the email.
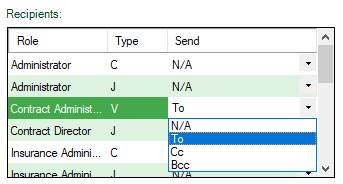
10.In the Recipients grid, in the Role column, select those roles who will receive this email.
Note: The Role Type column identifies which level the contact is stored. C = Company level, J = Job level, V = Vendor level
11.In the Recipients grid, in the Send column, select from the field dropdown to determine how you want to send the email to each recipient.
12.In the Subject field, enter the subject of the email.
13.In the Body field, type the email text.
14.Click Save,  .
.
The completed Unconditional Progress Waiver template will resemble the following:
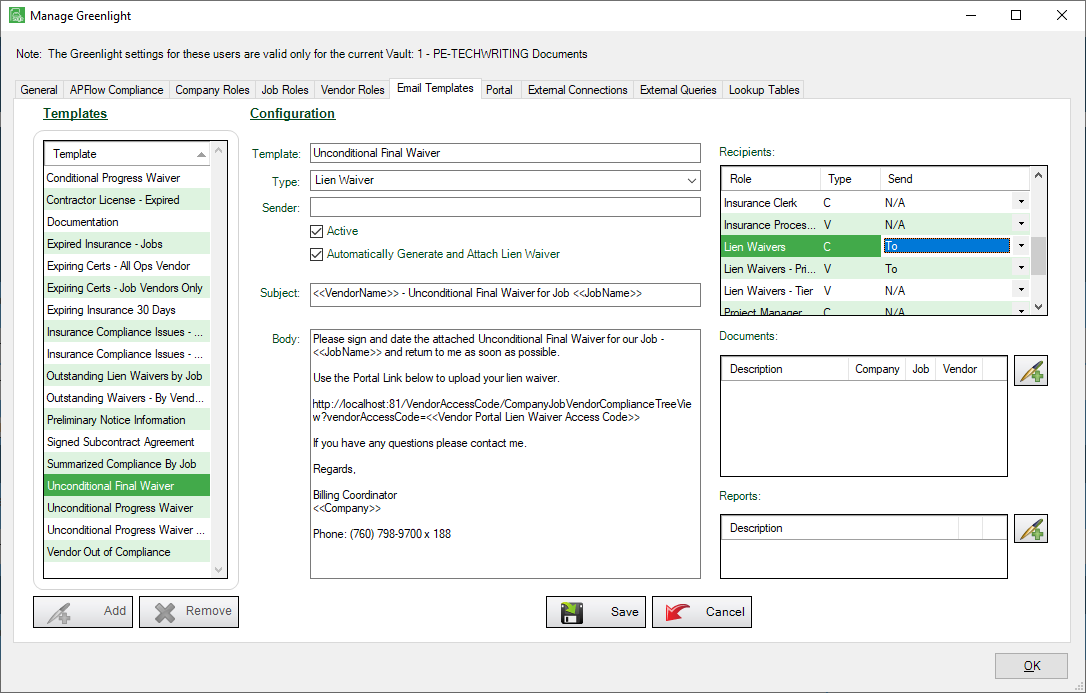
Note: You can right click over the Subject Line or the Email Body to use the Mail merge function. You can select Job Info, Vendor Name, Job Name, Info, or Waiver Info. Click Save, when done.