Creating the PO in Sage
1.Open Sage.
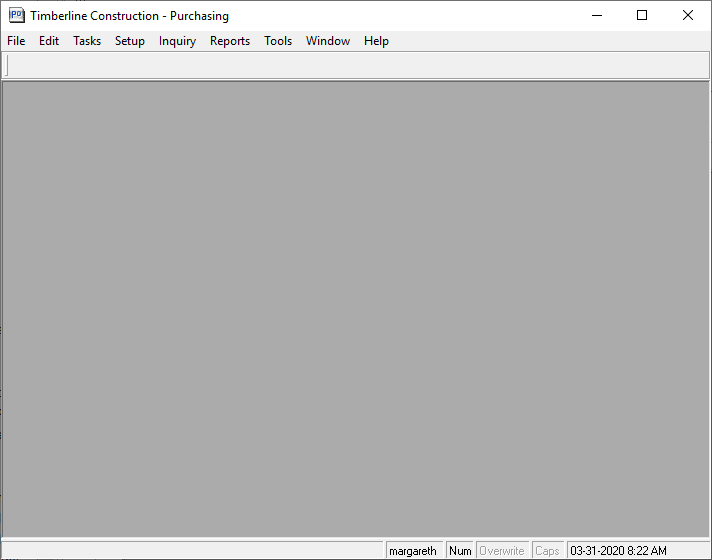
2.Access the Purchasing module.
The following screen displays:
3.From the toolbar. click the Tasks dropdown.
4.Select Enter Orders.
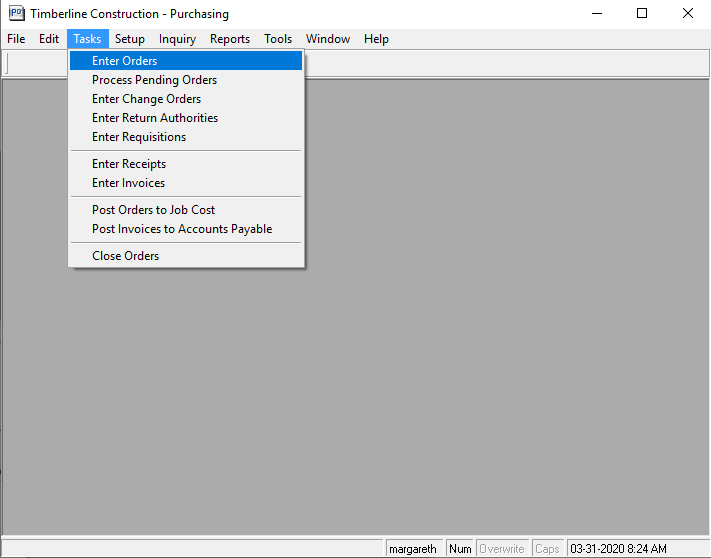
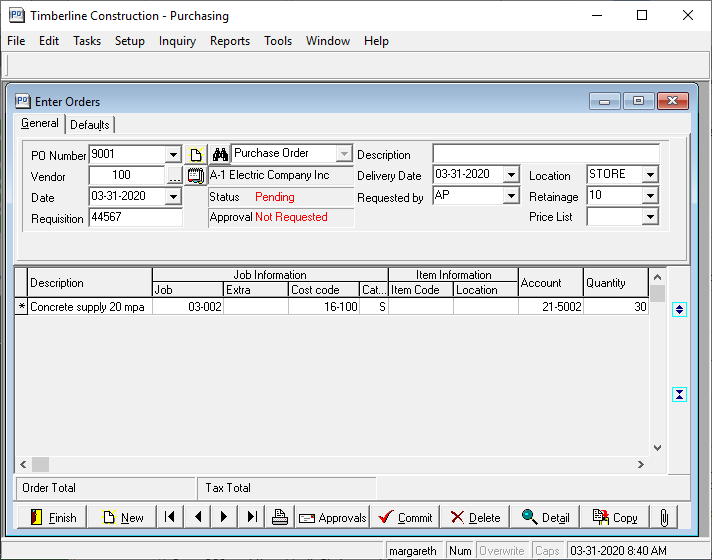
The Enter Orders window displays:
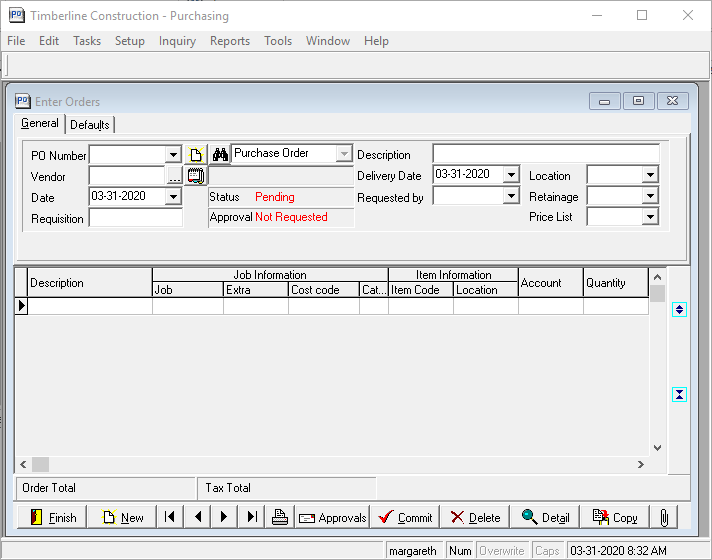
5.In the PO Number field, enter the PO number.
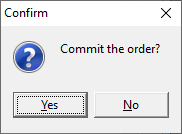
A Confirm dialog box similar to the following displays:
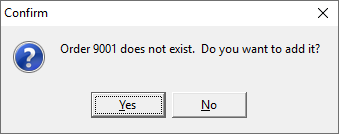
6.Click Yes.
An Order Type Selection dialog box displays with Purchase Order selected as the default:
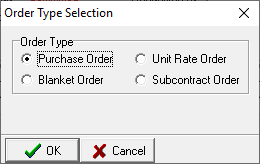
7.Keep the default, or select a different Order Type, if appropriate.
8.Click OK.
9.Enter the purchase order information into the Enter Orders screen similar to the following:
10.When finished, click Commit.
The following Confirm dialog box displays:
11.Click Yes.
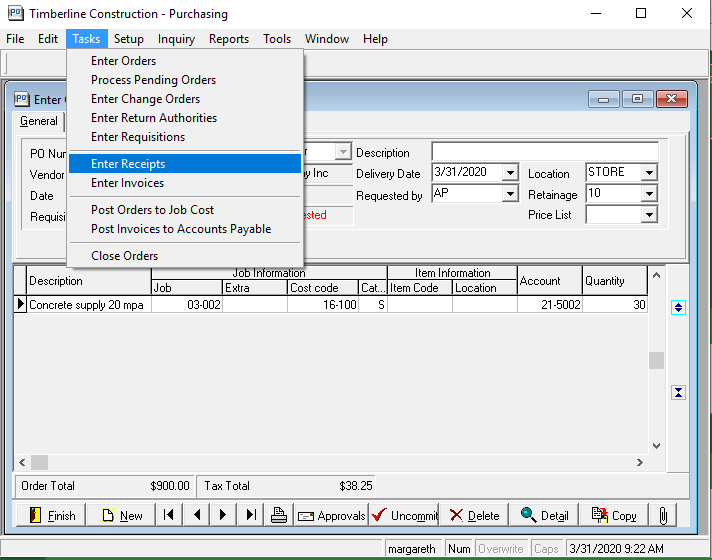
12.From the toolbar, click the Tasks dropdown.
13.Click Post Orders to Job Cost.

The Post Purchase Orders to Job Cost dialog box similar to the following displays:
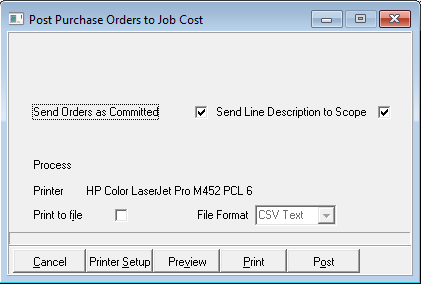
14.Unless the printer needs to be changed, click Post.
The PostOrdersLog.txt file in Notepad similar to the following displays:
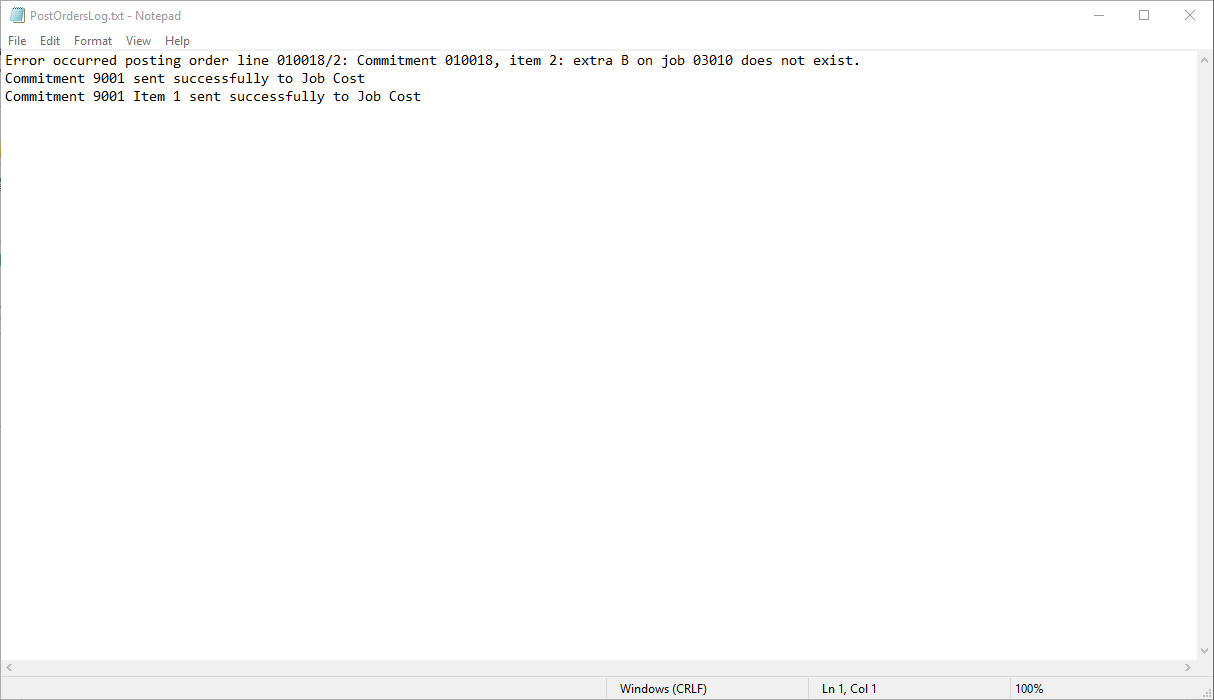
15.Verify that Commitment ### sent successfully to Job Cost text displays.
16.Close the Notepad window.
Entering the Receipt in Sage
1.From the toolbar, click the Tasks dropdown.
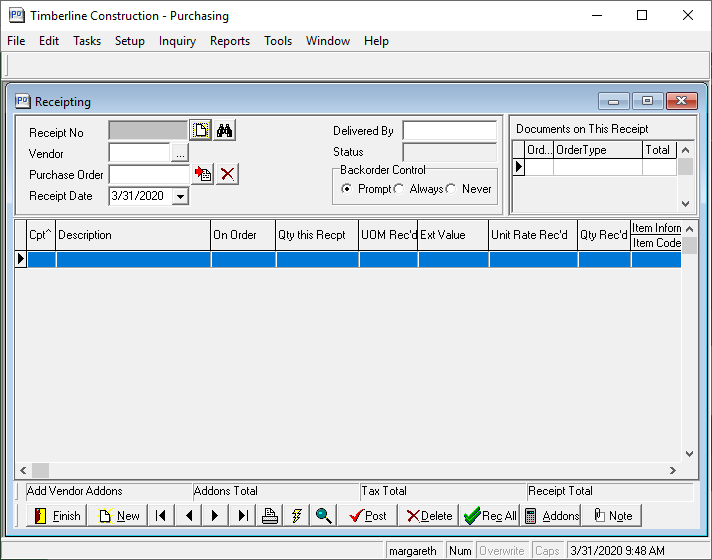
2.Click Enter Receipts.
The Receipting window displays:
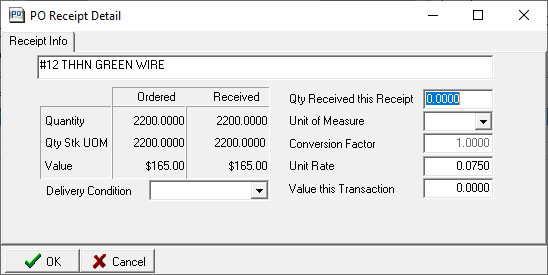
3.Right click in the line to access the PO Receipt Detail dialog box similar to the following if quantity amounts are not correct:
4.Once the receipt information is correct and the associated Receipting window is complete, click OK to close the PO Receipt Detail box.
The Receipting window with the complete receipt information should resemble the following:
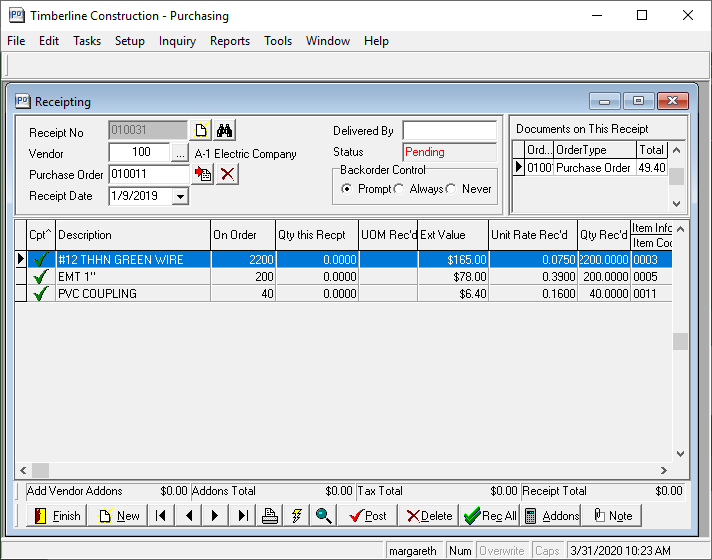
5.Click Post.
The Post Receipt dialog box similar to the following displays:
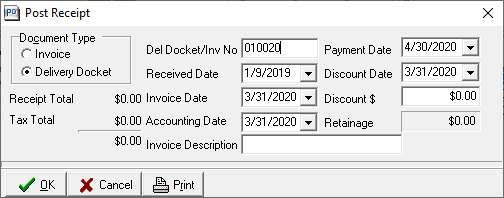
6.Verify that the Document Type reflects Delivery Docket. This should be the default.
7.In the Del Docket/Inv No field, enter the receiving ticket number.
8.Click OK.
The following Confirm dialog box will display:
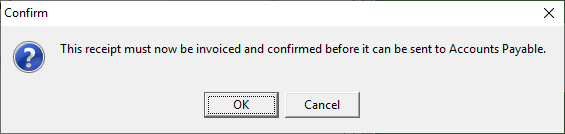
9.Click OK.
The following Purchasing prompt displays:
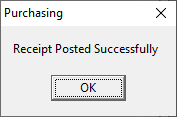
10.Click OK.
11.When the Receipting window redisplays, click Finish.
12.Close Sage.
Process in Sage Paperless Construction
1.From the ribbon toolbar, click APFlow™.
2.Click Invoice Entry, 
3.From the APFlow™ sidebar, click New Invoice.
An Invoice Entry screen displays:
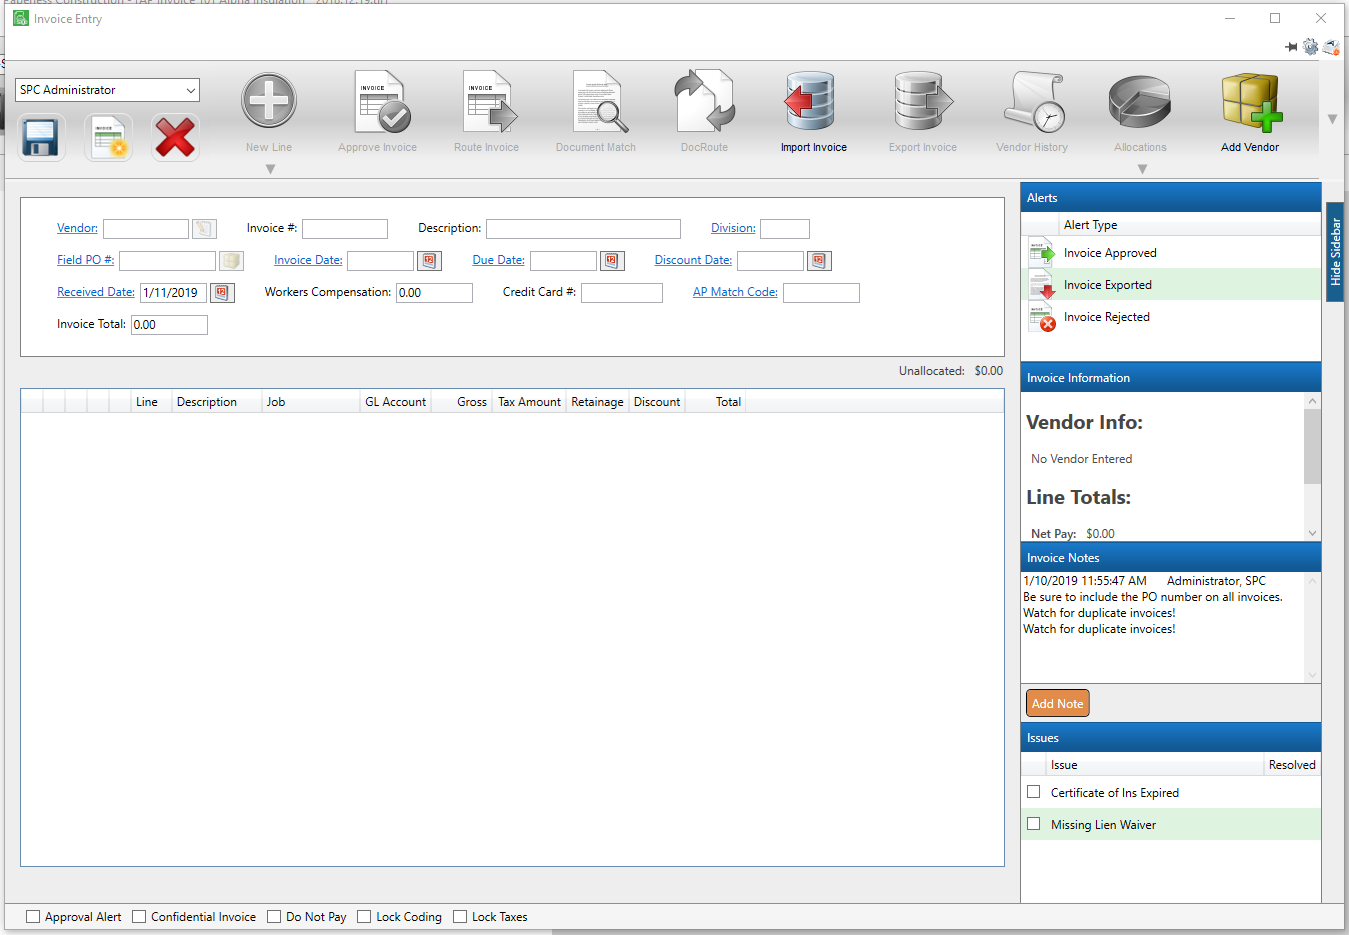
4.After entering the vendor number in the Vendor field and the invoice number in the Invoice # field, click New Line,  .
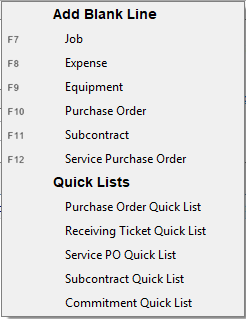
.
5.From the dropdown list, click to select Receiving Ticket Quick List.
A Quick List - Receiving Tickets window similar to the following displays, listing the potential associated receiving tickets:
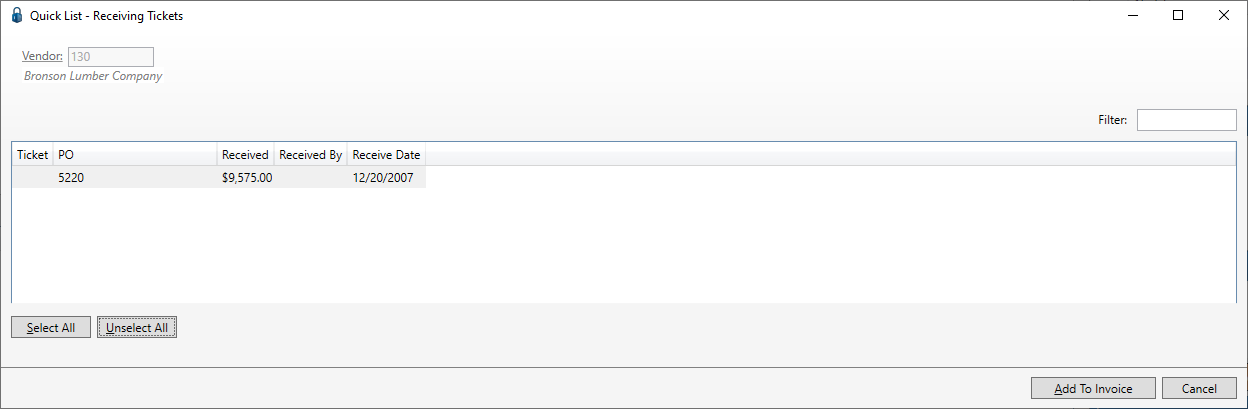
6.Click to select the appropriate receiving ticket(s).
7.Click Add To Invoice.
The Invoice Entry screen will resemble the following:
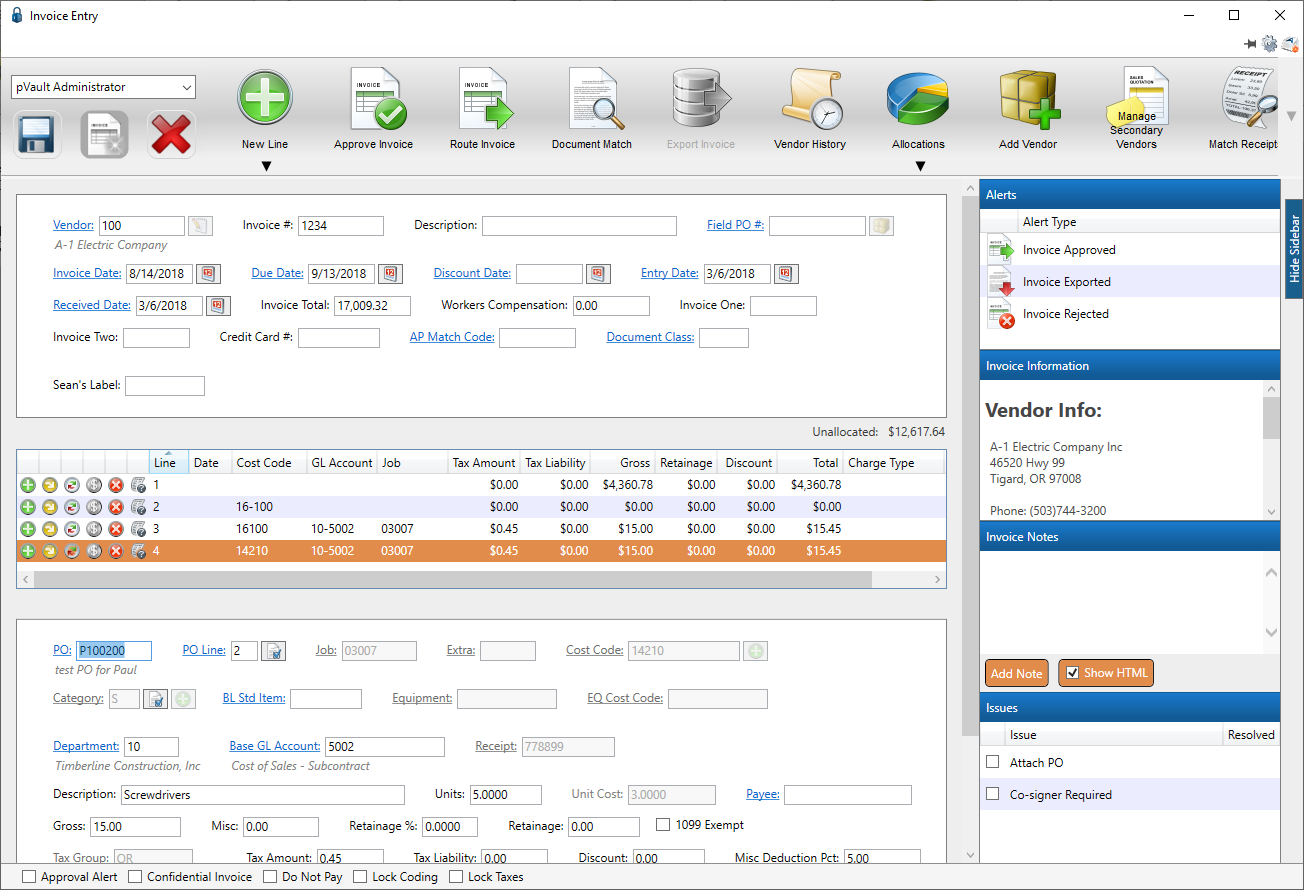
8.Complete the invoice and process it like any other invoice.
Route if necessary and Approve.
9.Export the approved invoice to the Sage 300 Accounts Payable module.
As part of the export process, totals are updated on the PO module as well as receipts. In addition, an invoice is systematically created behind the scenes in the PO module.