The Sources tab contains the path of the email.
Important
• Email jobs are locked down so an individual cannot access another person's email account or make changes to the Email Import job.
• Jobs set up under one account and then logged into with a different account will generate a message indicating that the job cannot be viewed or edited. Only if no options were assigned to the job will editing be permitted.
• Only email accounts you have configured under your account are visible to you.
• Only options in the Sources, Error Options and Archiving Options tabs assigned to your email accounts are visible to you.
• Only email options are available under the Email Job Type. No other Job Types should be able to view any of the Email Options.
• Only one email account per user per Job. For example, Source, Error and Archiving all must point to the same email account.
1.Click the Sources tab.
A window similar to the following displays:
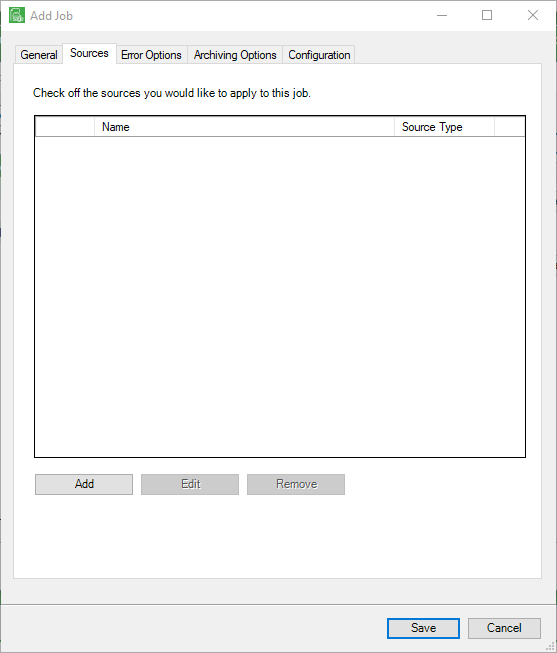
2.Click Add.
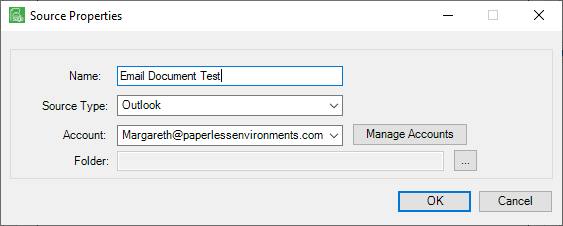
The Source Properties dialog box displays:
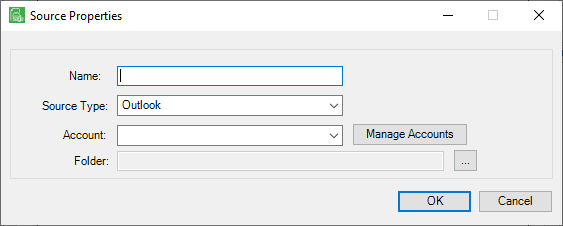
3.In the Name field, enter a meaningful name for the email source.
4.In the Source Type field, use the dropdown and click to select Outlook.
5.In the Account field, use the dropdown to select a listed entry or click Manage Accounts.
6.If Manage Accounts is clicked, the Manage Accounts dialog box similar to the following displays:
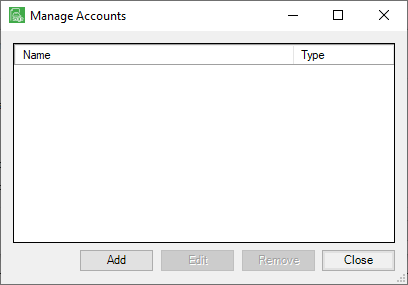
7.Click Add.
The Add Account dialog box similar to the following displays with the Name field unpopulated and Connection Not Established displaying:
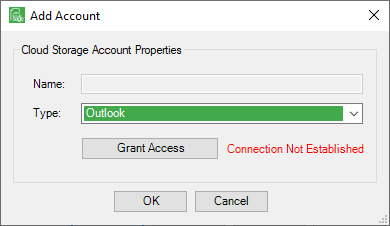
8.In the Type field, use the dropdown or keep the default.
9.Click Grant Access.
The Microsoft Pick an account window similar to the following displays:

10. Double click on the account that is listed or click Use another account.
The Microsoft Permissions requested window similar to the following displays:
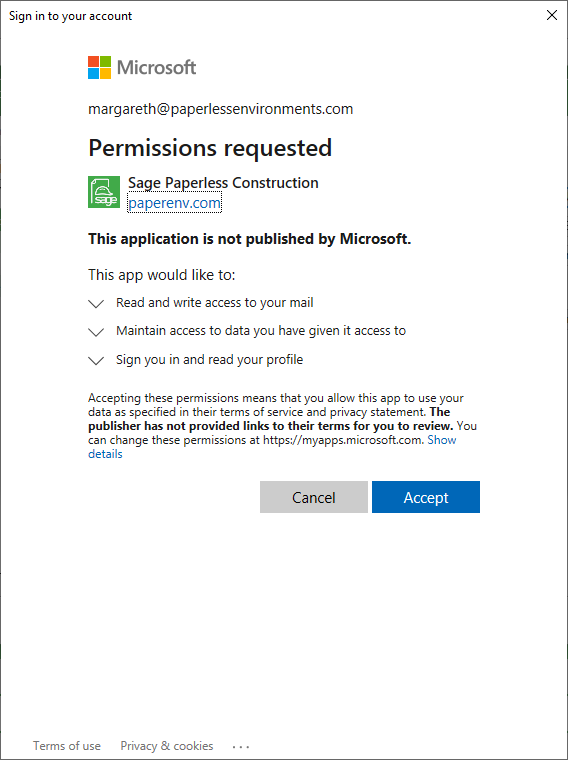
11. Click Accept.
The Add Account dialog box redisplays similar to the following with the Name field populated with the account name and Connection Successful displaying:
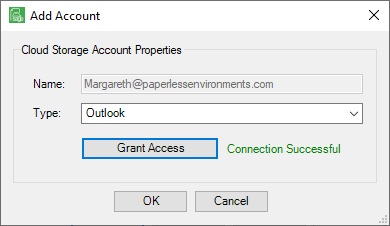
12. Click OK.
This closes the Add Account dialog box and the Manage Accounts dialog box redisplays with the newly created account displaying in the grid similar to the following:
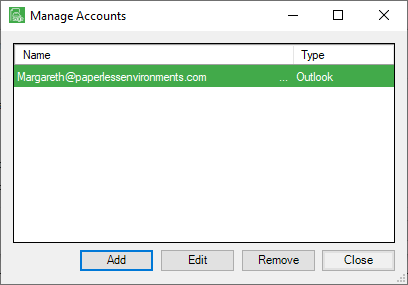
13. Click Close.
The Source Properties dialog box redisplays with the Account field system populated similar to the following:
14. Click the Folder field ellipsis,  .
.
A Folders dialog box similar to the following displays:
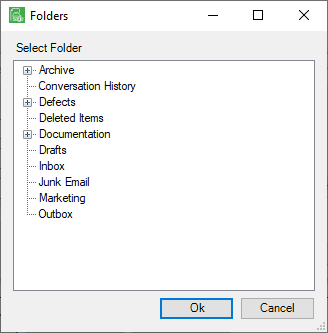
15. Click to highlight the folder.
16. Click OK.
The Source Properties dialog box with the Folder field populated redisplays similar to the following:
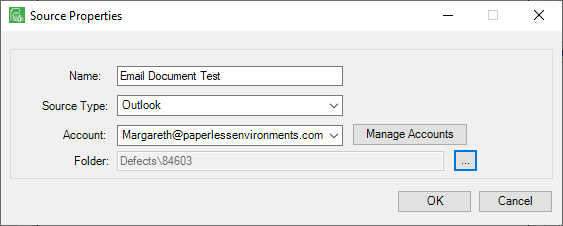
17. Click OK.
The Sources tab redisplays with the new Job added to the grid similar to the following:
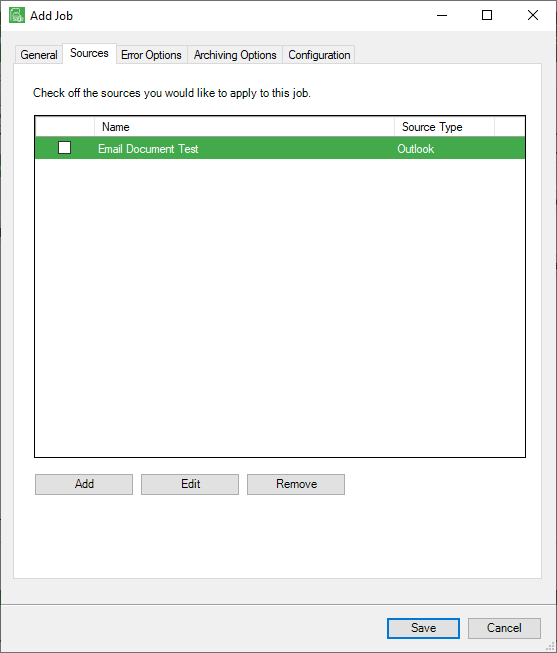
18. Continue by clicking the Error Options tab.