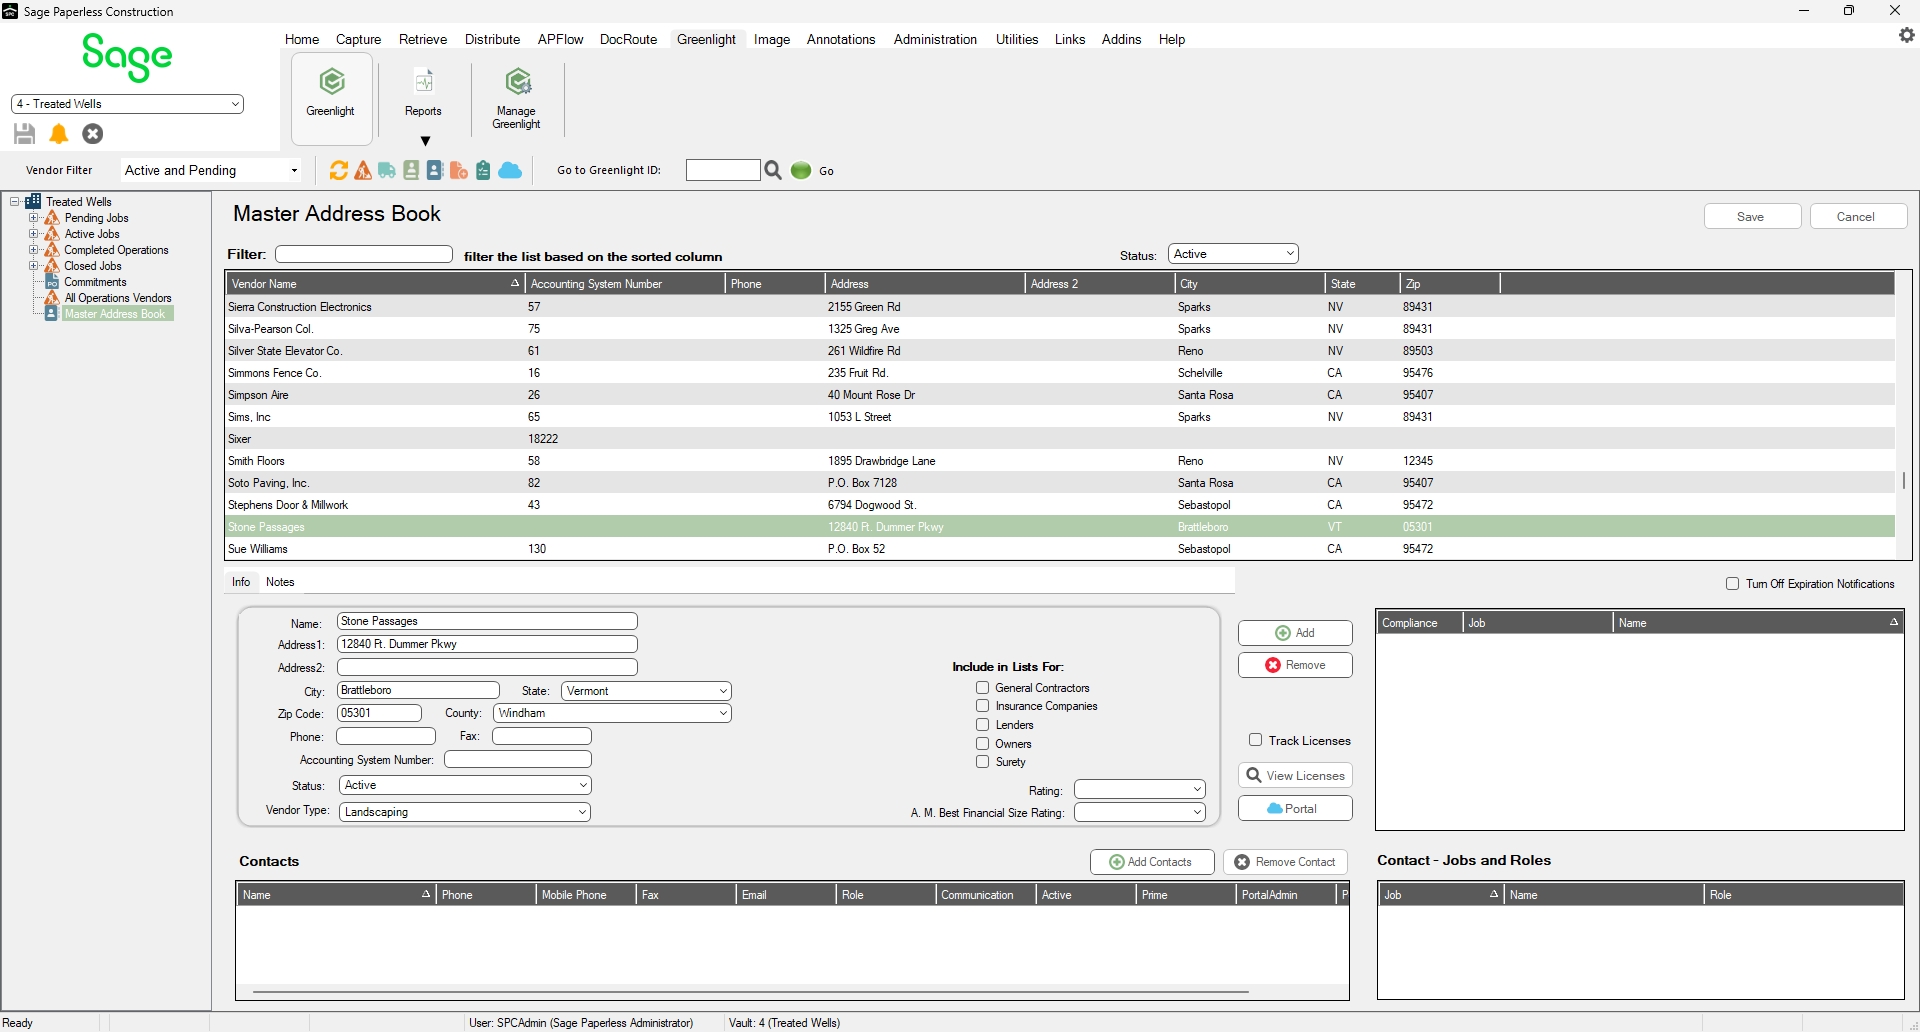
You can add contacts to an existing vendor or to a newly added vendor. Once a contact is entered into the Master Address Book, users can quickly add the contact to any job the vendor is on, along with the vendor's contact information and contact role.
At the bottom of the Master Address Book screen is a Contacts section.

1.Click Add Contacts.
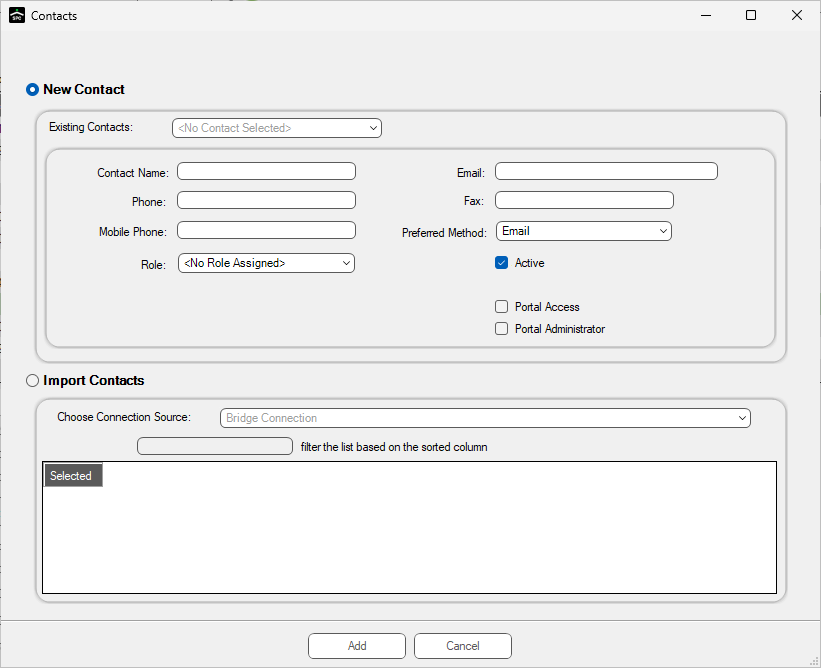
A blank Contacts dialog displays:

2.Click either the New Contact or Import Contacts radio button.
If you click the Import Contacts radio button, scroll to the entry, click the Selected column check box for that entry and click Add.
If you click the New Contact radio button, continue with step 3.
Note: New Contact is selected by default.
3.In the Contact Name field, enter the name.
4.In the Email field, enter the contact's email address.
5.In the Phone field, enter the contact's phone number. You do not need to include parentheses or dashes. The system adds it.
The number format resembles (###) ###-#### when you tab to the next field.
6.In the Fax field, enter the contact's fax number. This is not a required field.
7.In the Mobile Phone field, enter the contact's cell phone number. You do not need to include parentheses or dashes. The system adds it.
The number format resembles (###) ###-#### when you tab to the next field.
8.In the Preferred Method field, use the dropdown to select the method to communicate with the contact. Email is the default.

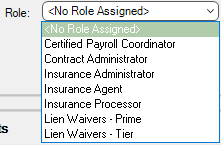
9.In the Role field, use the dropdown to select the contact's role.

10. Verify that the Active check box is checked (this is the default) so this contact is active.
11. Click the Portal Access check box if this contact should receive an email with the Greenlight CM™ Portal Registration Code.
12. Click the Portal Administrator check box if this contact is a portal administrator for this vendor.
13. Click Add.
Note: If the contact you entered matches an existing contact, a Possible Contact Matches dialog displays. If appropriate, click Use Match; otherwise, click Cancel.
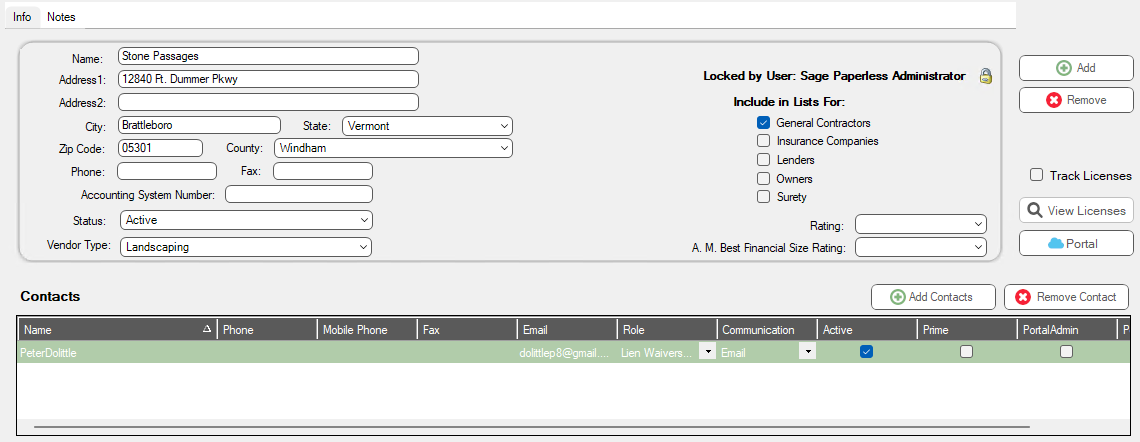
The Contacts grid resembles the following:
