Payments Tab Toolbar

<< Click to Display Table of Contents >>

You are here:  APFlow™ Module > Payment Manager > Access > Payments Tab >

Payments Tab Toolbar

Icon

Label

Function

PaymentSearchicon-mh

Search

Click to perform the search based on the specified search criteria.

The search can also be performed by clicking the Search button, PaymentSearchbutton-mh, located at the bottom of the Search Criteria pane.

PaymentViewicon-mh

View

Important: Document Type security applies. If you do not have the permissions to view the invoice elsewhere, you will not be able to view it here.


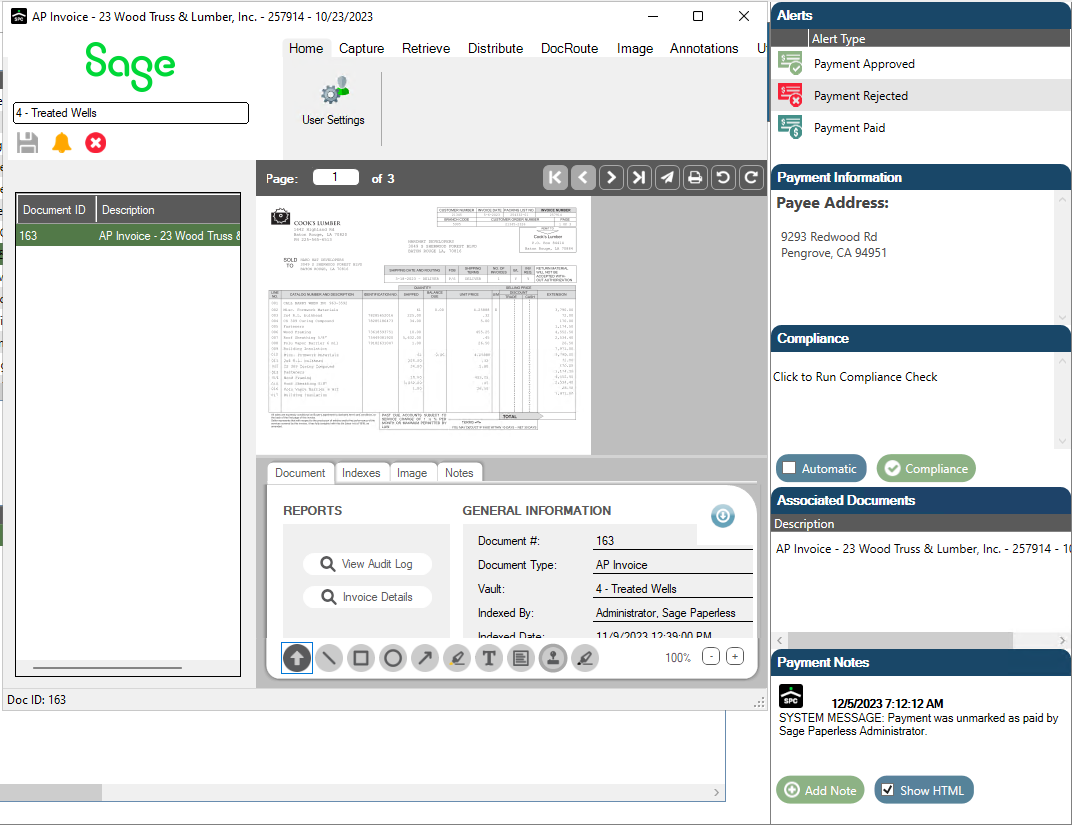
Click to display a read-only version of the invoice, an associated document--or both--based on what you selected from the When Viewing Items field dropdown.


PaymentViewreadonlydocwithsidebar-mh


For details on the When Viewing Items field, click here. This icon becomes active after clicking to select an entry in the Search Results pane.


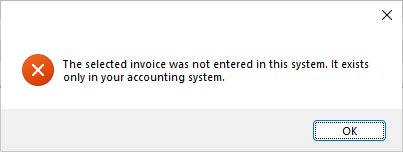
If the invoice you selected was not entered into Sage Paperless Construction, the following error message displays:

PaymentViewerrormessage-mh

PaymentApprovePaymenticon-mh

Approve Payment

Click to change the status of the payment to Approved.

For those Approved entries, run compliance checks--including Greenlight. Advanced Bridge Settings for Reviewers are used in determining what checks to run.

The entry remains in the Approved status until it is paid. Then the entry moves to the Paid status.

A Payment Note is systematically created with a date/time stamp.

PaymentResettoPendingicon-mh

Reset to Pending

By clicking Reset to Pending, you can cancel the "approval" of an invoice currently in the Approved status and move the entry back to the Pending status.


1.Click to highlight an entry in the Approved list that needs to be moved back to the Pending status (and the Pending folder).
 
A Reset to Pending Reason note text box displays.
Important:  This text box will display only if the Require Invoice Reset to Pending Notes Advanced Bridge setting is set to True.


2.Type a reason for resetting the approved payment back to a Pending status.

3.Click Save.
 
The text you enter will display in the Payment Notes grid with a date/time stamp.
The entry will move out of the Approved status and redisplay in the Pending status.

PaymentRejectPaymenticon-mh

Reject Payment

1.Highlight an entry that needs to be rejected.

2.Click Reject Payment.
 
A Reject Reason note text box displays.
Important: This text box will display only if the Require Invoice Reject Notes Advanced Bridge setting is set to True.
 

3.Type the reason for rejecting the payment.

4.Click Save.
 
The entered text will display in the Payment Notes grid with a date/time stamp.
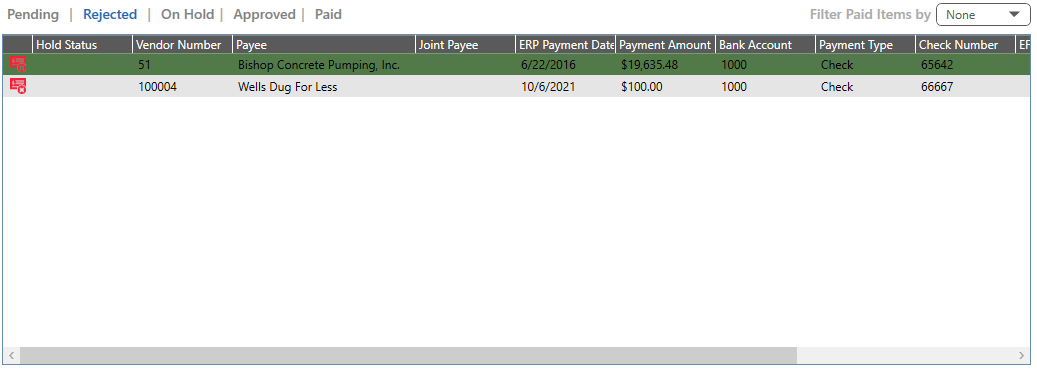
The entry will move out of the current folder and redisplay in the Rejected status.
PaymentPaymentspaneRejectedstatus-mh

PaymentPlaceOnHoldicon-mh

PaymentReleaseHoldicon-mh

Place On Hold / Release Hold

Click to place a selected entry on hold. (Place On Hold)
 

A Place On Hold/Release Hold Reason note text box displays.
Important: This text box will display only if the Require On Hold Notes Advanced Bridge setting is set to True.
 

If the selected invoice entry is already on hold, click to release the hold. (Release Hold)

PaymentPaymentspaneOnholdstatus-mh

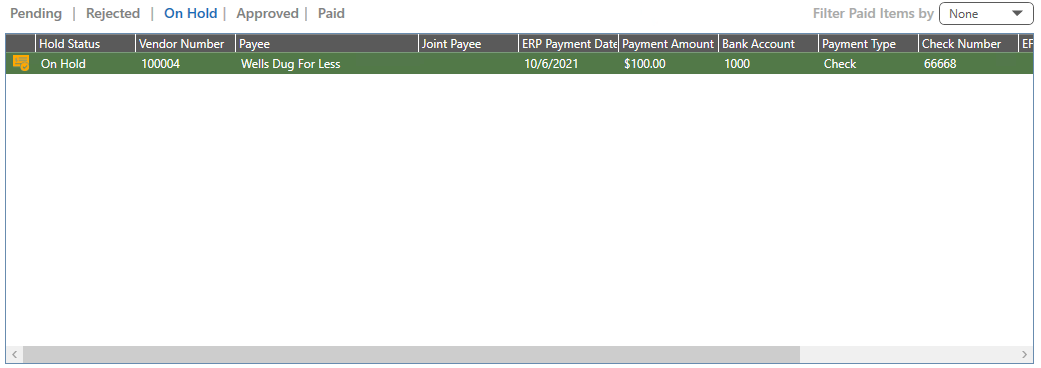
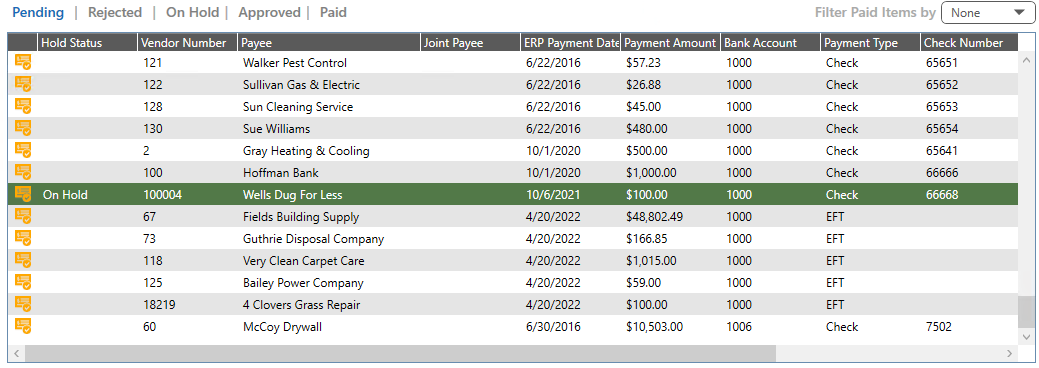
Note: On Hold is a status on top of another status. When you place an invoice entry on hold, it will display in the On Hold folder. The invoice entry will also continue to be visible in the original folder.
 

For example, this On Hold folder entry is still visible in the Pending folder with a Hold Status of On Hold.

PaymentPaymentspanePendingstatuswithOnHoldstatus-mh

PaymentMarkasPaidicon-mh

PaymentUnmarkasPaidicon-mh

Mark as Paid / Unmark as Paid

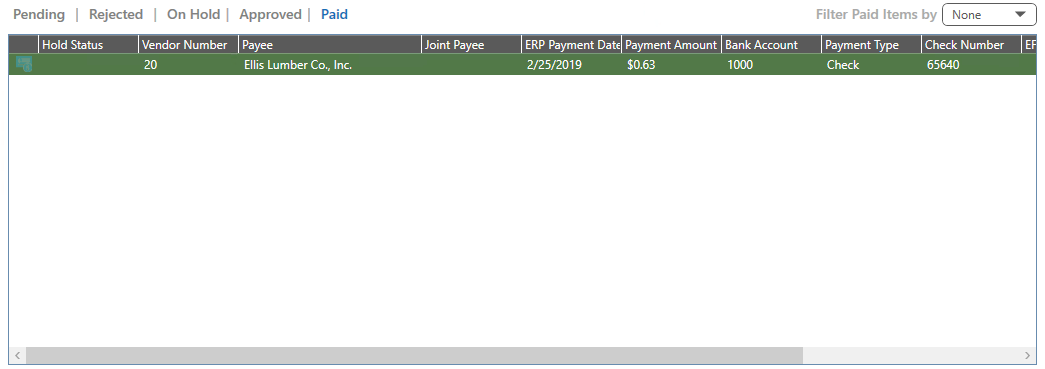
Click the Mark As Paid toolbar icon if you want to mark the selected invoice entry as paid. This will move the entry to the Paid status.

PaymentPaymentspanePaidstatus-mh

Note:  Any invoice entries in the Paid status were not submitted to AvidPay.


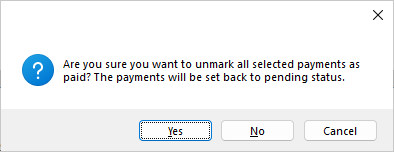
If the selected invoice entry has a Paid status and should not, highlight the entry and then click Unmark As Paid. This will move the entry to the Pending status. A confirmation prompt will display:

PaymentMovingPaidbacktoPendingmessage-mh  

PaymentSavetoFileicon-mh

Save To File

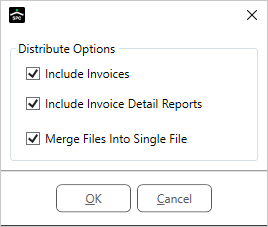
1.Click to display the Distribute Options dialog box similar to the following:
 
PaymentDistributeOptionsdialog-mh
Note: Check boxes are selected by default.
 

2.Select/deselect the check boxes as appropriate and then click OK.
 
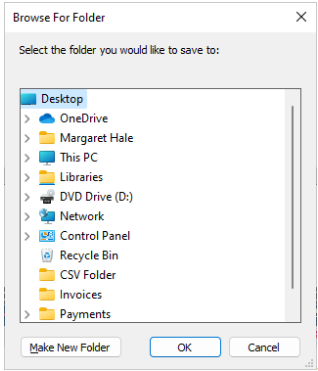
The Browse For Folder dialog box similar to the following displays:
 
PaymentBrowseForFolderdialog-mh
 
This is in preparation for saving the documents associated with the invoices of the selected payment(s) to an external file. This icon becomes active after clicking to select an entry in the Search Results pane.
 
For more details on the save to file functionality with Sage Paperless Construction, click here.

PaymentEmailicon-mh

Email

1.Click to display the Distribute Options dialog box similar to the following:
 
PaymentDistributeOptionsdialog-mh
Note:  Check boxes are selected by default.
 

2.Select/deselect the check boxes as appropriate and then click OK.
 
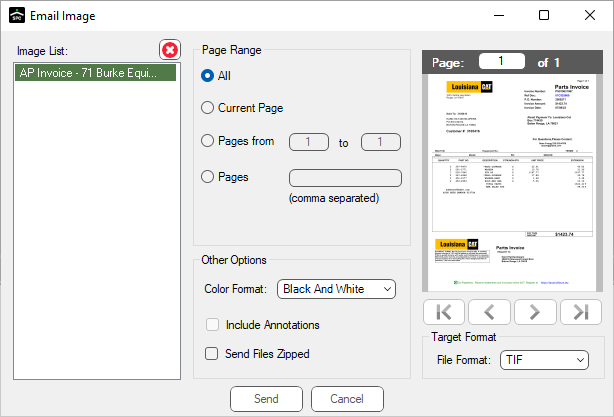
The Email Image dialog box similar to the following displays:
 
PaymentEmailImagewindow-mh
This is in preparation for the documents associated with the invoices of the selected payment(s) to be emailed. This icon becomes active after clicking to select an entry in the Search Results pane.
 
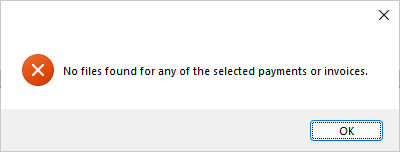
If the invoices were not entered in the system, no files will be listed and the following dialog box displays:
 
PaymentNofilesfoundprompt-mh
 
For more details on the email functionality within Sage Paperless Construction, click here.

PaymentPrinticon-mh

Print

1.Click to display the Distribute Options dialog similar to the following:
 
PaymentDistributeOptionsdialog-mh
Note:  Check boxes are selected by default.
 

2.Select/deselect the check boxes as appropriate and click OK.
 
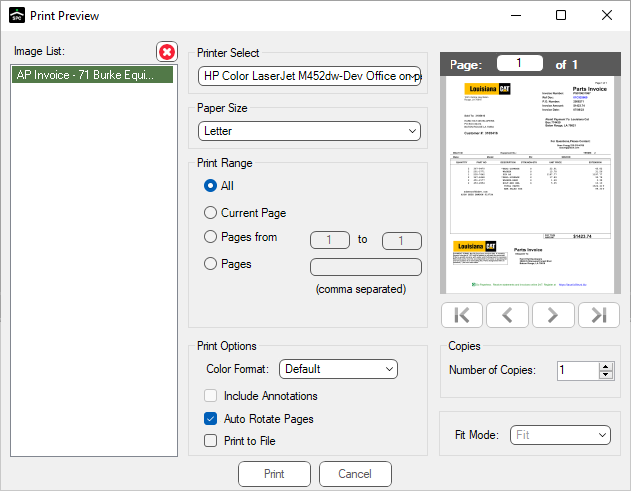
The Print Preview dialog box similar to the following displays:
 
PaymentPrintPreviewwindow-mh
 
This is preparation for sending the documents associated with the invoices of the selected payment(s) to the printer. This icon becomes active after clicking to select an entry in the Search Results pane.
 
For more details on the print functionality with Sage Paperless Construction, click here.

PaymentInvoiceInfoicon-mh

Invoice Info

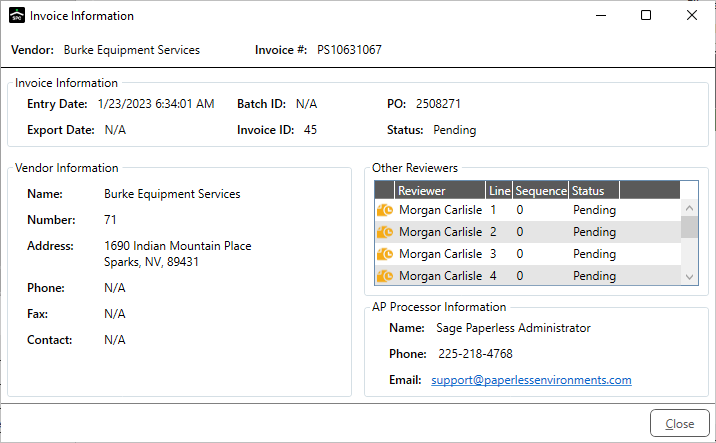
Click to display the Invoice Information dialog box similar to the following:


PaymentInvoiceInfowindow-mh

This icon becomes active after clicking to select an entry in the Search Results pane. For more details on the Invoice Info functionality within Sage Paperless Construction, click here.


The following prompt will display if the invoice was not entered into Sage Paperless Construction:

PaymentViewerrormessage-mh

PaymentVendorHistoryicon-mh

Vendor History

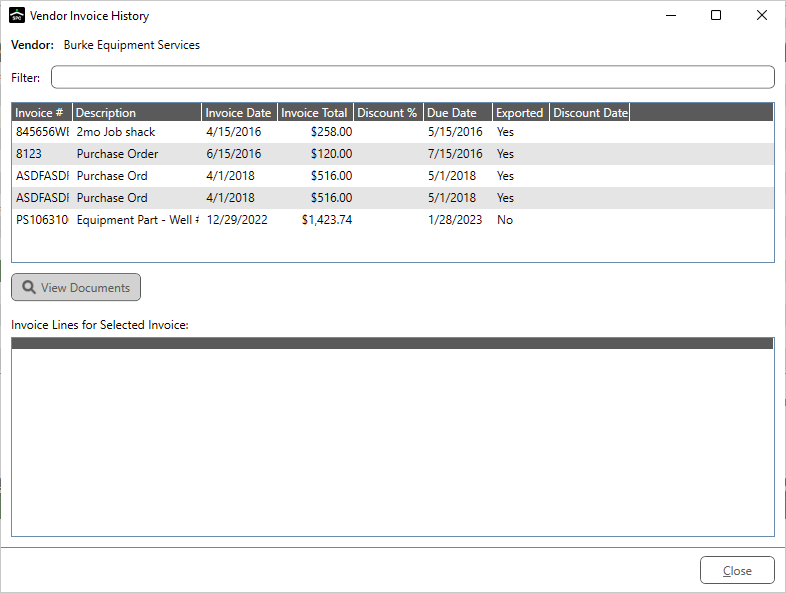
1.Click Vendor History to access the Vendor Invoice History window similar to the following:
 
PaymentVendorHistoryVendorInvoiceHistorywindow-mh
 
There is a Filter text field where you can start to enter an invoice number to narrow the list. Not only can you filter on the Invoice # column entries, but you can also filter on the Description column entries too.
 
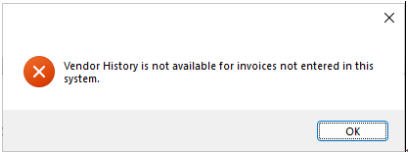
If the entry was not entered in Sage Paperless Construction, the following prompt will display:
 
PaymentVendorHistorynotavailableprompt-mh
 

2.Click to highlight a payment.
 
Payment lines for the selected payment display in the bottom pane (Invoice Lines for Selected Payment).
 

3.Click View Documents to look at matching documents.