Important: This tab only displays if you have a license for the AvidPay integration.
This is where you go to set up the Payment Manager integration with AvidPay.
1.From the ribbon toolbar, click APFlow™.
2.Click Manage APFlow.
The Manage APFlow screen similar to the following displays with the General tab active:

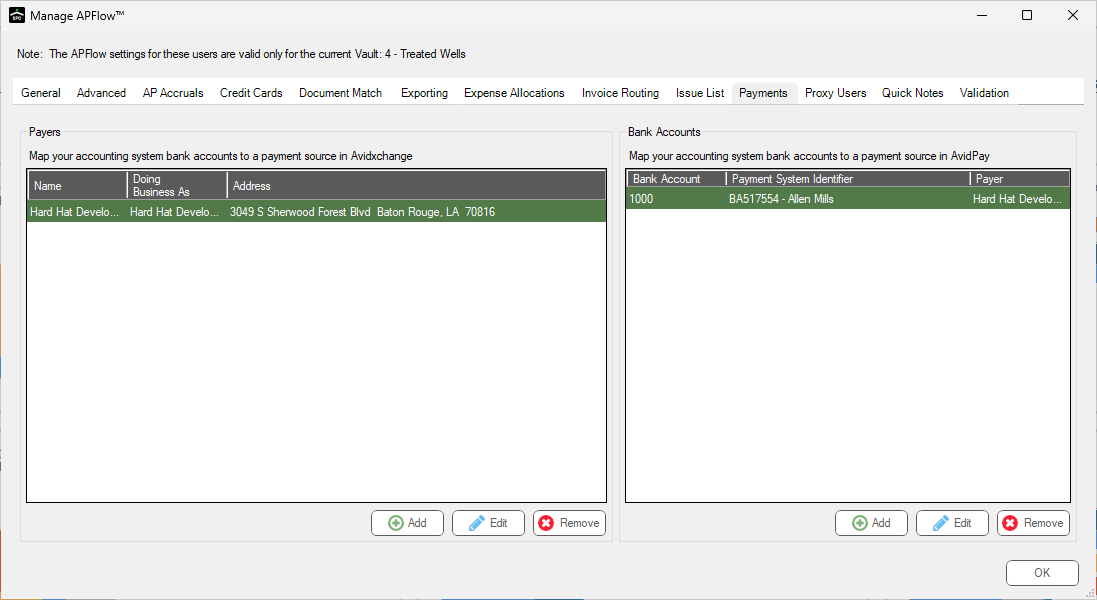
3.Click the Payments tab.
The Payments tab dialog resembles the following:
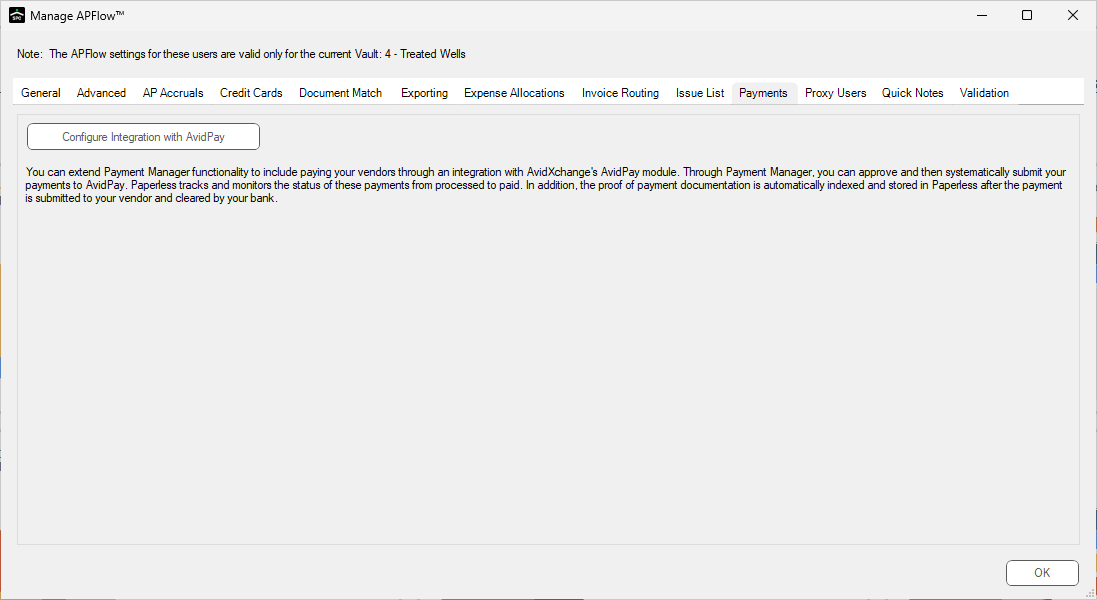
4.Click the Enter AvidPay Credentials button.
The Setup Payment Integration dialog displays:
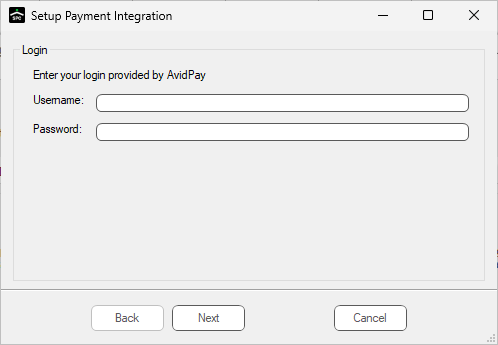
5.In the Username and Password fields, enter the information provided by AvidPay.
6.Click Next.
The Payer Properties dialog displays:
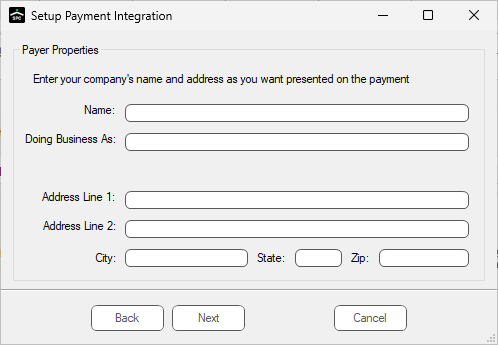
7.In the Name field, enter your company's business name.
8.In the Doing Business As field, enter your company's DBA name, if appropriate.
9.Enter your company's address in the Address Line 1, Address Line 2, City, State and Zip fields.
10. Click Next.
The Bank Account Mapping dialog displays:
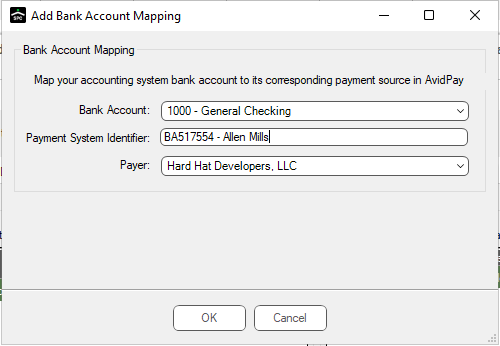
11. Use the Bank Account field dropdown to select the bank account associated with your accounting system.
12. In the Payment System Identifier field, enter the payment source identified in AvidPay.
13. Use the Payer field dropdown to select the appropriate company.
14. Click OK.
The Payments tab dialog redisplays:
15. Click OK.
Adding / Editing
You can add or edit both Payers and Bank Accounts by clicking the appropriate button below each grid.
Payers
1.To add a Payer, click the Add button below the Payers grid.
The following Add Payer dialog displays:
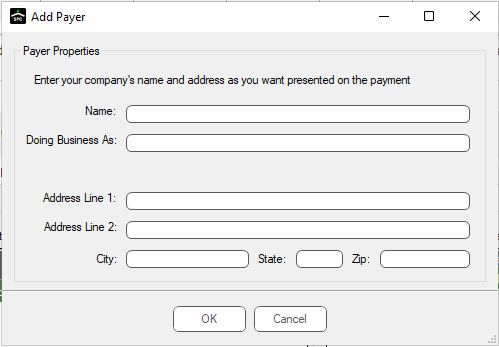
2.Populate the fields as appropriate.
3.Click OK.
1.To edit a Payer, click the Edit button below the Payers grid.
The following Edit Payer dialog displays:
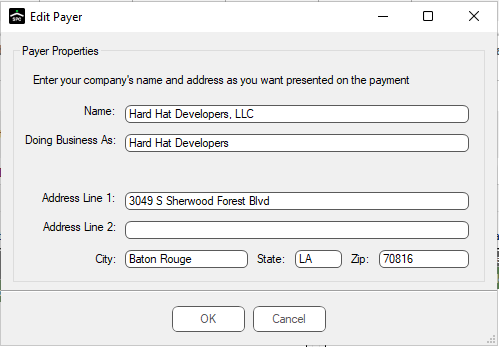
2.Modify the field(s) as appropriate.
3.Click OK.
Bank Accounts
1.To add a bank account, click the Add button below the Bank Accounts grid.
The Add Bank Account Mapping dialog similar to the following displays:
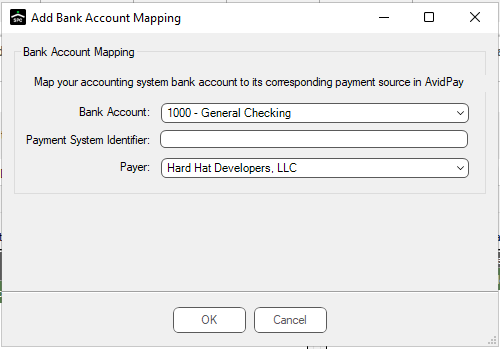
2.Use the dropdowns in the Bank Account and Payer fields to make your new selections.
3.Enter the associated Payment System Identifier.
4.Click OK.
1.To edit a bank account, click the Edit button below the Bank Accounts grid.
The Edit Bank Account Mapping dialog similar to the following displays:
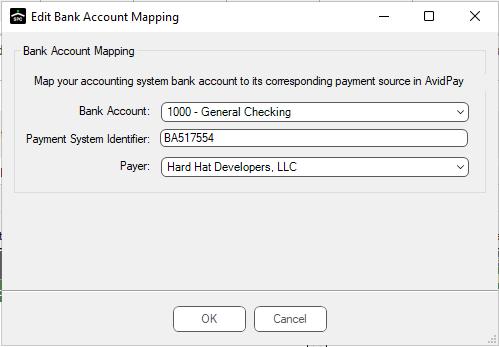
4.Modify the field(s) as appropriate.
5.Click OK.