Add Ins are various utilities that can be installed on the PC to provide additional capabilities to the Paperless Environment system.
Note: The add ins that display on the menu depend on the licenses purchased.
To Install
1.From the ribbon toolbar, click Addins.
2.Click Addins,  .
.
The Paperless Environments Product Installer window similar to the following displays:
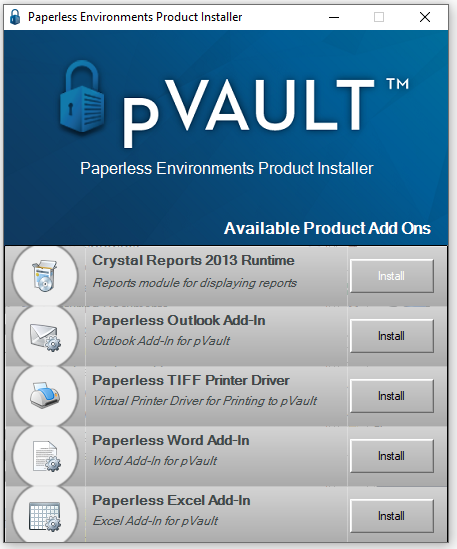
3.Click Install for an available product add on.
An installer window similar to the following displays:
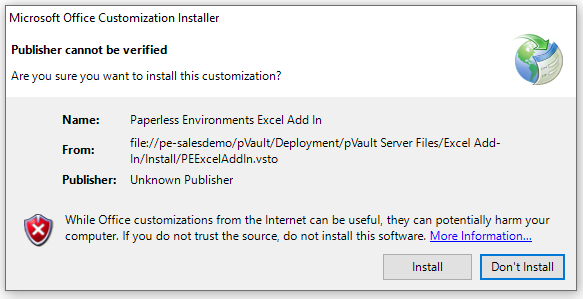
4.Click Install, if appropriate.
The application's installation process occurs.
When the installation is successful, the following dialog displays:
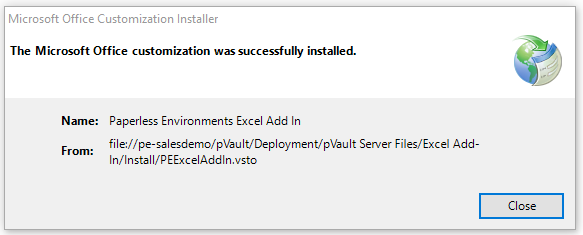
5.Click Close.
6.Open Excel.
Once open, Excel worksheets will display with pVault® displaying in the toolbar.
7.Click pVault® to display a series of pVault® icons similar to the following:
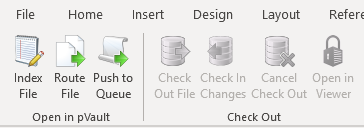
This allows Excel worksheets to be moved directly into pVault® without having to be saved separately and then captured.
Use this for project worksheets created in the field that need to be indexed in pVault®.
To Uninstall
1.Click to open the product.
2.From the toolbar, click File.
3.From the left navigation bar, click Options.
The Word Options window similar to the following displays:
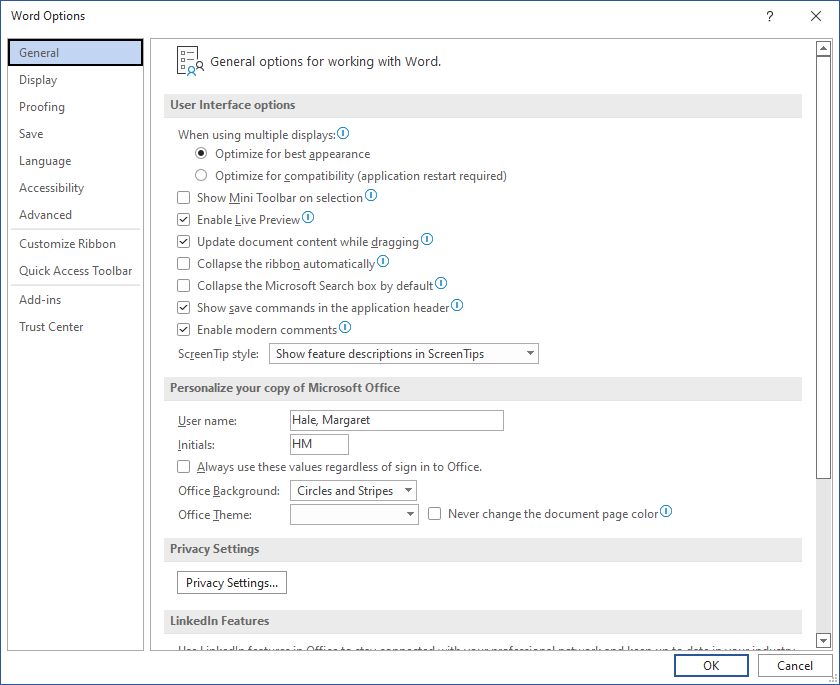
4.In this window's left navigation bar, click Add-ins.
A View and manage Microsoft Office Add-ins pane displays:
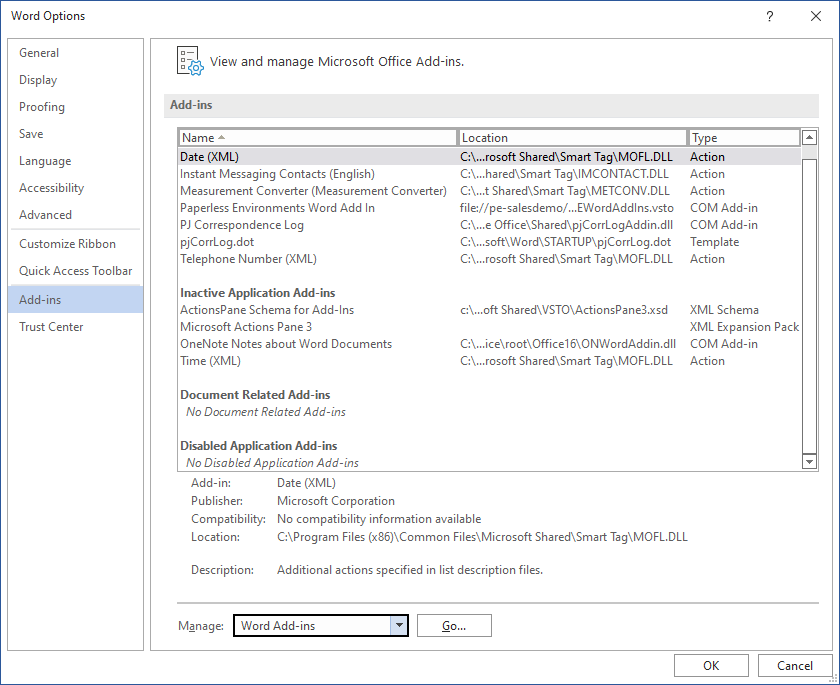
5.Click to highlight Paperless Environments Word Add In.
6.In the Manage field, use the dropdown to select COM Add-ins.
7.Click Go.
The following dialog box displays:
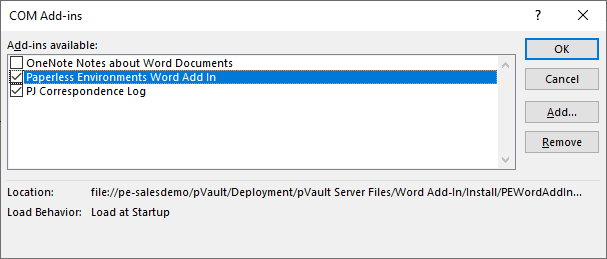
8.Make sure that the Paperless Environments Word Add In entry is highlighted.
9.Click Remove.
The COM Add-ins dialog box should resemble the following:
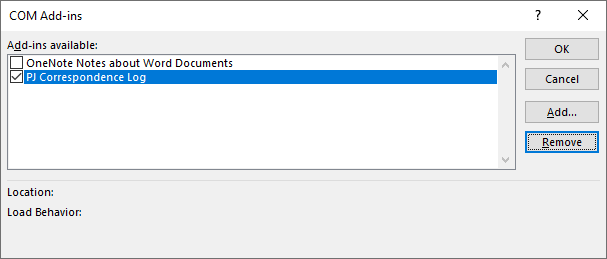
10.Click OK to close the dialog box.
pVault® will no longer display in your Word toolbar.