The vault "bridge" connects the pVault® system to the MatrixCare Accounting SQL database. The bridge provides all of the data look-ups and exporting features needed to run the pVault® system. A vault can only be bridged to one MatrixCare company. To bridge multiple companies to pVault®, additional vault license codes must be purchased.
1.From the ribbon toolbar, click Administration.
2.Click Vaults,  .
.
The Vaults window similar to the following displays:
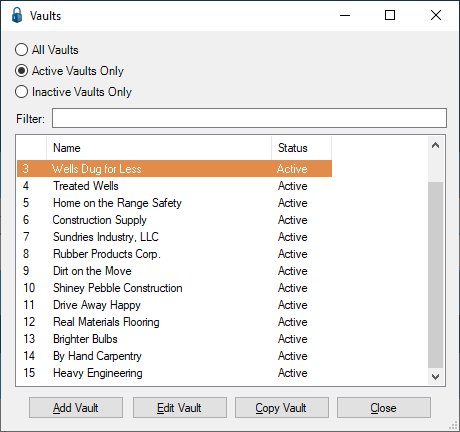
3.Click to highlight the vault associated with MatrixCare API.
4.Click Edit Vault.
The Vault Properties window displays with the General tab active:
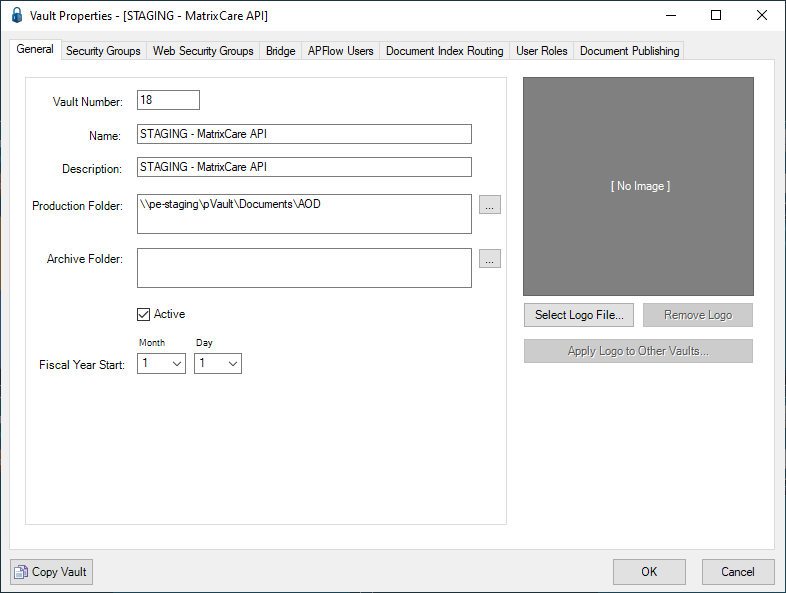
5.Click the Bridge tab.
The window similar to the following displays:
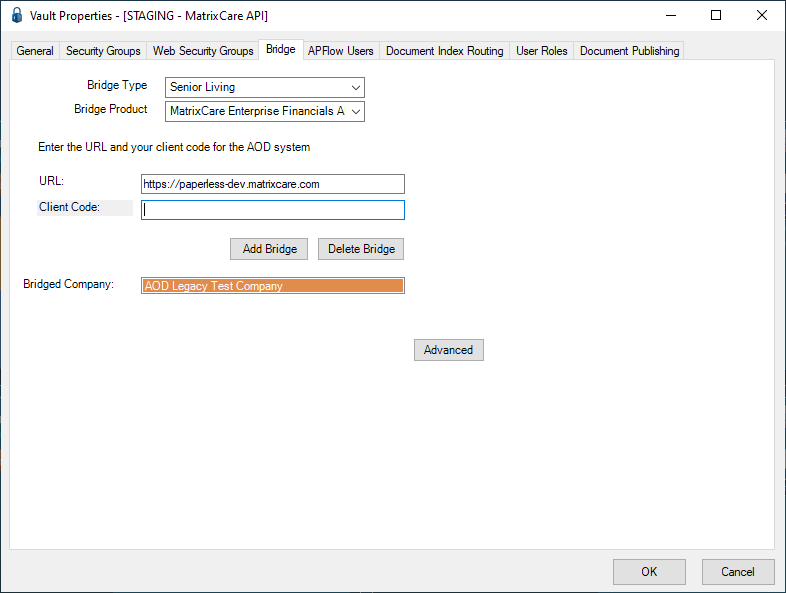
6.In the Bridge Type field, from the dropdown select Senior Living.
Note: None is the Bridge Type field default.
7.In the Bridge Product field, from the dropdown select MatrixCare Enterprise Financials API.
8.In the URL field, type the appropriate URL address.
9.In the Client Code field, type the code to access MatrixCare.
10.Click Add Bridge to add the company name to the Bridged Company field.
11.Click Advanced.
The Advanced Bridge Configuration window displays.
Note: This grid contains settings that impact the vault data behavior.

12. For information on the Bridged Accounting System Cache, click here.
13. In the Employee Lookups - Display SSN Value field, use the dropdown.
This advanced configuration determines whether or not an employee look-up should display the employee's Social Security number.
Company privacy rules determine how this feature should be set up.
True means Social Security numbers will display during an employee look-up.
False means Social Security numbers will not display during an employee look-up. This is the default.
14. Use the dropdown in the Value field to select True, if appropriate.
15. In the Value column for the Enable DAL Logging, select between False and True.
False is the default for performance reasons.
Change the Value to True when troubleshooting data issues onsite and working a support call with a Paperless Environments employee.
16. Click OK.