In Vista
1.Log in to Vista.
The Main Menu for Vista screen similar to the following displays:
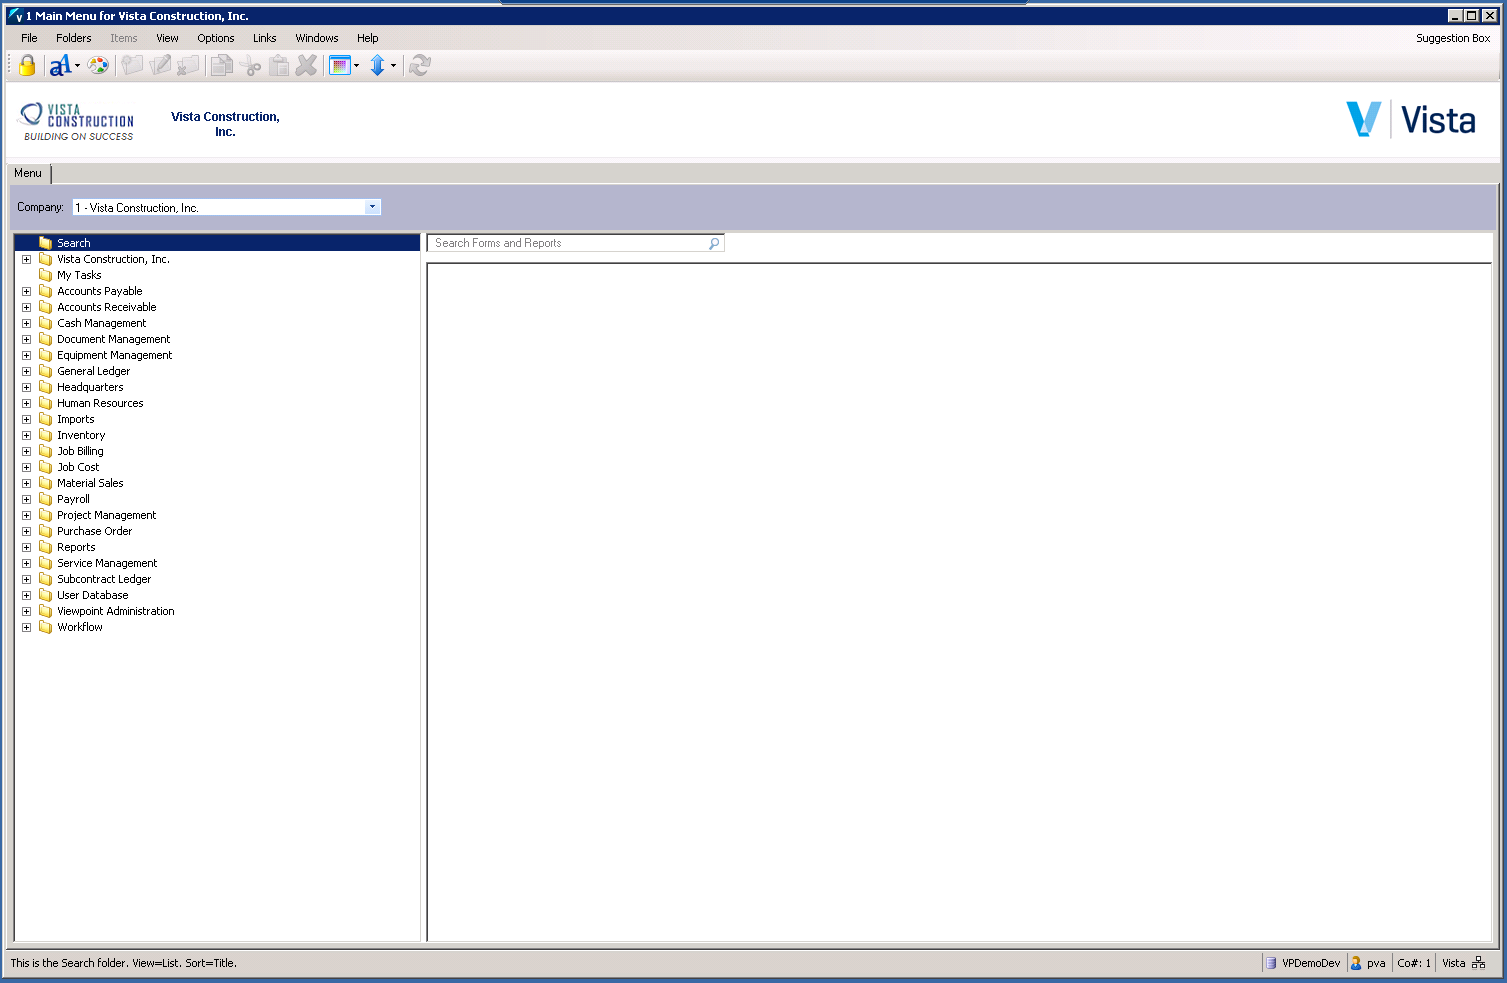
2.Select an appropriate Viewpoint program. For example, click Accounts Payable in the left navigation bar.
3.Click Programs.
A list of Accounts Payable Programs display similar to the following:

4.Click on of the program files. In this example, click AP Vendor Master.
The AP Vendor Master screen similar to the following displays:
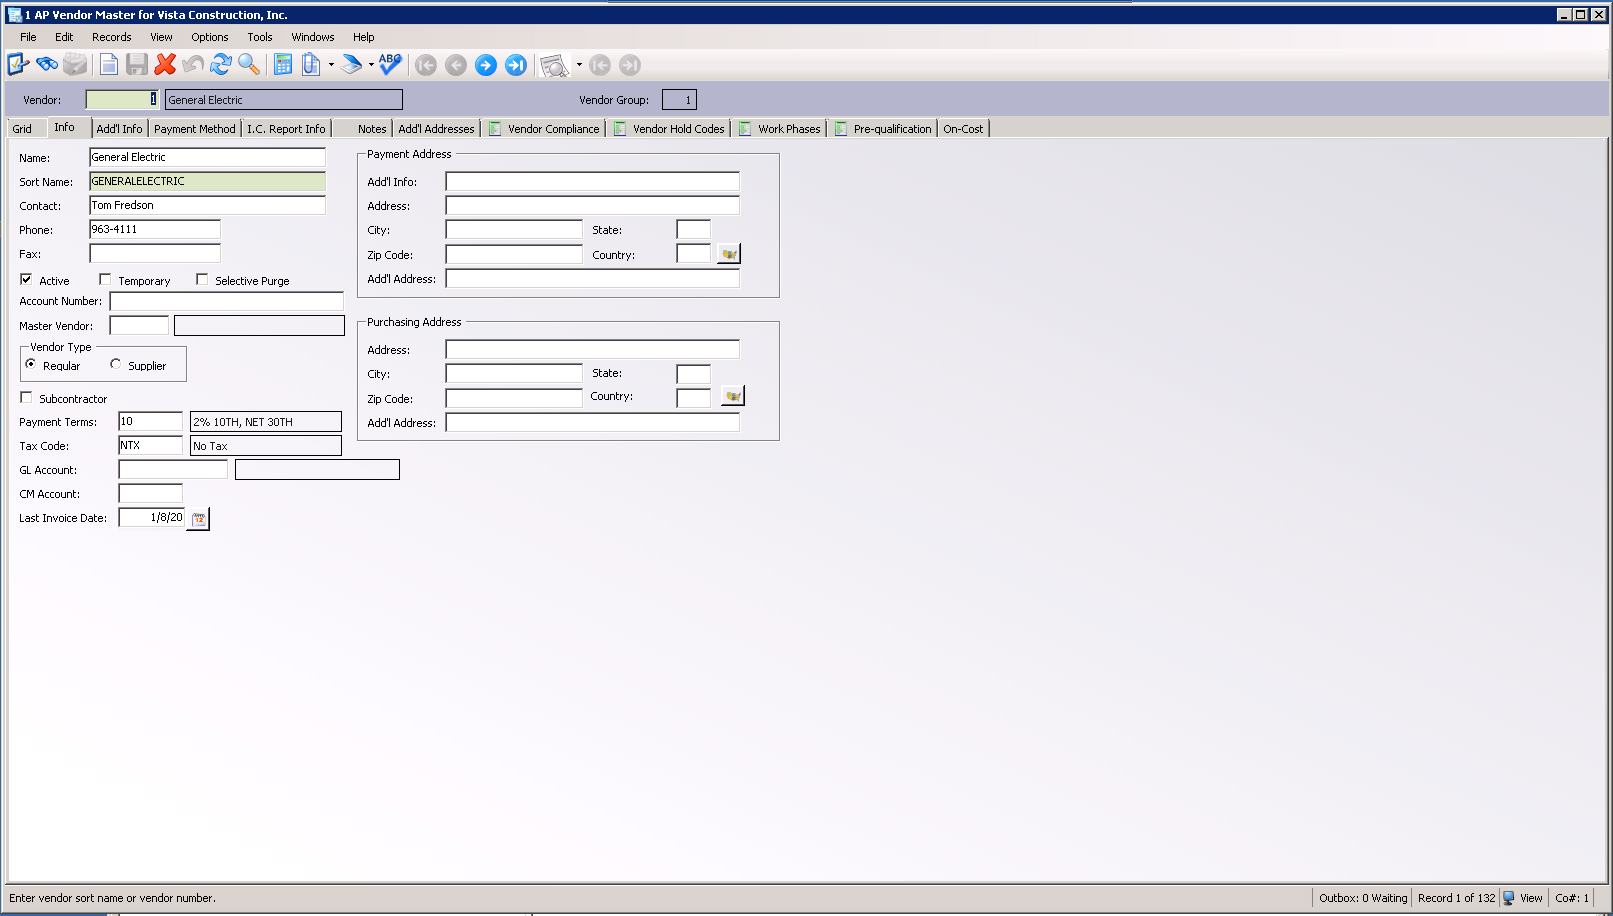
5.In the toolbar, click the paperclip icon,  .
.
In pVault®
1.Log into the integrated pVault®, if prompted.
Based on the example, a window similar to the following may display:
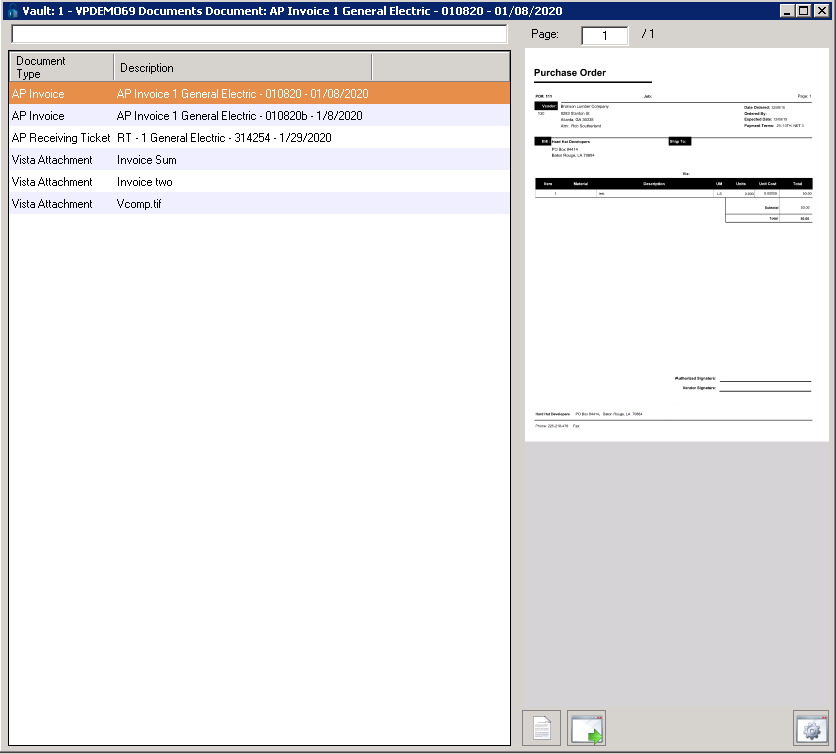
Note: Depending on the client, this window may be blank.
2.Click the gear icon,  , located in the lower right corner of the screen.
The Configure Table window displays with the Document Categories tab active:
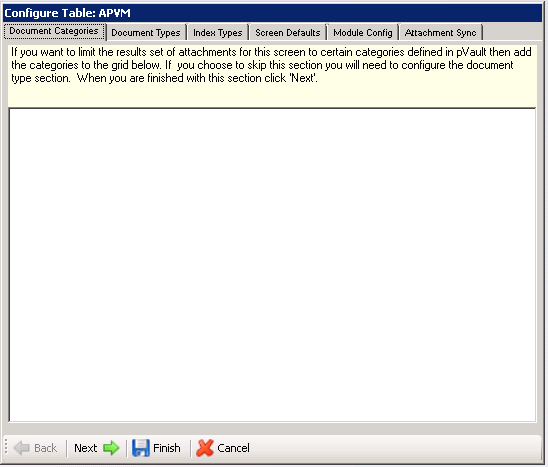
Note: The table currently being configured in this example is APVM (AP Vendor Master). All table references throughout the Configure Table tabs are specific to APVM.
3.In this grid, add categories to limit the results to certain categories defined in pVault®.
Note: If no categories are added in this grid, document types must be selected in the Document Types tab.
4.Click Next.
The Document Types tab grid similar to the following is now visible:
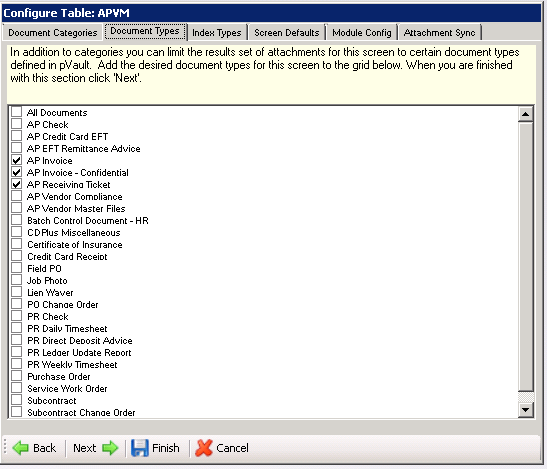
5.Click to select the document types.
Important: At least one document type must be selected.
6.Click Next.
The Index Types tab grid similar to the following is now visible:
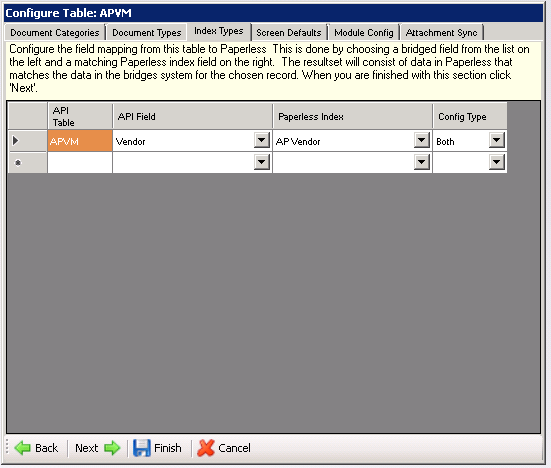
Existing entries are based on selections made on the Document Types tab grid.
7.Configure how the module will search and/or index the requested document types by mapping the data values entered on the Vista form with index values configured in pVault®. Use the field dropdowns to make the appropriate selections.
The left two columns display the table and column name of all Vista data fields on the current form. The right two columns are used to map these data fields to index values set up in pVault®. The Config Type column is a key factor in determining if pVault® should be searched based on the submitted value, if the document should be indexed with the submitted value, or both.
When pVault® receives a search request from Vista, such as when the paperclip is clicked on a form, it looks at the configuration values for that form and performs a search for all index fields set to Search or Both. If a document is sent to pVault® for indexing, the index values are filled in with data from the Vista form for every index field set to Index or Both.
8.Click Next.
The Screen Defaults tab grid similar to the following is now visible:
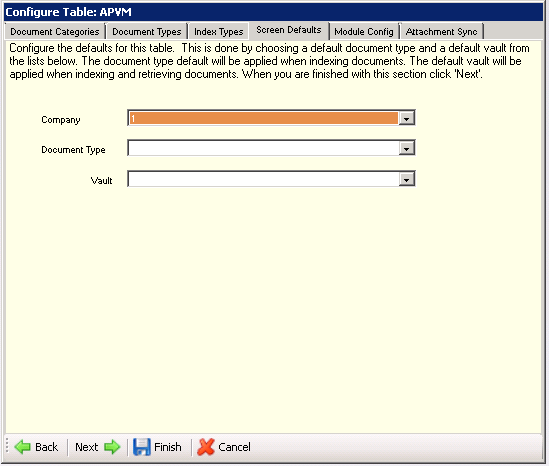
Important: Go here if setting a default document type for a specific form. Completing this grid is optional.
9.If fields on the Screen Defaults tab are left blank, use the dropdown in the Company field if more than one company can be selected. Otherwise, keep the default.
10.In the Document Type field, use the dropdown to choose a default document type that will display on the pVault® indexing screen when sending a document to pVault® for indexing.
11.In the Vault field, use the default if more than one can be selected. Otherwise, keep the default.
This field is used to set a vault id where documents will be indexed, especially when more than one vault is attached to a single Vista company and documents will be sent from this particular screen in Vista to be indexed in a particular vault.
For example, if there is a separate vault for all human resources documents, all HR forms would be set to the HR vault default.
12.Click Next.
The Module Config tab grid similar to the following is now visible:
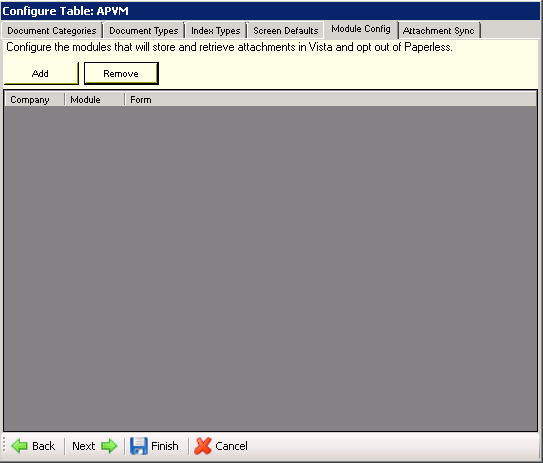
This is the "opt-out" tab.
Vista companies, modules and forms can be opted out from being stored and retrieved in pVault®. This means that those identified modules and forms for a specific company can be stored and retrieved in Vista.
Note: If this grid is blank, all companies, associated modules, forms and their attachments are being stored and retrieved in pVault®.
Adding or Opting Out
1.To add a Company, Module(s) and Form(s) from storing attachments in pVault® and instead storing them in Vista, click Add.
An Add Module dialog box similar to the following displays:
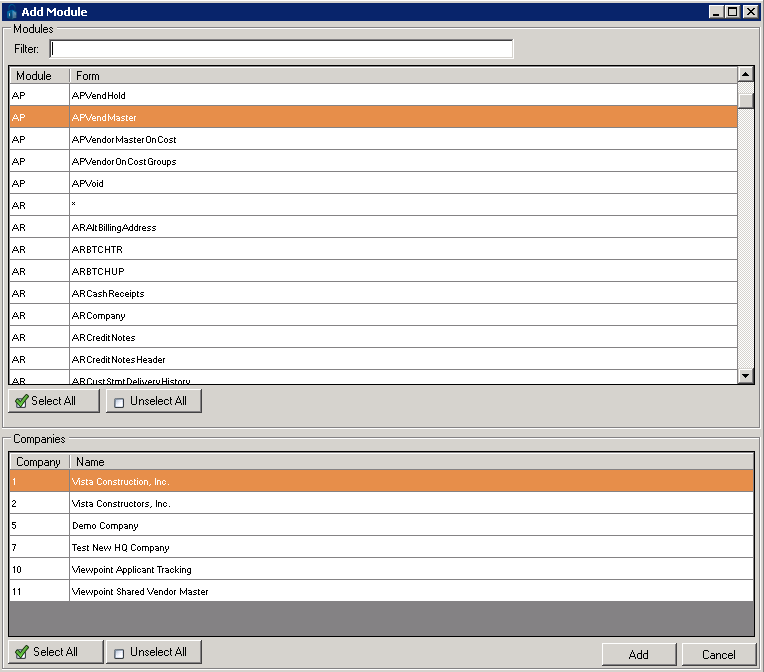
2.Complete this dialog by selecting modules, forms and companies that will be opted out.
This means attachments for the associated modules and forms will be stored and retrieved in Vista Viewpoint--not pVault®.
Note: Hold down the Shift key to select multiple entries or click Select All to select all listed entries.
3.Click Add to close the Add Module dialog box.
The Module Config tab window redisplays:
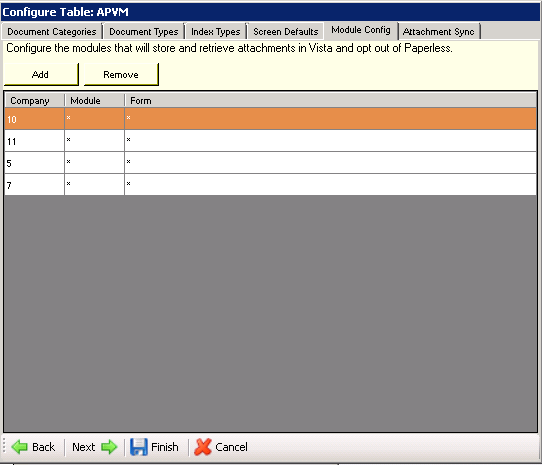
What is listed here are those companies, modules and forms selected in the Add Module dialog box, to be opted out from being stored and retrieved in pVault®.
In this example, attachments for all modules and all forms associated with Companies 10, 11, 5 and 7 will be stored and retrieved in Vista Viewpoint. (* denotes all).
4.Click Finish to update the grid on the Module Config tab.
Removing or Opting In
1.To remove an entry listed on the Module Config tab, which will remove the Company, Module(s) and Form(s) from storing attachments in Vista and store them in pVault®, highlight the row.
2.Click Remove.
3.Click Finish to close the Configure Table.
Accessing the Attachment Sync tab
For the synchronization of pVault® documents with Viewpoint reports functionality to work, pVault® must fill in Viewpoint's attachment table with information about the document type and document path. This allows the pVault® system to "backfill" the Viewpoint attachments table with the indexed documents. They can be accessed from the various Viewpoint drilldown reports that support attachments.
1.If moving through the Configure Table tabs, access the Attachment Sync tab by clicking Next in the Module Config tab.
Otherwise, click the Attachment Sync tab.
The Attachment Sync tab similar to the following displays:
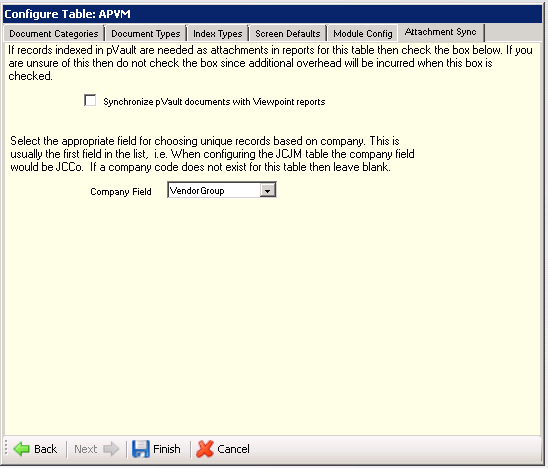
2.Click Synchronize pVault® documents with Viewpoint reports if there are files indexed in pVault® that should be attached (or linked) within Viewpoint reports. In other words, click this check box if images from pVault® should be synced with the drilldown reports in Viewpoint associated with the selected table.
Important: If unsure about this connection, do not click this check box.
If the Synchronize pVault® documents with Viewpoint reports is selected, the Company Field field dropdown to identify the appropriate company field, which ensures that the correct attachments display.
For example, with the AP Vendor Master table (APVM), Vendor is already selected.
If there is no appropriate company code (for the Company Field), leave it blank. Not all tables will have company codes.
3.Click Finish to close this tab.