In pVault®
1.From the ribbon toolbar, click APFlow™.
2.Click Invoice Entry,  .
.
3.From the APFlow™ sidebar, click New Invoice or Edit Invoice.
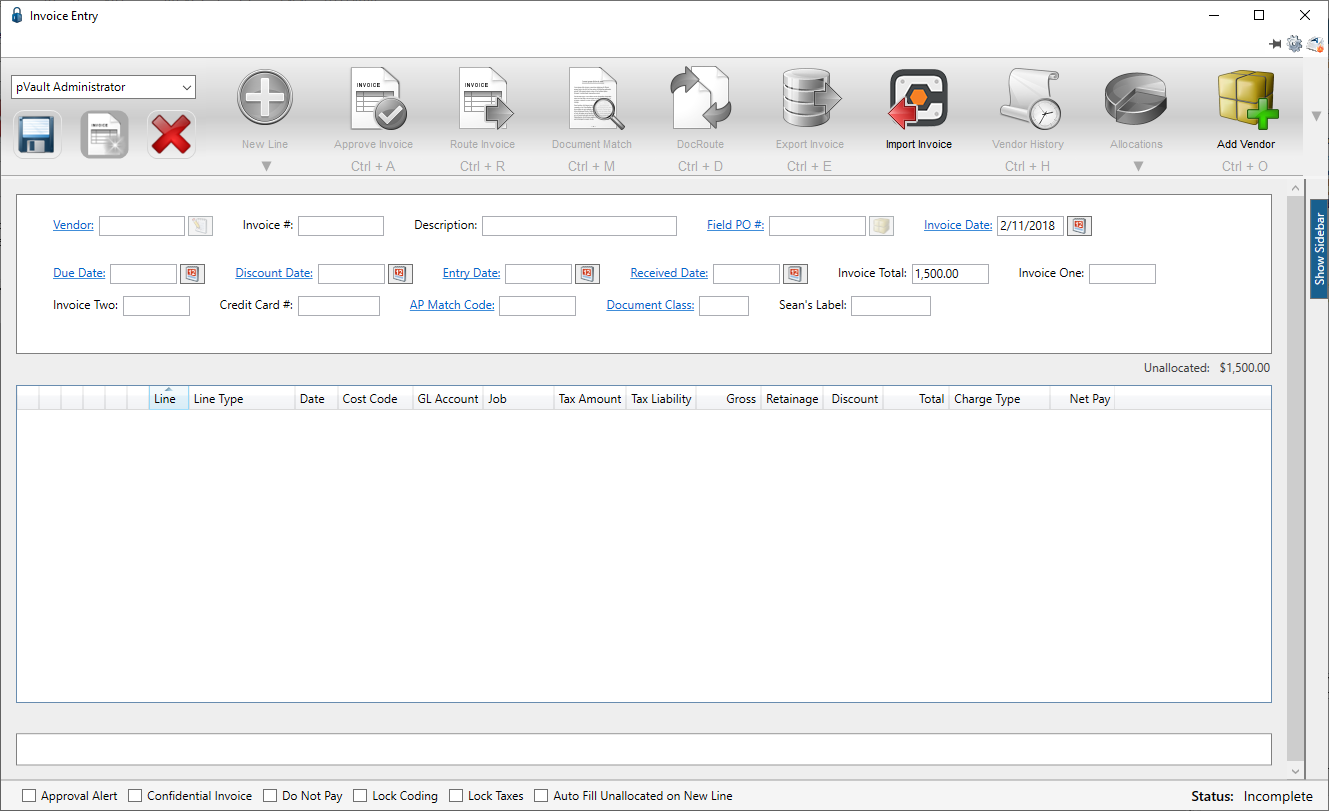
The Invoice Entry screen similar to the following displays:
The Vendor field displays in the header pane similar to the following:

The vendor number displays in the Vendor field. The vendor name displays below the Vendor field unless the company Administrator has set the field descriptions to not display.
Note: Click here to read more about configuring Invoice Entry fields.
In Sage 300
Vendor information is loaded in the Sage accounting software.
1.In the Accounts Payable module, from the ribbon toolbar, click Setup.
2.From the Setup dropdown menu, click Vendors.
The Vendor Setup window similar to the following displays with the General tab active:

3.In the Vendor field, enter a number to associate with a vendor.
4.In the Name field, enter the name of the vendor.