The following is an example of how to navigate through creating a new form based on an available template. Your Web Admin will determine what forms are appropriate based on your company's needs.
1.Click to highlight the form template.
Note: Those form templates created by your Web Admin, to which you have access will be listed here.
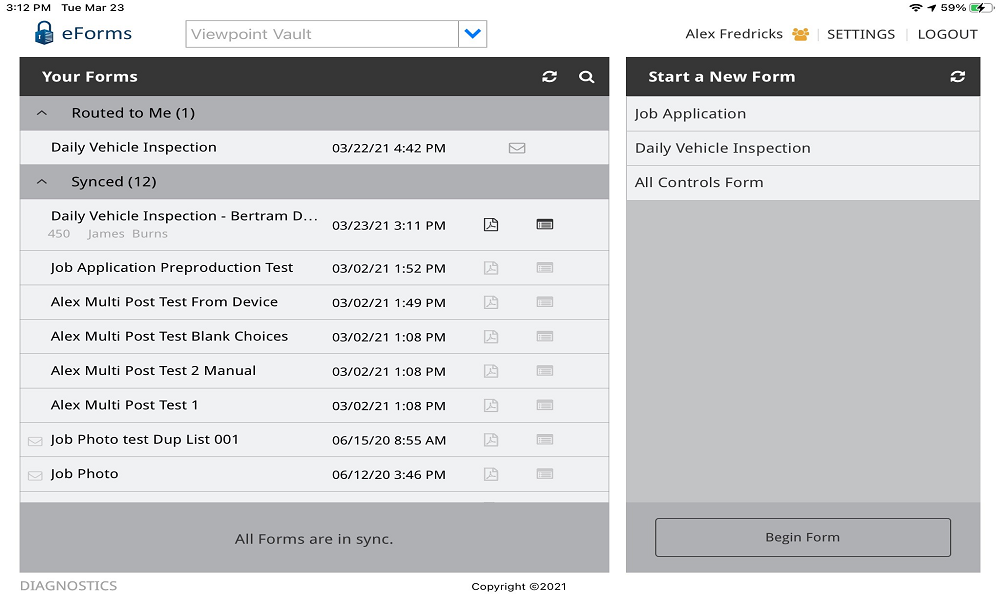
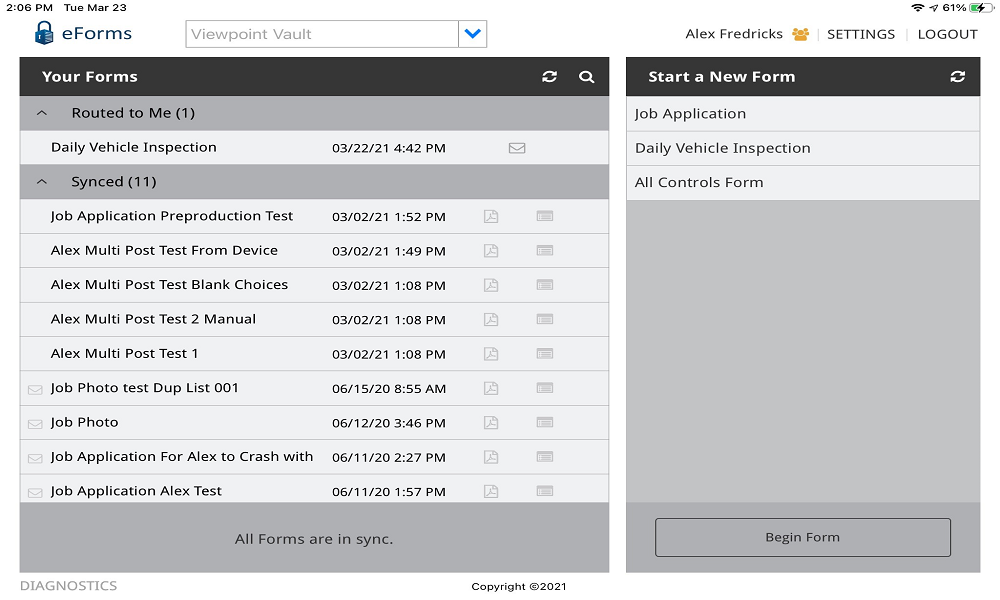
The Dashboard will resemble the following:
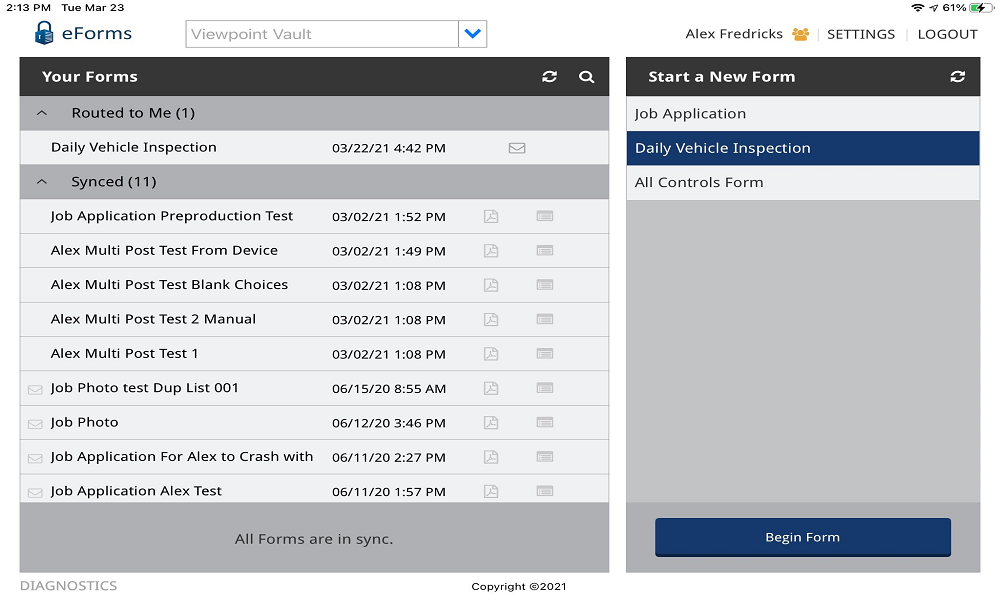
2.Click Begin Form.
The Dashboard remains visible for the name of the highlighted form displays so that you may make changes to the form title.
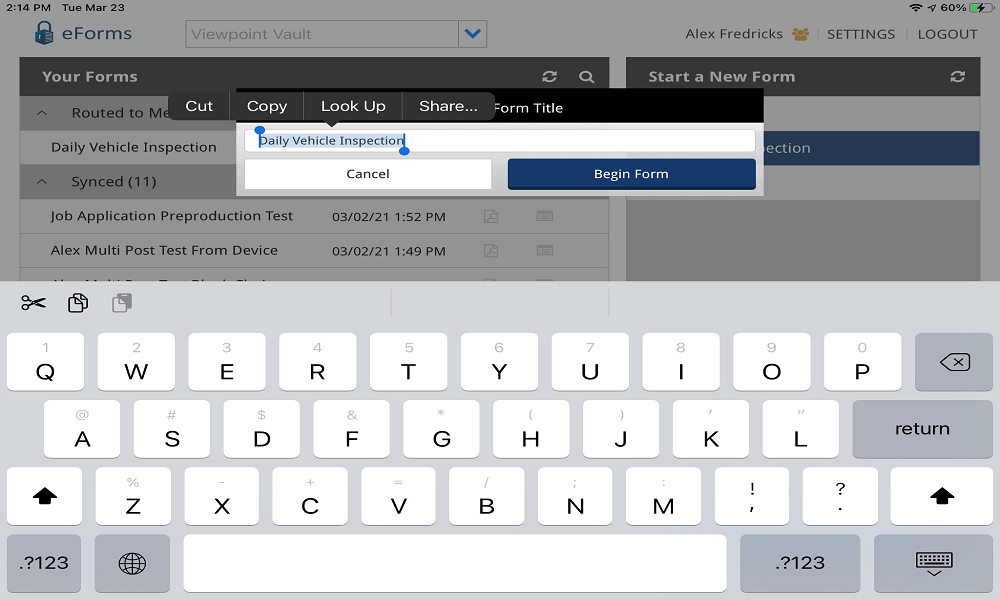
3.Make changes to the form title as appropriate. In this example, the form name was changed to include a project name.

4.Click Begin Form.
The new form, in this case Daily Vehicle Inspection - Bertram Dam Phase II, displays:
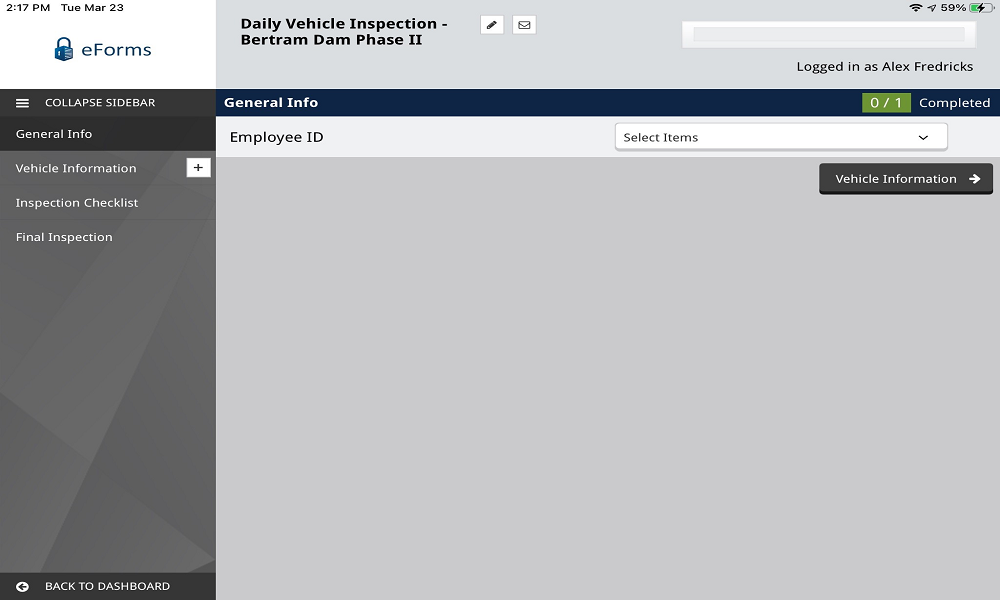
5.Click the Select Items field dropdown.
A list of available options for the field displays in a lookup similar to the following:
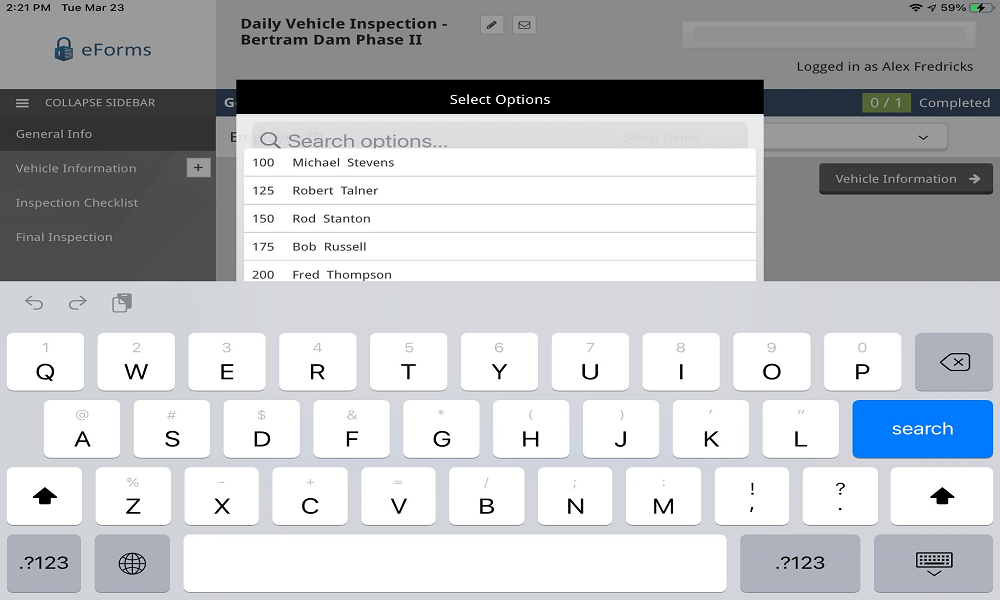
6.In the Search options field, start typing the name of the individual for whom you are searching.
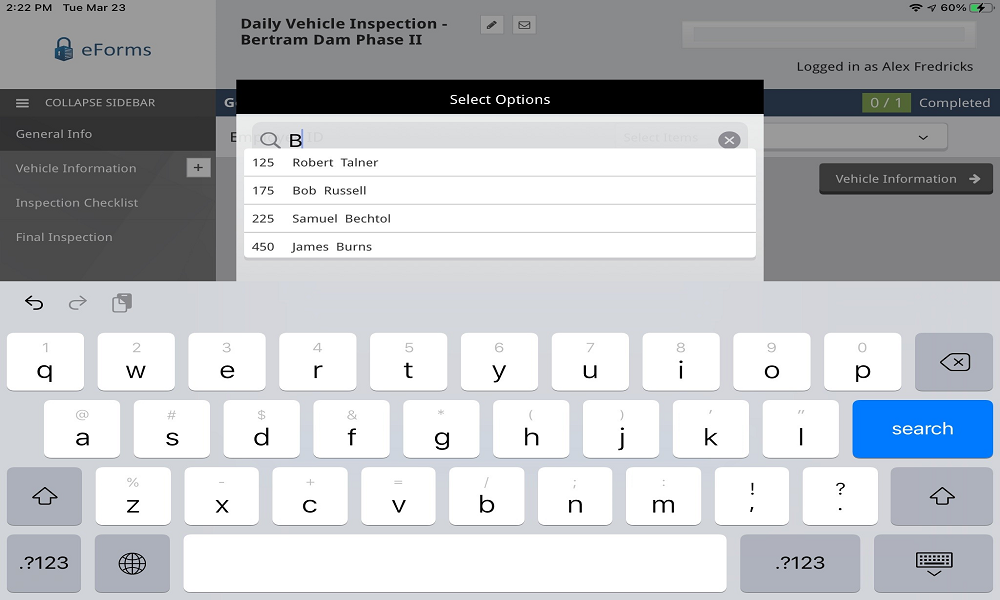
This search lookup narrows down the list so that you do not have to scroll through a long list of individuals.
7.Double click to highlight the name and populate the Employee ID field similar to the following:

8.To move to the next section, click either the next topic (in this case Vehicle Information) in the left navigation bar or click the labeled forward navigational button, 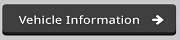 .
.
The Vehicle Information window similar to the following displays:
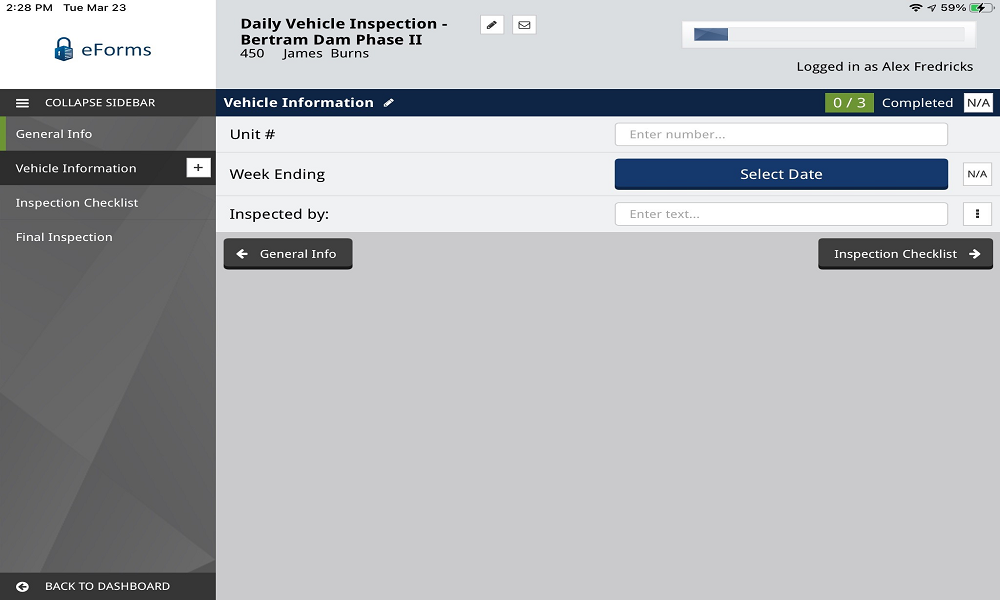
9.In the Unit # field, enter an identifying number for the vehicle in question.
Note: This is numeric only field.

10.For Week Ending, if a Week Ending date is not required, click the N/A,  , icon. The field will be grayed out.
Skip to Step 15.
If a Week Ending date is required, continue with Step 11.
11.Click Select Date.
A Select Date dialog box displays with the current date.
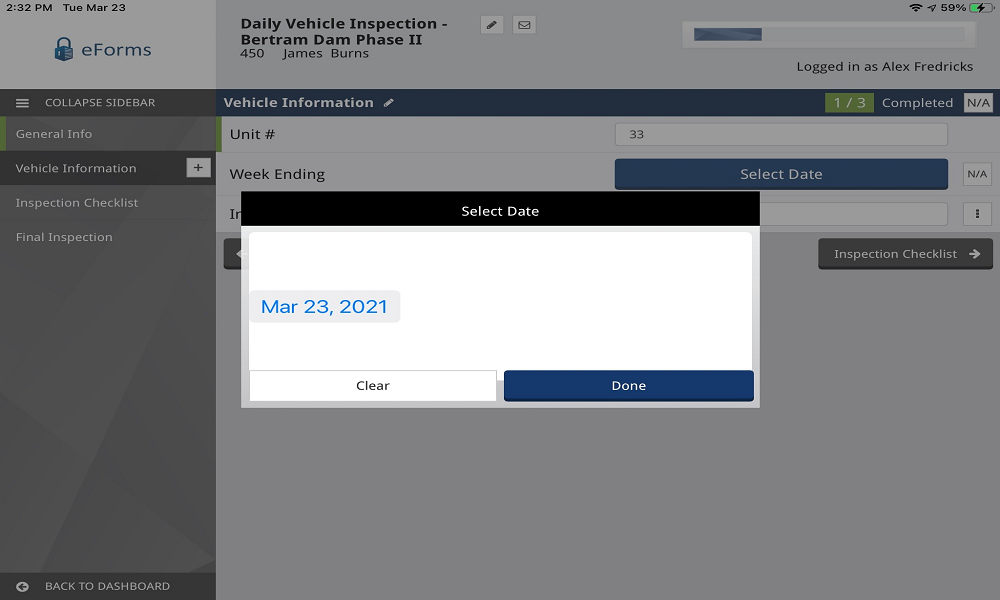
12.If the current date is the correct date, click Done.
If a different date is the correct date, click the date that displays to generate a calendar:
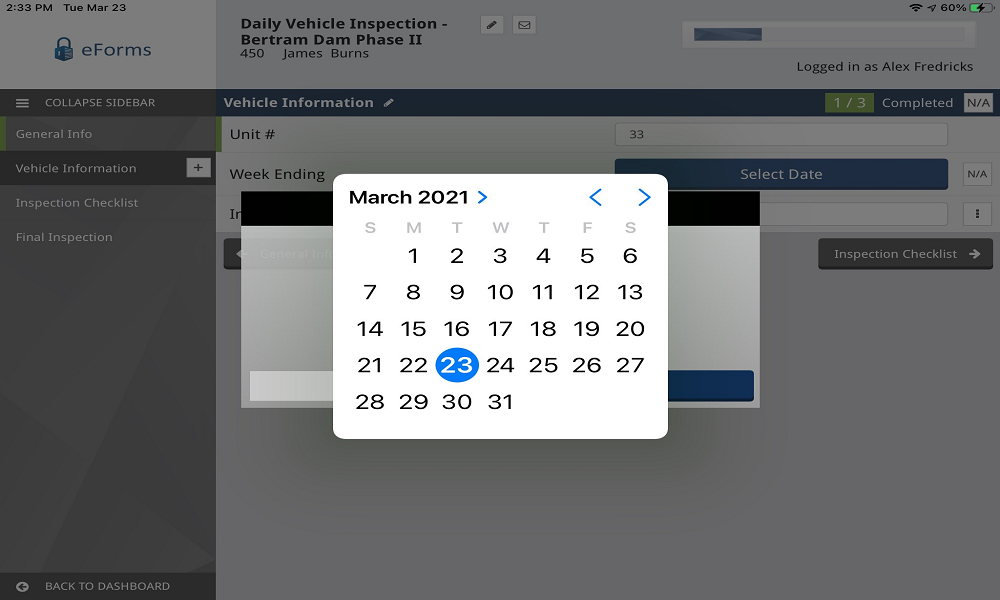
13.Use the calendar to select a different date.
A Select Date dialog box redisplays with the newly selected date:
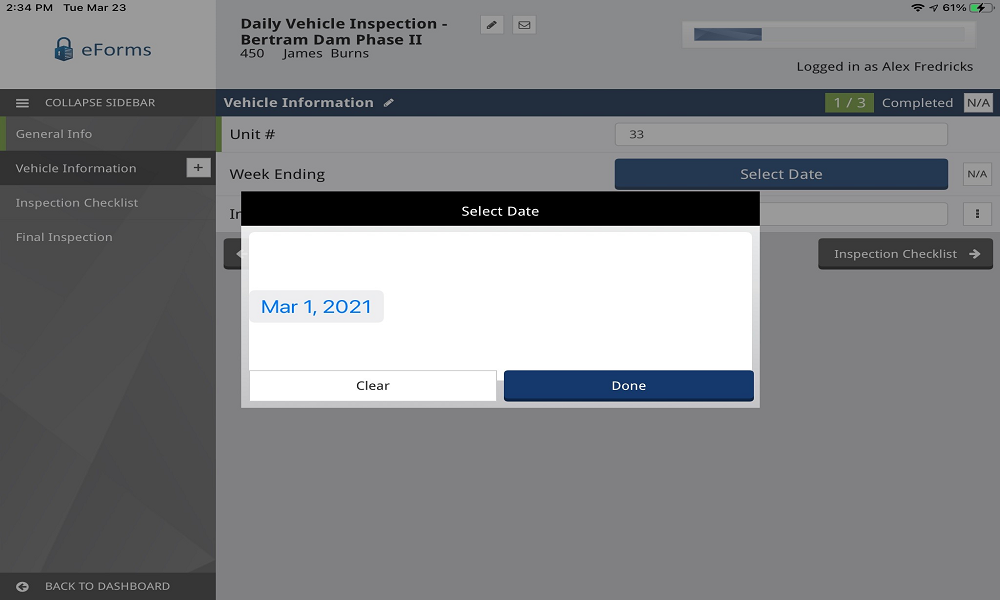
14.Click Done.
The Week Ending date will display in the Select Date field.

15.Click the Inspected by field.
16.Enter the name of the individual who performed the inspection. In this instance, Morgan Carlisle performed the inspection so his name displays in the field.
17.Click the Additional Information icon,  , if the Inspector's signature is required.
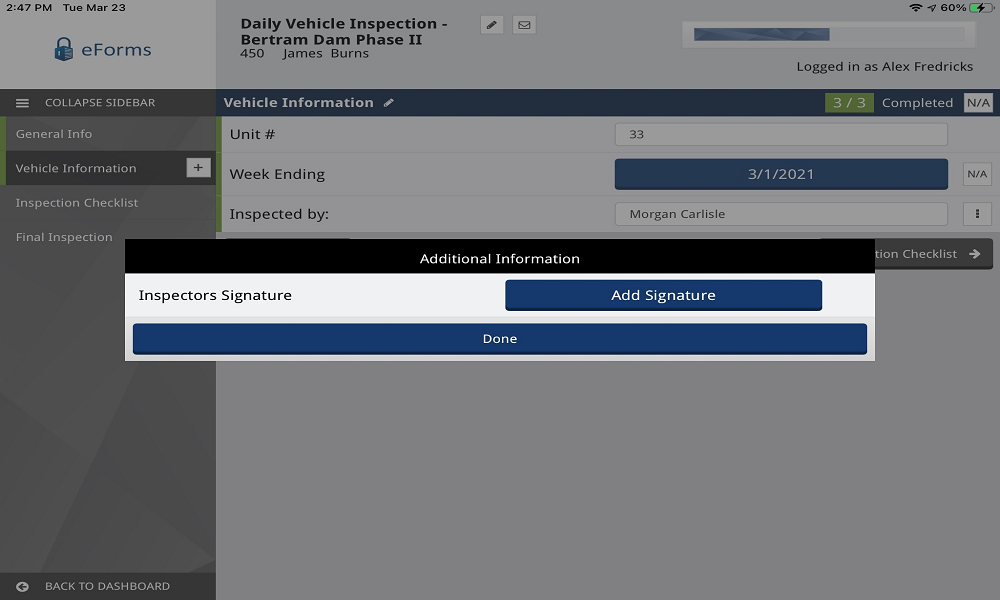
18.If the Inspector's signature is required, click Add Signature.
An Add Signature dialog box displays:
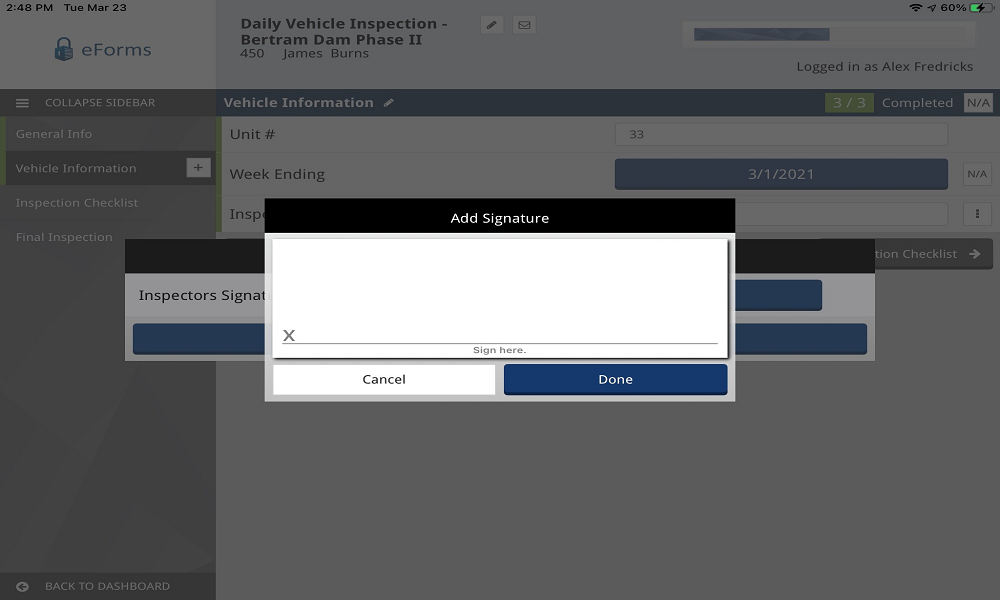
19.Manually sign within the signature box.
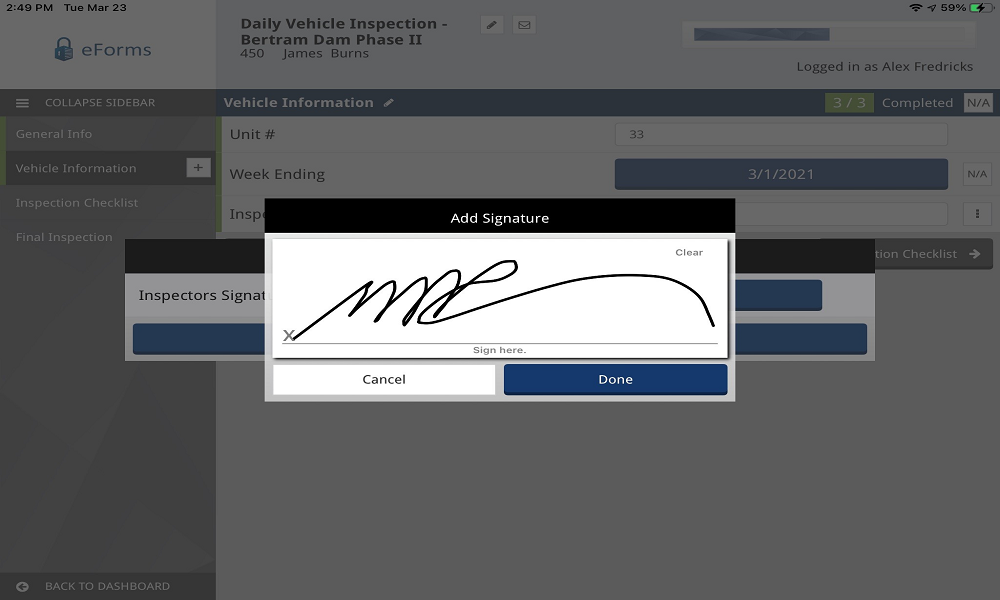
20.Click Done.
The Additional Information dialog similar to the following displays:
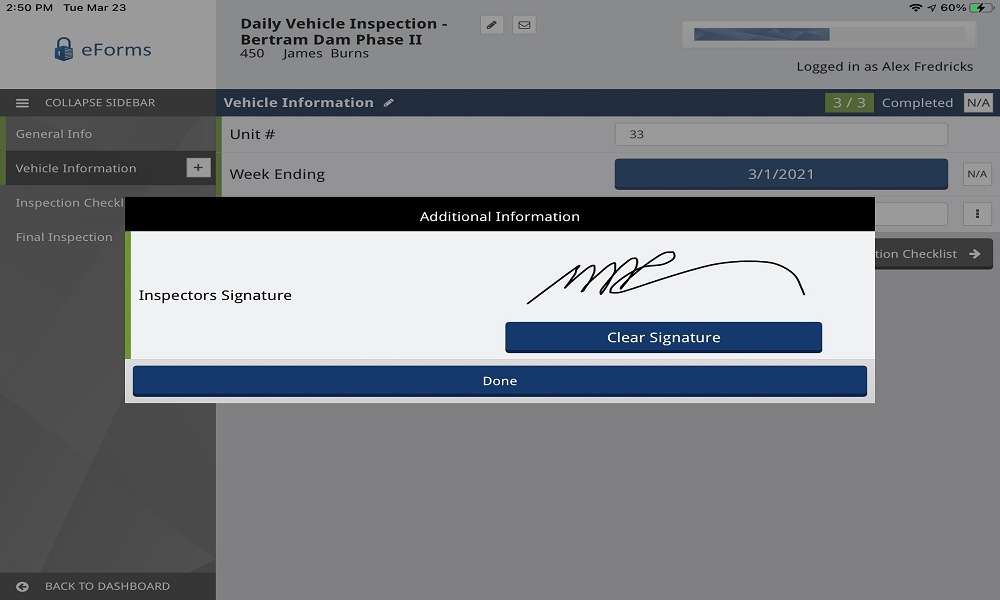
21.This is where, should you need to re-sign, click Clear Signature to remove the signature and then sign again where appropriate.
Otherwise, click Done.
The complete Vehicle Information fields should resemble the following:

22.Click Inspection Checklist.
The following screen similar to the following displays:
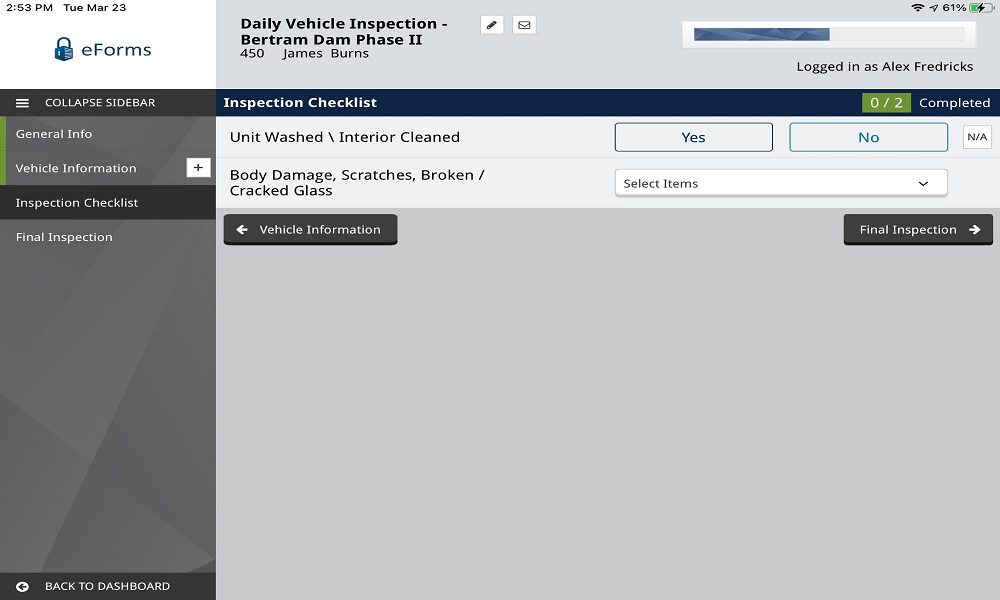
23.For Unit Washed /Interior Cleaned, click Yes or No as applicable.
If the question is not applicable, click the . The choices will be grayed out similar to the following:

24.For Body Damage, Scratches, Broken / Cracked Glass, click the Select Items dropdown.
The dropdown list will resemble the following:
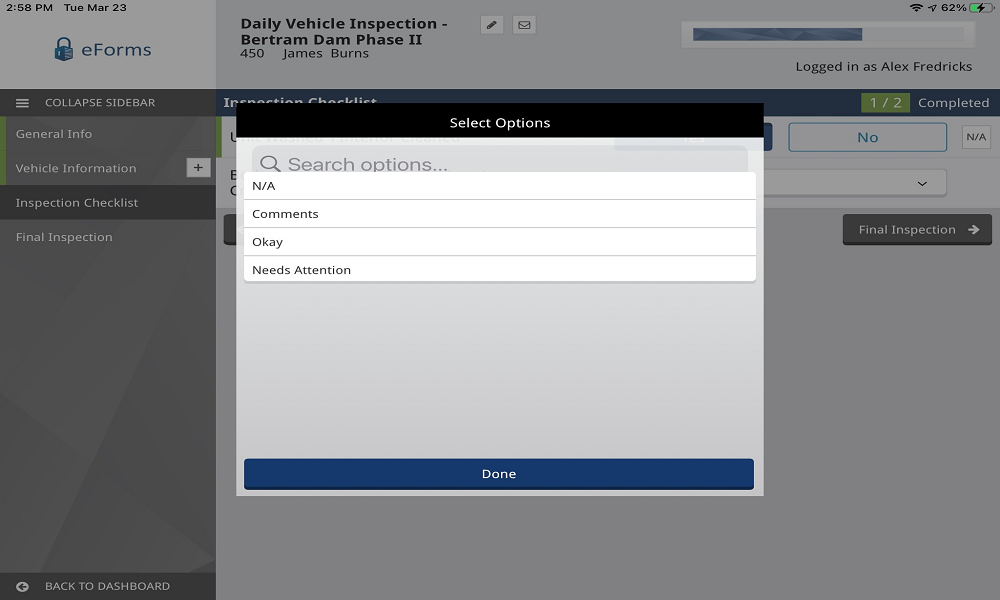
25.Click to highlight one or more options from the dropdown list.
Note: You may pick from more than one items in this list.
26.Click Done.
The completed Inspection Checklist will resemble the following:
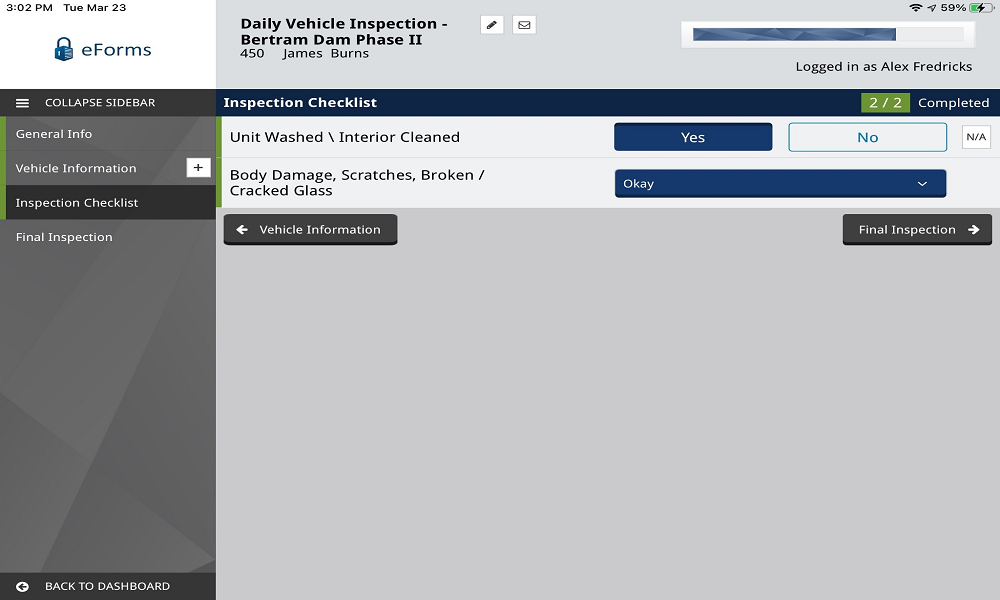
27.Click Final Inspection.
The Final Inspection screen similar to the following displays:
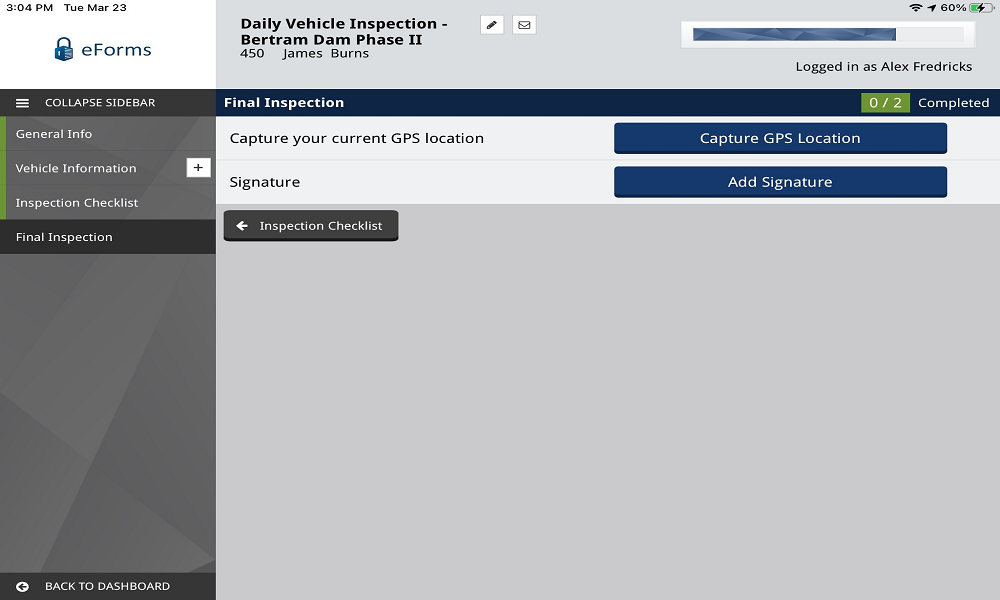
28.Click Capture GPS Location.
The following GPS dialog box displays:
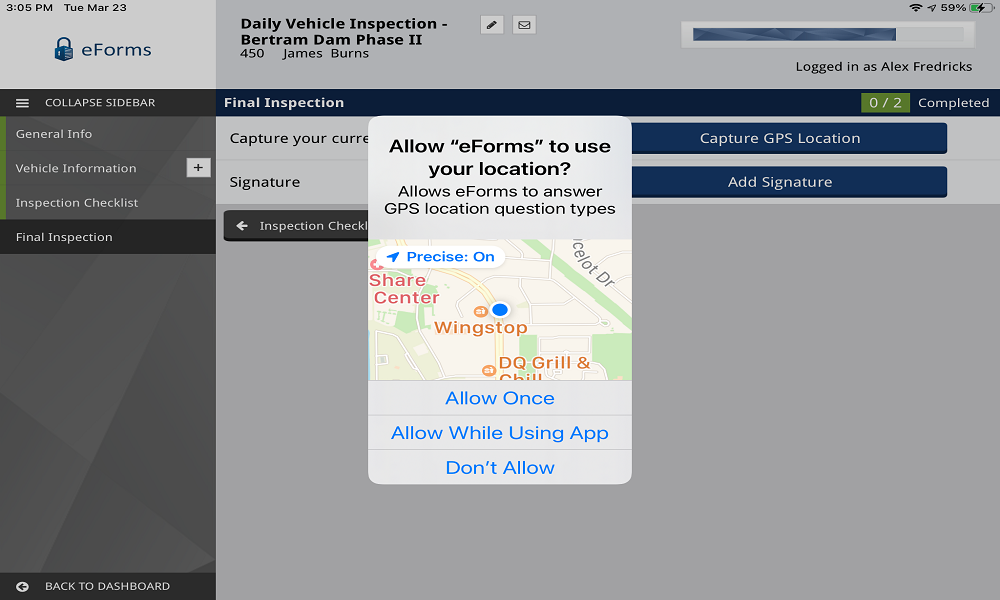
29.Click Allow While Using App.
The Final Inspection screen updates to include current GPS location similar to the following:

30.Click Add Signature.
The following Add Signature dialog box displays:
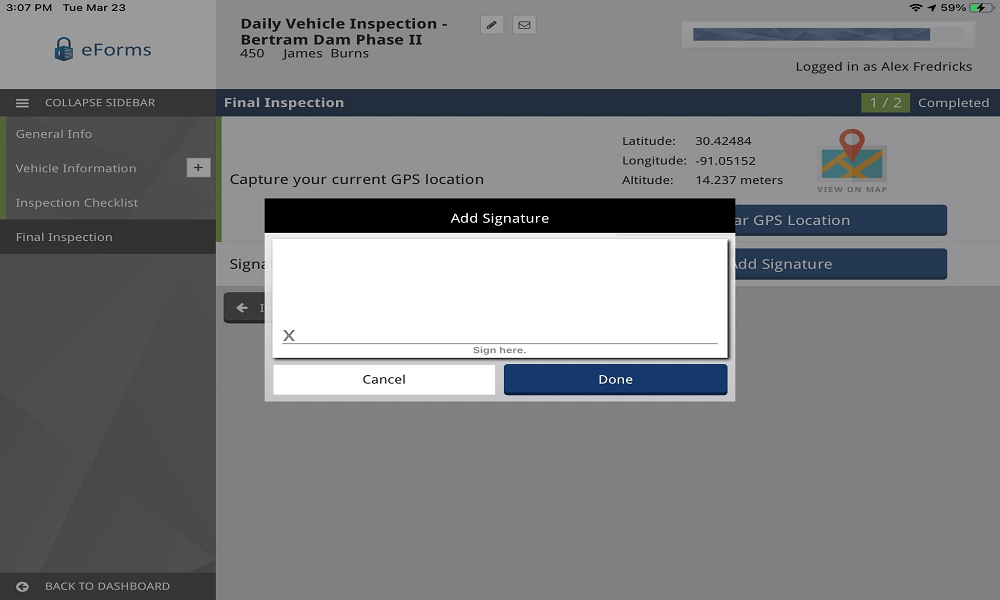
31.Manually sign your signature.
32.Click Done.
The completed Final Inspection screen will resemble the following:
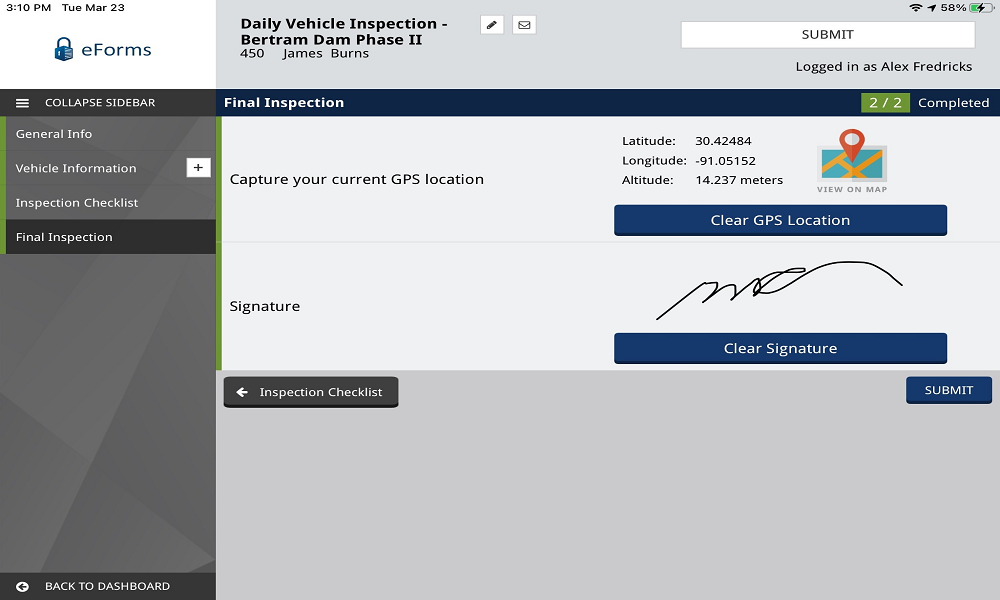
33.Click SUBMIT.
The Dashboard displays with the newly created form listed in the Submitted grid.
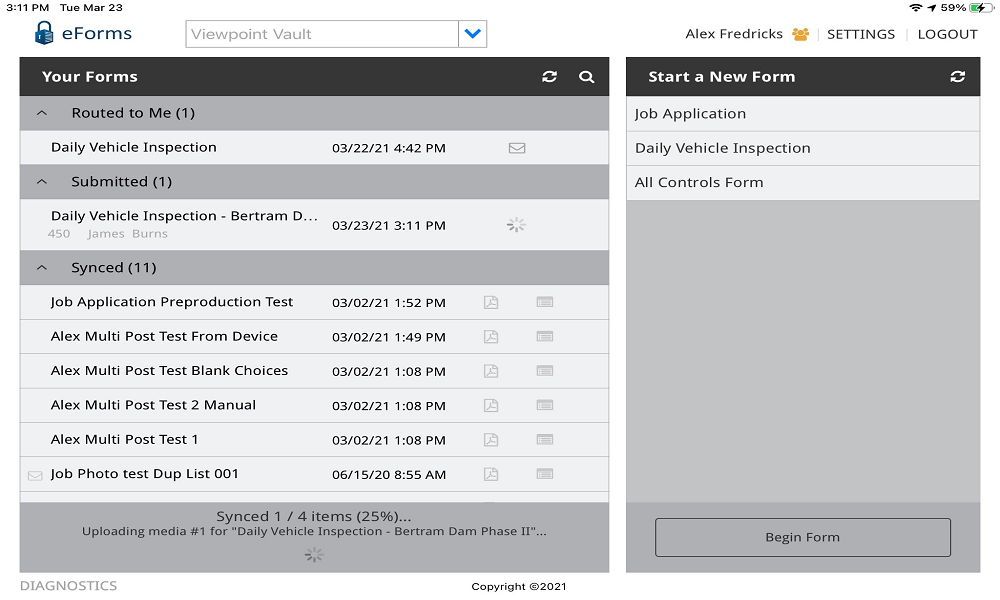
Note at the bottom of the screen that the automatic sync process is underway.
The newly created form displays in the Synced grid. You can now create a PDF of this form, by clicking the form pdf icon,  . You can also review the form in a read-only format by clicking the
  icon.
icon.