License tracking must be configured at the Company record level and at the Vendor record level before Greenlight CM™ will begin tracking and notifying users of expired or non-valid contractor licenses.
1.From the ribbon toolbar, click Greenlight.
2.Click Greenlight,  .
.
The main screen displays with the Dashboard tab active:

3.Click the Configuration tab.
The following screen displays:
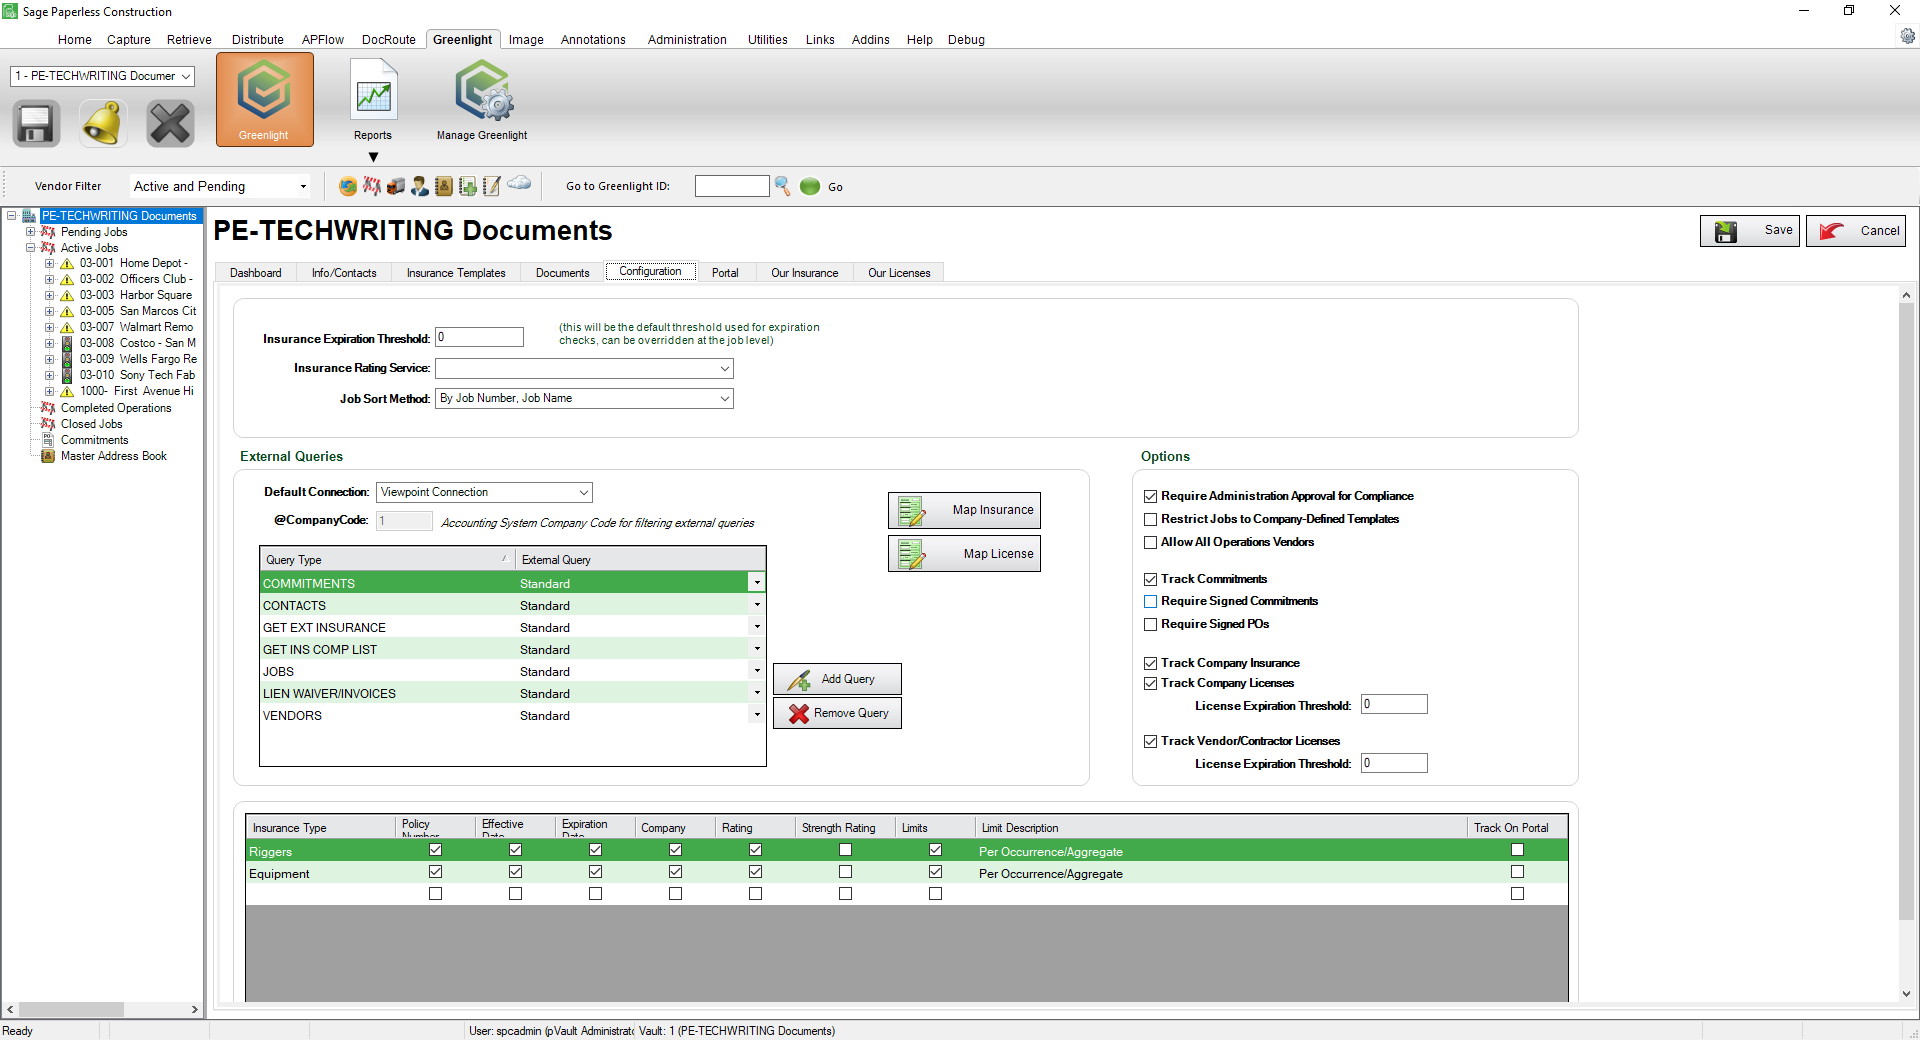
Important: You can re-size your grid row height to display all the text in the row. Click in any row and use your mouse to drag the grid line up or down. This includes the header row.
4.In the Options pane, locate the Track Vendor/Contractor Licenses checkbox.
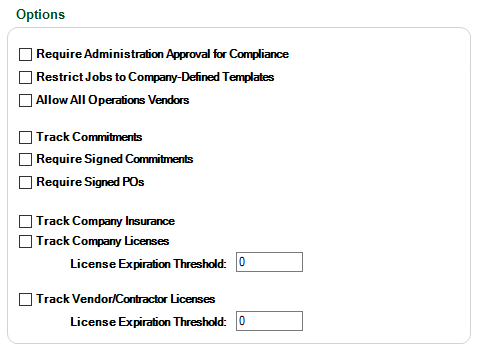
5.Click the Track Vendor/Contractor Licenses checkbox.
Important: Once the Track Vendor/Contractor Licenses checkbox is checked, any new vendors added to a job will be eligible for license tracking. However, if there are vendors that were added before Vendor License Tracking is configured, you will need to configure license tracking on those Vendors at the Vendor record level.
6.In the left navigation bar, click on a vendor.
The following screen displays with the Vendor Info tab active:
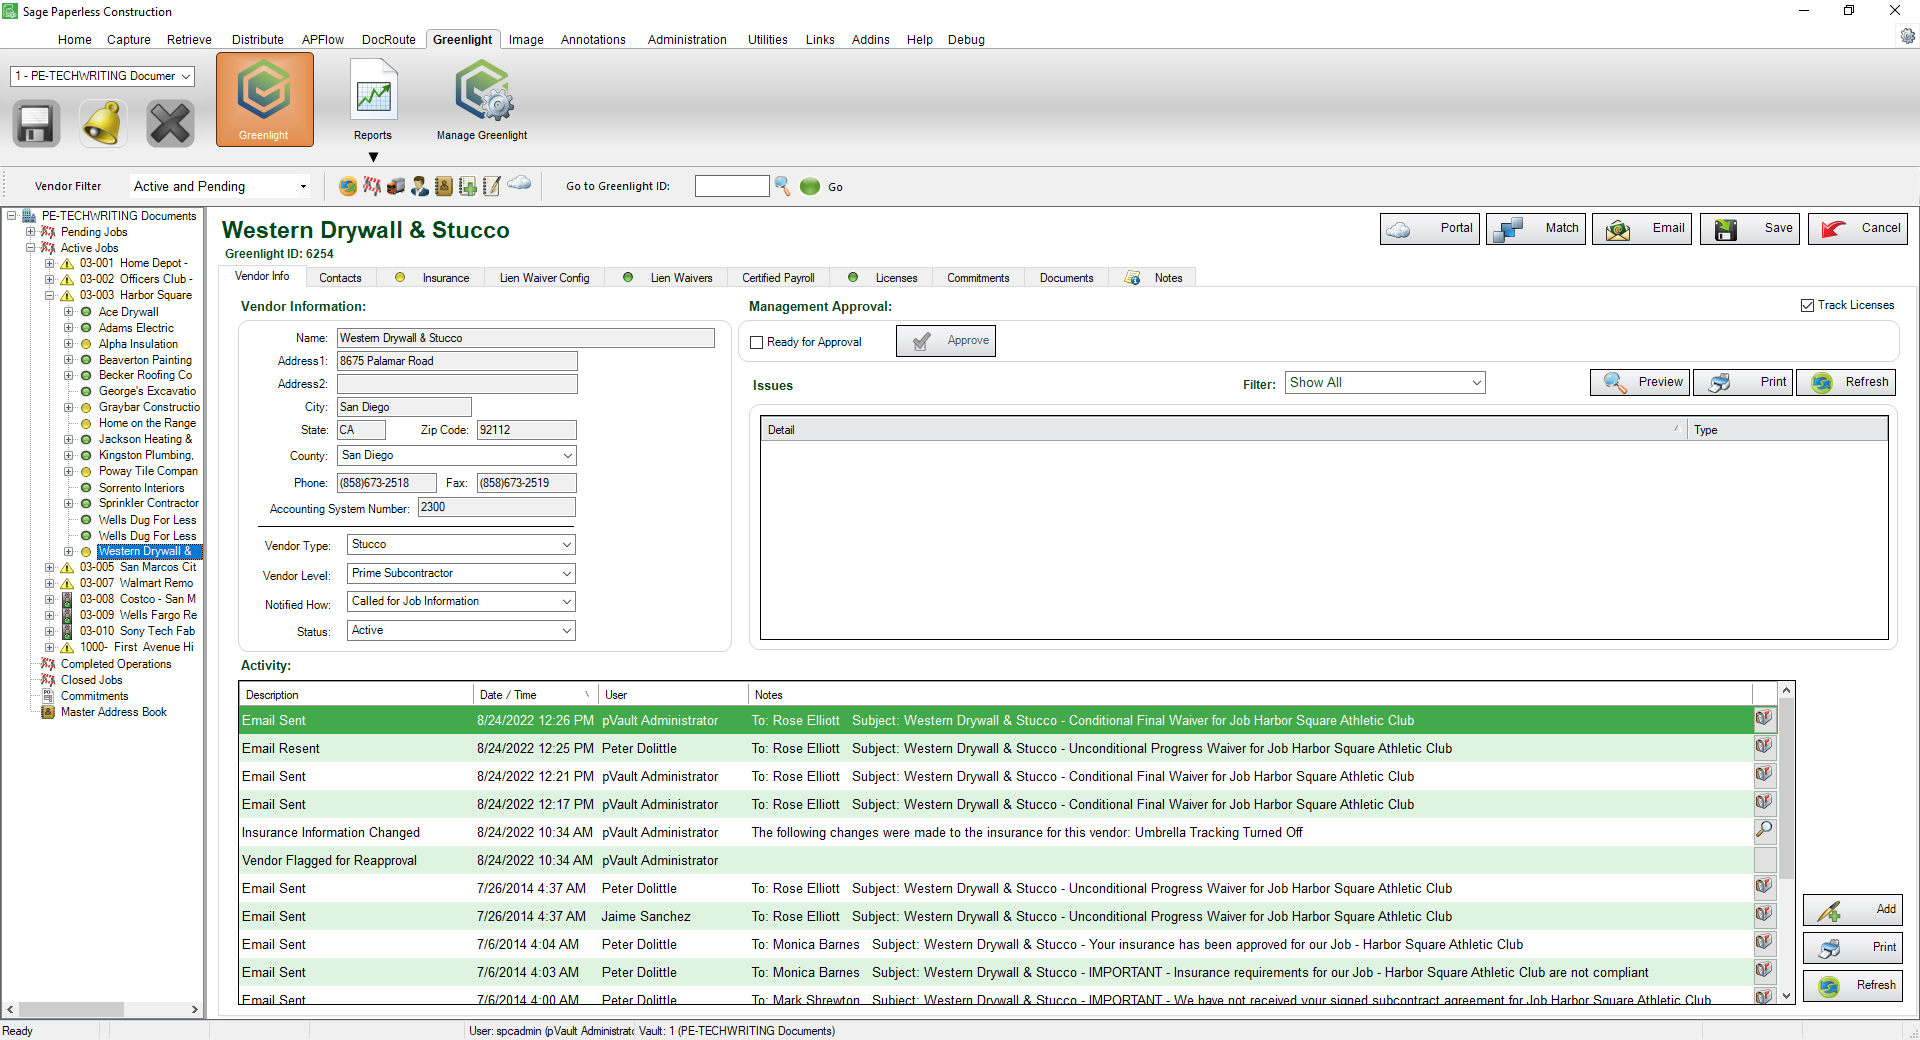
7.Locate the Track Licenses checkbox.
8.Verify that the Track Licenses checkbox is checked.