Once the relevant invoice information is entered, attach the supporting documentation to the invoice.
Important: From Invoice Entry, access Document Match through the steps detailed below. Document Match and the Document Match screen can also be accessed through:
•Invoice Manager
Refer to Invoice Manager
•Approve Invoices
Refer to Approve Invoices Module
1.From the ribbon toolbar, click APFlow™.
2.Click Invoice Entry,  .
.
3.Click New Invoice.
4.Click the following Document Match icon,  .
.
The Document Match screen similar to the following displays:
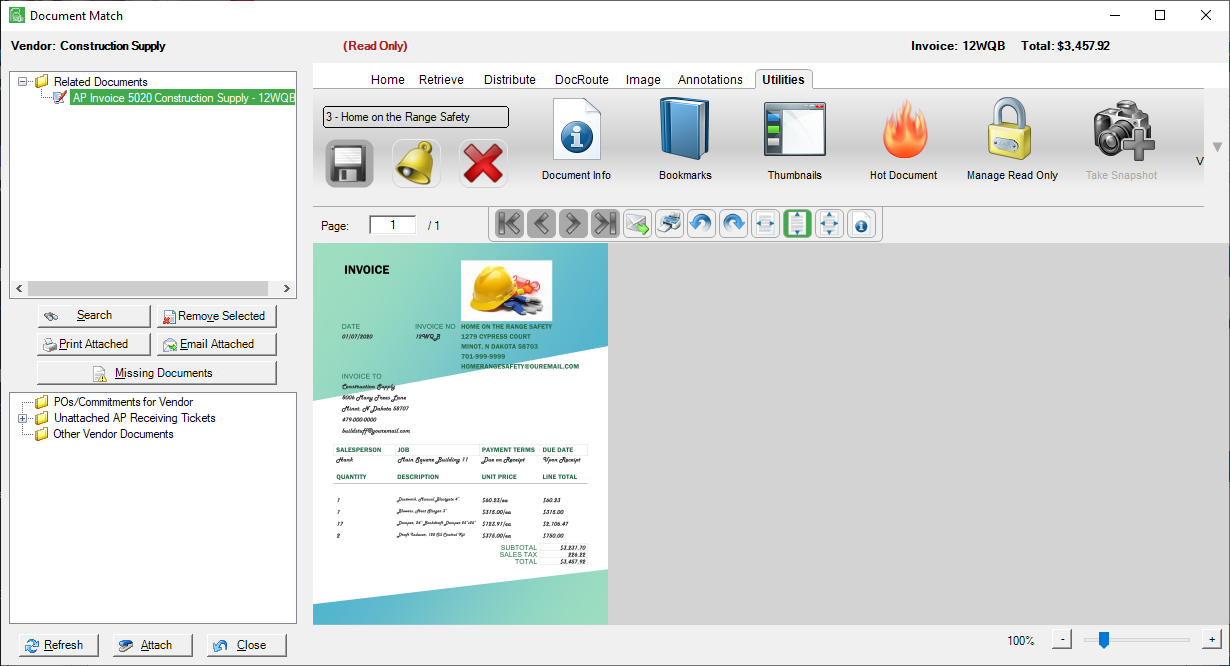
The list of matched documents displays in the upper left pane. At a minimum, the current invoice is included on the list.
The values entered on the entry screen is invoice data. Sage Paperless Construction takes pieces of the invoice data to become document index data. document matching is based on index data such as document indexes..
Note: All systematic matching is done on the Vendor, or Vendor and Invoice Number index types on the underlying document.
5.Right click a document listed in the upper left pane.
The following dialog box displays:
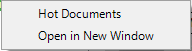
6.Click Hot Documents for the selected document to display in the Hot Documents section of My Paperless Page. (Click here for more information on My Paperless Page).
A check box will display next to Hot Documents in the dialog box.
7.Click Open in New Window.
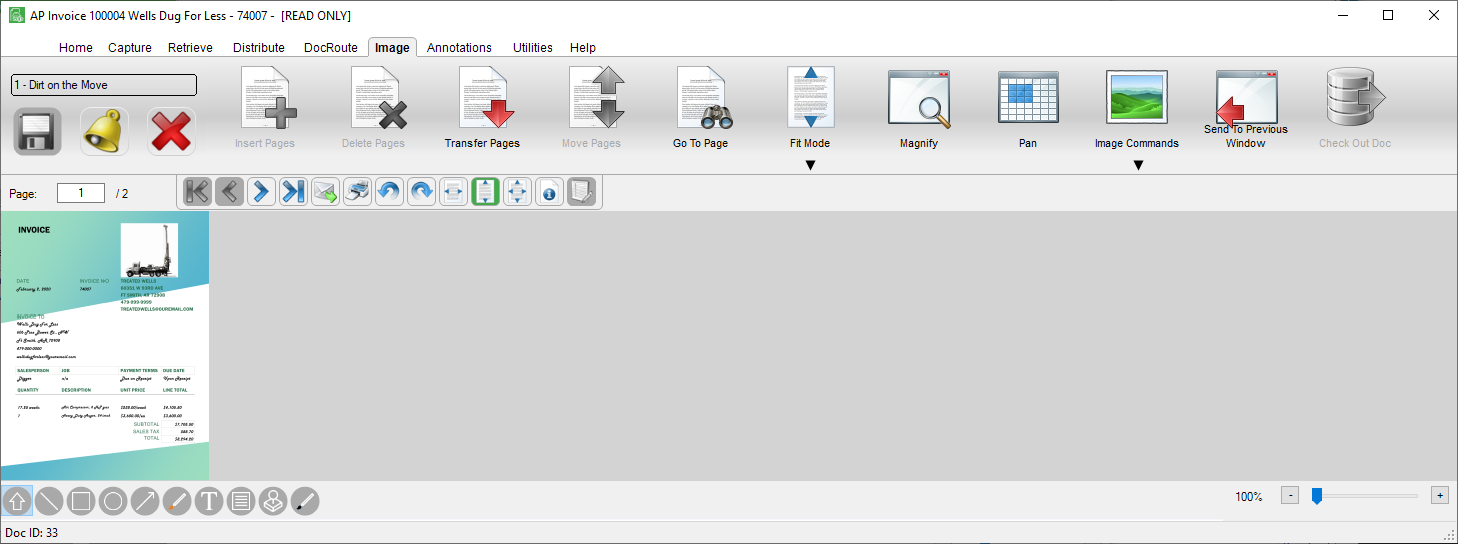
The Image window similar to the following will display:
Fields at the top of the screen
Vendor |
The vendor name of the current invoice displays here. |
Invoice |
The invoice number of the current invoice displays here. |
Total |
The invoice amount of the current invoice displays here. |
Fields at the bottom of the screen
|
Click to refresh the screen. |
|
Click to attach a document to the current invoice. |
|
Click to close the Document Match screen. |


Toolbar Icons and Functionality
On the Document Match screen are tabs and associated toolbars. The access points may differ; however, the functionality is the same.
•From the Home tab, click User Settings. This icon is also located on the Home tab on the main ribbon toolbar.
•From the Retrieve tab, click View Snapshots. This icon is also located on the Retrieve tab on the main ribbon toolbar.
•From the Distribute tab, click Save to File, Email, or Print. These are most of the icons that display on the Distribute tab on the main ribbon toolbar.
•From the DocRoute™ tab, click Quick Route. This icon is also located on the DocRoute™ tab on the main ribbon toolbar.
•From the Image tab, click Insert Pages, Delete Pages, Move Pages, etc. These are the same icons that display on the Image tab on the main ribbon toolbar.
•From the Annotations tab, click, Cut, Tools, Show / Hide, etc. These are the same icons that display on the Annotations tab on the main ribbon toolbar.
•From the Utilities tab, click Document Info, Bookmarks, Thumbnails, Hot Document, or Take Snapshot. These are most of the icons that display on the Utilities tab on the main ribbon toolbar.
Matching Documents
The first document in the list of matched documents will be highlighted and the document displays in the viewer to the right.
In the lower left pane, other documents that may be related to the invoice are listed in a tree view with various grouping folders.
Documents are grouped by:
•POs or other commitments for the vendor
•Unattached AP Receiving tickets for the vendor
•Other Vendor documents (Administrators can configure this in Manage APFlow™. Refer to the General Tab.)
1.Review the documents listed in the lower left pane to see if they are, in fact, related to the current invoice.
2.Click each document to open it in the viewer.
3.If that document is a "document match" to the current invoice, click Attach.
4.Proceed through the listed documents.
All the related documents will display in the upper left pane.
When the invoice is sent for review, the attached documents will go too.
There could be additional supporting documents containing data that can be matched to a single invoice. This information can be cross-referenced to create a list of suggested documents.
In the Document Match screen, click Missing Documents,  .
.
The Missing Documents dialog box similar to the following displays:
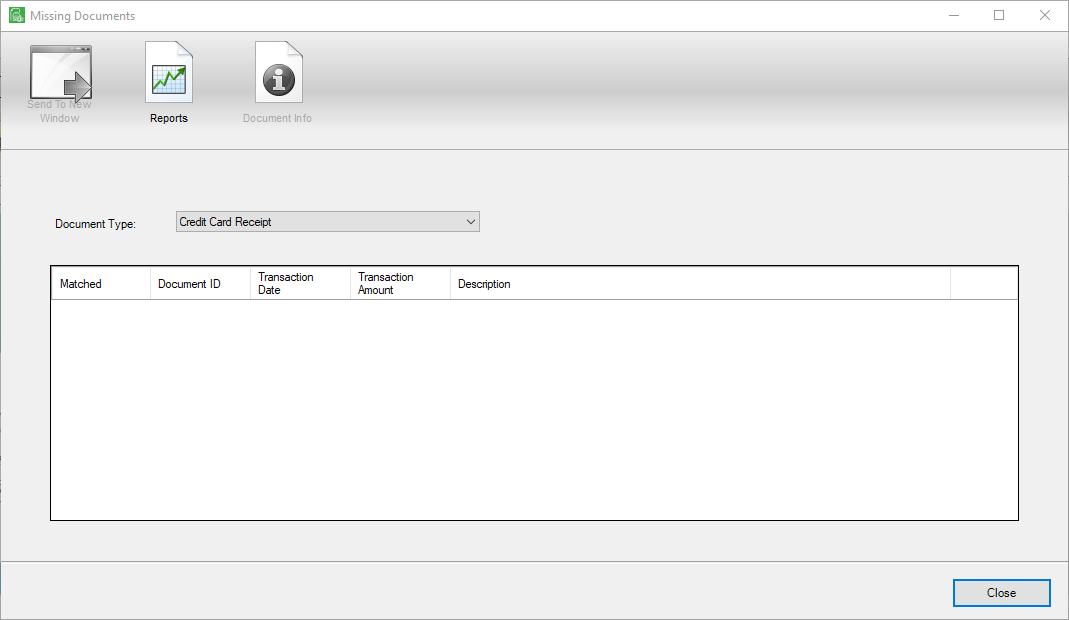
You can click the Send To New Window. This will open a read-only window and display the highlighted entry.
Note: If a Document ID is not present, this icon is not active.
Click the Reports icon. A report similar to the following will display. All entries that display in the Missing Documents dialog box will be included on the report.
Note: If a Document ID is not present, this icon is not active.
Click the Document Info icon to generate the Document Information dialog box. This dialog box provides general information on the document itself, including index and image information.
Searching for Additional Documents
If no documents display in the lower left pane that seem appropriate to attach to the current invoice or the document that should be attached is not on the list, use the Search utility to locate document(s).
Important: Any document in the system can be attached using the search function, except other invoices.
1.In the Document Match screen, click Search,  .
.
The Search Utility window displays.
2.In the Search tab, search for the document(s) to attach to the invoice.
3.Select the documents to send to the Document Match screen. Shift Click groups of documents or Ctrl Click individual documents.
4.Click Send located below the search results grid.
The retrieved document(s) from the Search Utility will display in the tree view under the Search Results section on the Document Match screen.
5. Click Attach to attach the document(s) to the invoice.
Attached documents display in the upper left pane. Those documents that display in the lower left pane were identified by the system as potential matches to the current invoice.
Removing Selected Documents
Click Remove Selected,  .
.
This uncouples the "match" as well as removing the selected document from this active list. The documents are not removed from Sage Paperless Construction.
Printing Attached Documents
Click Print Attached,  .
.
This systematically places all attached documents into a print list to print, and eliminates having to select each document separately to print.
Emailing Attached Documents
Click Email Attached,  .
.
This systematically places all attached documents into an email list for emailing, and eliminates having to select each document separately.