Prerequisite: The Enable Multiple Invoice Function advanced bridge setting must be set to True for this function to be enabled.
The Multiple Entry function allows you to use a single invoice image and separate it into multiple invoices. Essentially, if you have multiple invoices on a single page, you can use this functionality to create individual invoices without having to scan the invoice image into Sage Paperless Construction multiple times.
1.From the ribbon toolbar, click APFlow™.
2.Click Invoice Entry,  .
.
The APFlow™ sidebar similar to the following will display with the Unprocessed tab active:
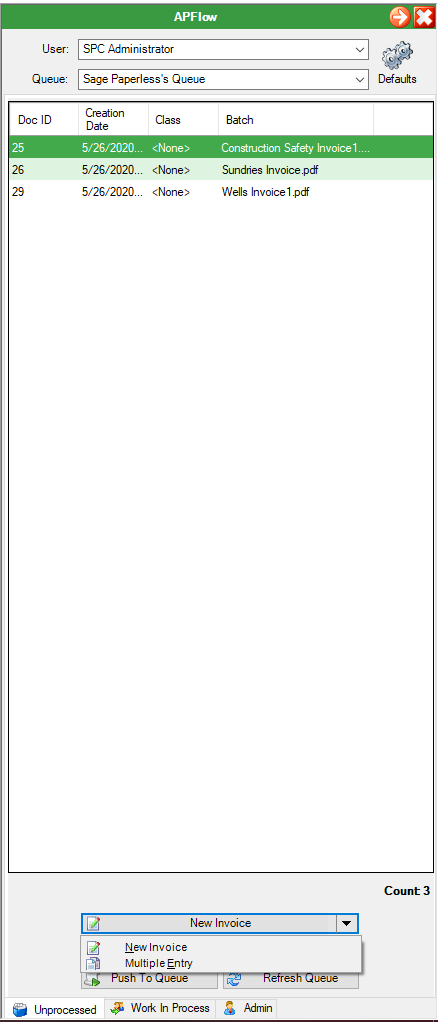
3.Click the New Invoice field dropdown.
4.From the dropdown, click Multiple Entry.
Note: Sage Paperless Construction will remember that you used the field dropdown to select Multiple Entry. The next time you access Invoice Entry, Multiple Entry will display as the field label instead of New Invoice.
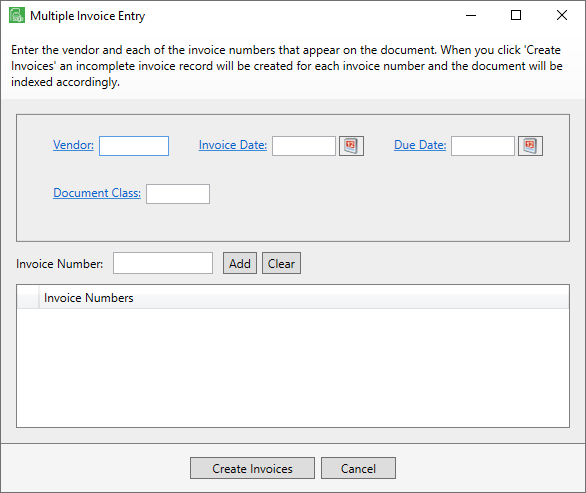
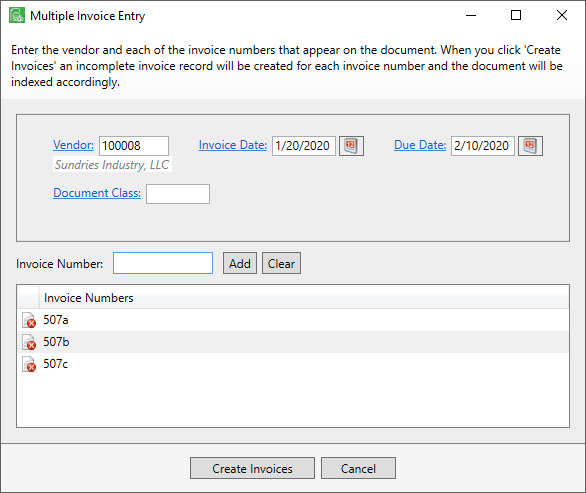
The Multiple Invoice Entry dialog box displays:
For companies bridged to Sage 300 with the Allow Processor Add Vendor option checked on the General tab of the Manager AP Flow screen only: The Vendor field on the Multiple Invoice Entry dialog box will resemble the following: |

 icon to access the following
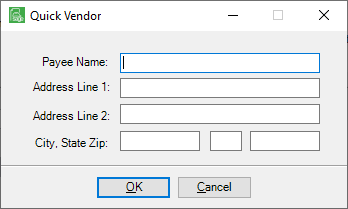
5.In the Vendor field, click the field label to access the lookup.
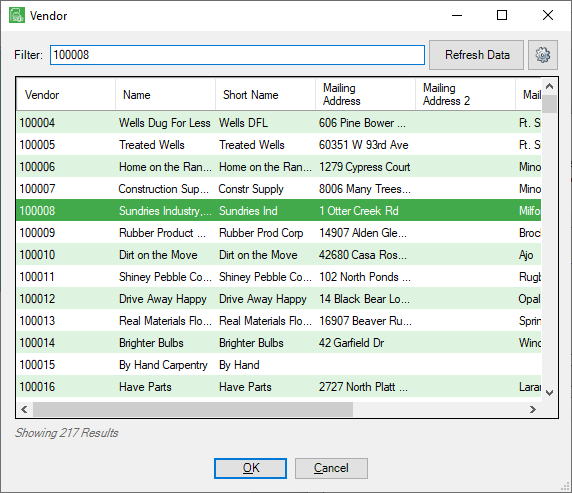
6.Locate the correct vendor, highlight the entry and click OK.
7.For the Invoice Date field, click the calendar icon,  , click the field label or type the date (format: MMDDYYYY) directly into the field to populate it.
8.For the Due Date field, click the calendar icon, , click the field label or type the date (format: MMDDYYYY) directly into the field to populate it.
9.If a document class is associated with the invoice, click the Document Class field label to access the Document Class lookup dialog box.
Note: This field is not required.
10.In the Invoice Number field, enter a version of the actual invoice number; for example, 507a.
11.Click Add.
The newly added invoice number will display in the bottom pane of the Multiple Invoice Entry dialog box.
Note: If you inadvertently enter the same invoice number at any time, a warning message similar to the following displays:
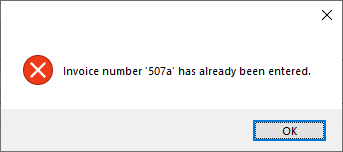
Click OK to close. The Invoice Number field will clear.
12.Repeat steps 10 and 11 until all multiple entries are added.
The completed Multiple Invoice Entry dialog box should resemble the following:
13.Click Create Invoices.
The APFlow™ sidebar, Work In Process tab becomes active and those invoice entries display in the Incomplete section of the Processor's queue, similar to the following:
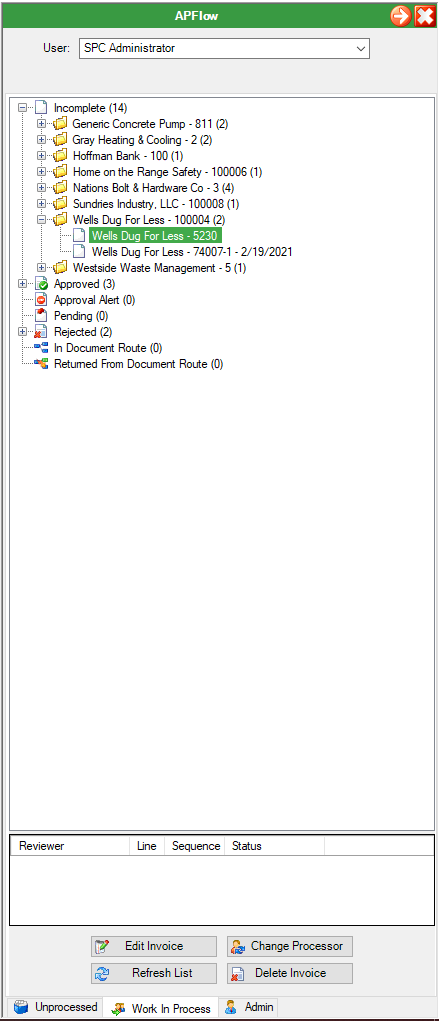
The newly created invoices can now be edited and routed as necessary.