In addition to capturing paper documents with a dedicated scanner, documents stored on a computer or network drive can be imported. These files can be produced from multi-function copy machines with scan-to-file capability, fax machines, stand-alone scanners or printer drivers that can produce TIFF images. The import process begins by opening a new batch.
A batch is a file created by Sage Paperless Construction that:
•allows as many scanned pages to be added as necessary
•applies a description to the batch of scanned documents
•assigns the batch to a Sage Paperless Construction user
Batches are automatically numbered by Sage Paperless Construction to facilitate the tracking of the grouped documents through the system. A link is provided between the indexed documents and the physical paperwork, should the decision be made to physically file the paperwork in a filing cabinet.
1.From the ribbon toolbar, click Capture.
2.Click New Batch,  .
.
The first New Batch Wizard window displays:
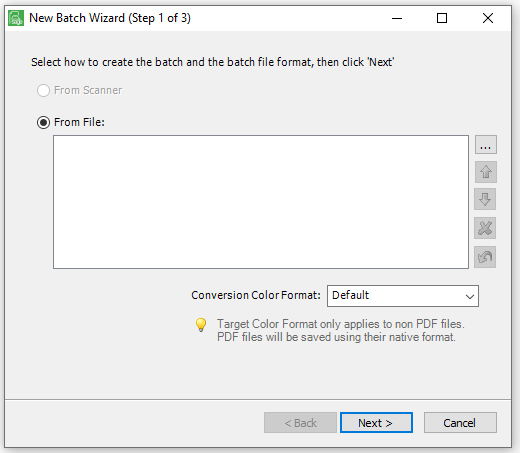
3.Click From File.
4.Click  to browse files to import.
5.Highlight all files to import into the batch by clicking the file name (for a single file) or shift-clicking (for multiple files).
Note: To select multiple files in a row, click the first file in the list, holding down the Shift key and then clicking on the last file.
To select multiple files that are not listed sequentially, hold down the Ctrl key while clicking on the files.
6.Once all files for importing are highlighted, click Open to return to the first New Batch Wizard window.
The New Batch Wizard window resembling the following displays:
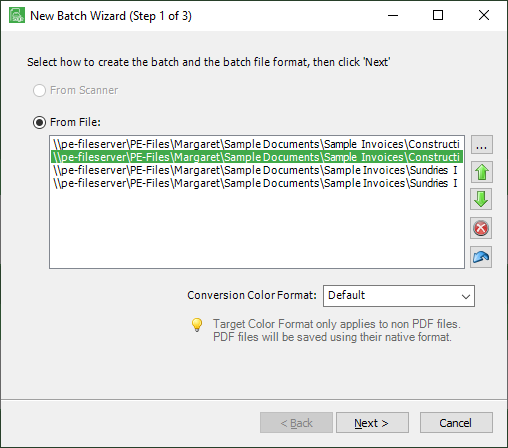
7.Determine if the order in which the selected files will be imported into the batch needs to be modified.
8.If no, skip to step 10.
If yes, continue with step 9.
9.Highlight the file names in the list and click any of the following ions displaying on the right side of the dialog box:
|
Move selected file Up |
|
Remove selected file |
|
Move selected file Down |
|
Clear all files |


10.Click Next.
The second New Batch Wizard window displays:
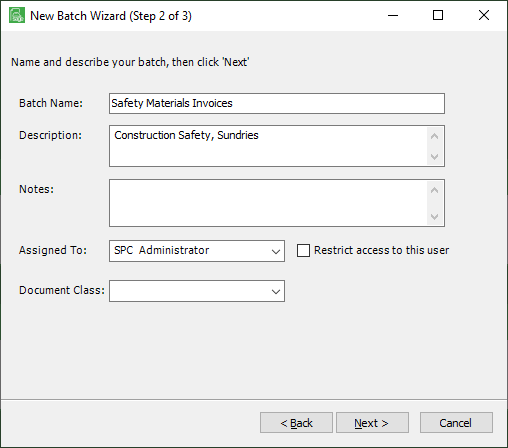
11.The Batch Name field defaults with the file name of the first file listed in New Batch Wizard window 1. Change the system-generated batch name as necessary.
12.In the Description text field, enter a description to be associated with this batch.
13.In the Notes field, enter any pertinent information.
14.In the Assigned To field, use the dropdown list to assign one person to this batch:
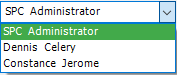
Leave this field blank if this batch is not assigned to an individual.
15.If this batch should be restricted to the user identified in the Assigned To field, click the Restrict access to this user check box.
Leave this field blank if access is not restricted to the user, or if the Assigned To field is blank.
Note: Use the Restrict access to this user option if the documents are confidential, such as payroll journals or contain medical information.
16.In the Document Class field, use the dropdown list to assign a document class to the batch. The document class further categories the documents as they are processed through the system.
Leave this field blank if a document class is not appropriate for this batch.
17.Click Next.
The third New Batch Wizard window displays with a summary of the import selections:
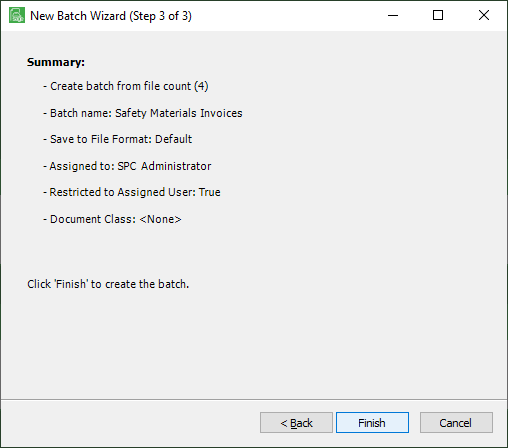
18.Review the information displayed in the Summary window for the batch. If any of the information is incorrect, click Back and revise the information accordingly.
19.Once the Summary information is correct, click Finish to begin the import process.
When the files are finished importing, the following dialog box displays:
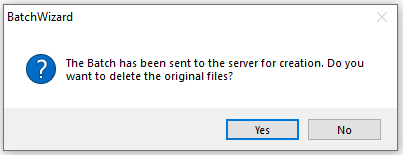
This prompt indicates the files selected for the new batch were copied to the batch location indicated by the user configuration.
20.Click Yes to delete the original files from their location.
Click No to leave them intact.
After choosing to delete or keep the files, the following dialog box displays:
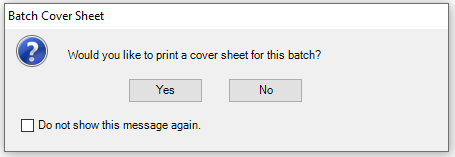
21.Click No and the images will display on the Sage Paperless Construction desktop where the indexing process can begin.
Click Yes and a cover sheet for the batch will be created similar to the following:
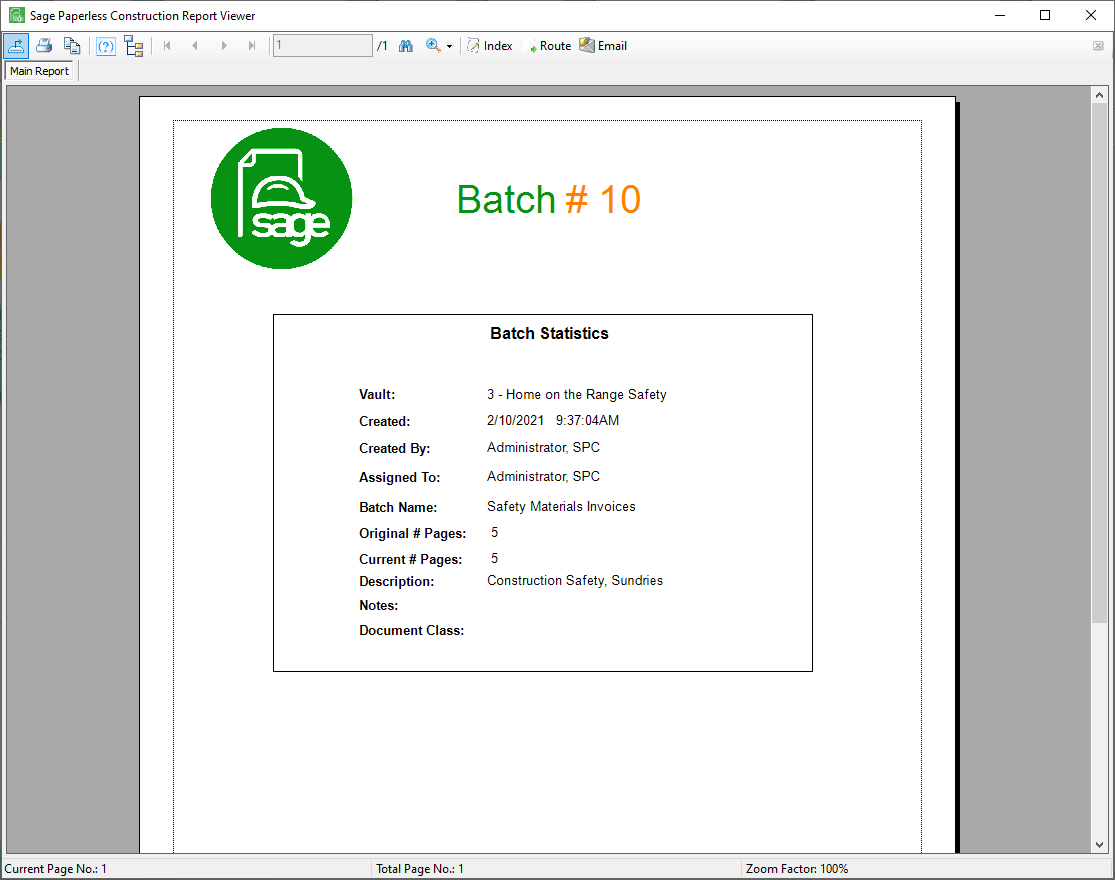
A Save / Close Batch dialog box similar to the following displays:
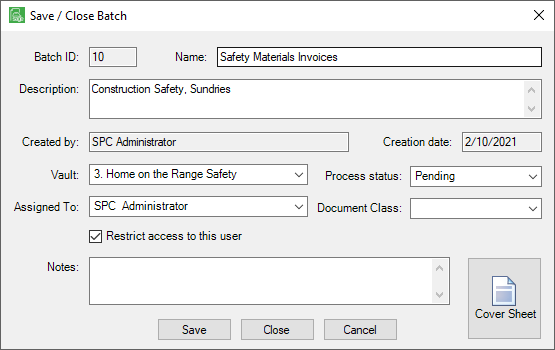
22.Click Save and the changes will be saved.
Click Close and the changes will not be saved.
The scanned images will then display on the Sage Paperless Construction desktop where the indexing process can begin.