The most common way of capturing paper documents is to scan the document into Sage Paperless Construction using a scanner. The scanning process begins with the user opening a new batch.
A batch is a file created by Sage Paperless Construction that:
•allows as many scanned pages to be added as necessary
•applies a description to the batch of scanned documents
•assigns the batch to a Sage Paperless Construction user
Batches are automatically numbered by Sage Paperless Construction to facilitate the tracking of the grouped documents through the system and a link is provided between the indexed documents and the physical paperwork, should the decision be made to physically file the paperwork in a filing cabinet.
1.Make sure the scanner is both turned on and connected to the PC running Sage Paperless Construction.
2.Load the documents to scan into the scanner's document feeder.
3.From the ribbon toolbar, click Capture.
4.Click New Batch,  .
.
The first New Batch Wizard window displays:
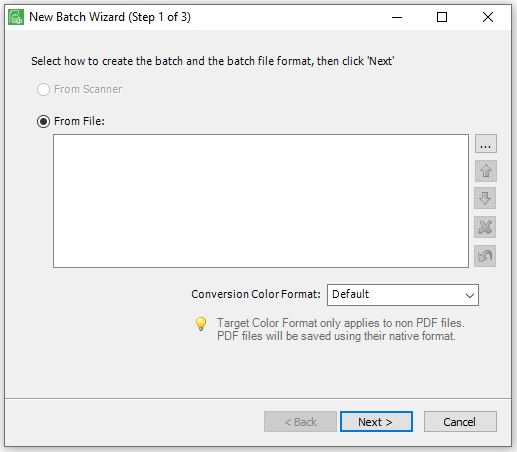
5.Select the image retrieval point.
•From Scanner
•From File – Refer to New Batch from Existing Files for details on this option.
6.Click Next.
The second New Batch Wizard window displays:
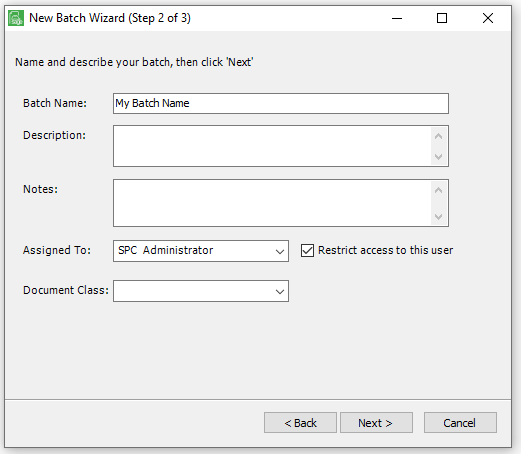
7.In the Batch Name field, type the name for the batch.
8.In the Description text box, type descriptive information about the batch.
9.In the Notes text box, add any additional pertinent information about the batch.
10.In the Assigned To field, use the dropdown list to assign one person to this batch.
Leave this field blank if this batch is not assigned to an individual.
11.Click Restrict access to this user to restrict access to this user only.
Leave this field blank if access is not restricted to the user or if the Assigned To field is blank.
Note: Use the Restrict access to this user option for confidential documents such as payroll or medical documentation.
12.In the Document Class field, use the dropdown list to assign a document class to the batch. The document class further categorizes the documents as they move through the system.
Leave this field blank if a document class is not appropriate for this batch.
13.Click Next.
The third New Batch Wizard window displays with a summary of the scanning selections:
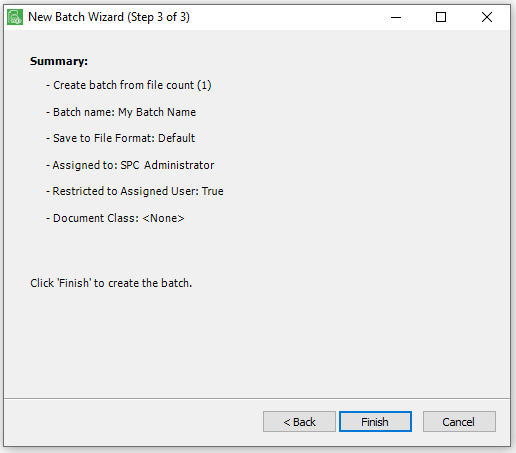
14.Review the information displaying in the Summary screen for the batch. If any of the information is incorrect, click Back and revise the information accordingly.
The following dialog box displays:
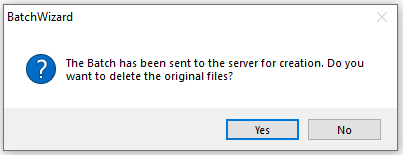
15.Click Yes or No, depending on if the original files should be deleted.
The following dialog box displays:
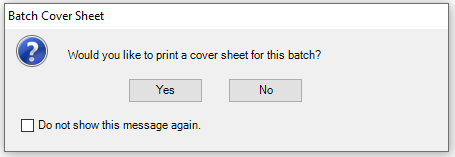
16.Click No and the images will display on the Sage Paperless Construction desktop where the indexing process can begin.
17.Once the information on this screen is correct, click Scan to begin the scanning process.
The Sage Paperless Capture Utility screen displays the images of the documents being scanned into the batch as they pass through the scanner.
18.Click User Scanner Settings on the Capture toolbar to instruct the system to display the TWAIN driver properties screen before scanning.
This screen will differ, depending on the installed scanner. On this screen, various settings for the scanner can be set, including Simplex or Duplex scanning; Color mode; Deskewing.
19.Click the Scan icon to begin scanning.
Scanned pages will display in the Viewer window as they are scanned.
The toolbar icons functionality is as follows:
|
First Page |
Moves to the first page of the batch. |
|
Previous Page |
Moves back one page at a time toward the beginning of the batch. |
|
Next Page |
Moves forward one page at a time toward the end of the batch. |
|
Last Page |
Moves to the last page of the batch. |
|
Email document as an email attachment. |
|
|
Print document. |
|
|
Rotate Left |
Rotate current page left 90 degrees. |
|
Rotate Right |
Rotate current page right 90 degrees. |
|
Fit Page to Width |
Adjusts the image to the correct width of the page. |
|
Fit Page to Height |
Adjusts the image to the correct height of the page. |
|
Fit Page Normal |
Adjusts the image to the correct height and width of the page. |


20.To scan additional pages and add them to previously scanned pages, click Scan to scan additional pages.
21.Once finished scanning, if the scanned documents are acceptable, click the  , Accept, to accept the scanned images as a batch.
If the documents are unacceptable, click the  , Cancel, to rescan the documents.