In addition to clicking on the Queues icon on the Retrieve ribbon toolbar, users can also add documents to queues through:
1.From the ribbon toolbar, click Retrieve.
2.Click Queues,  .
.
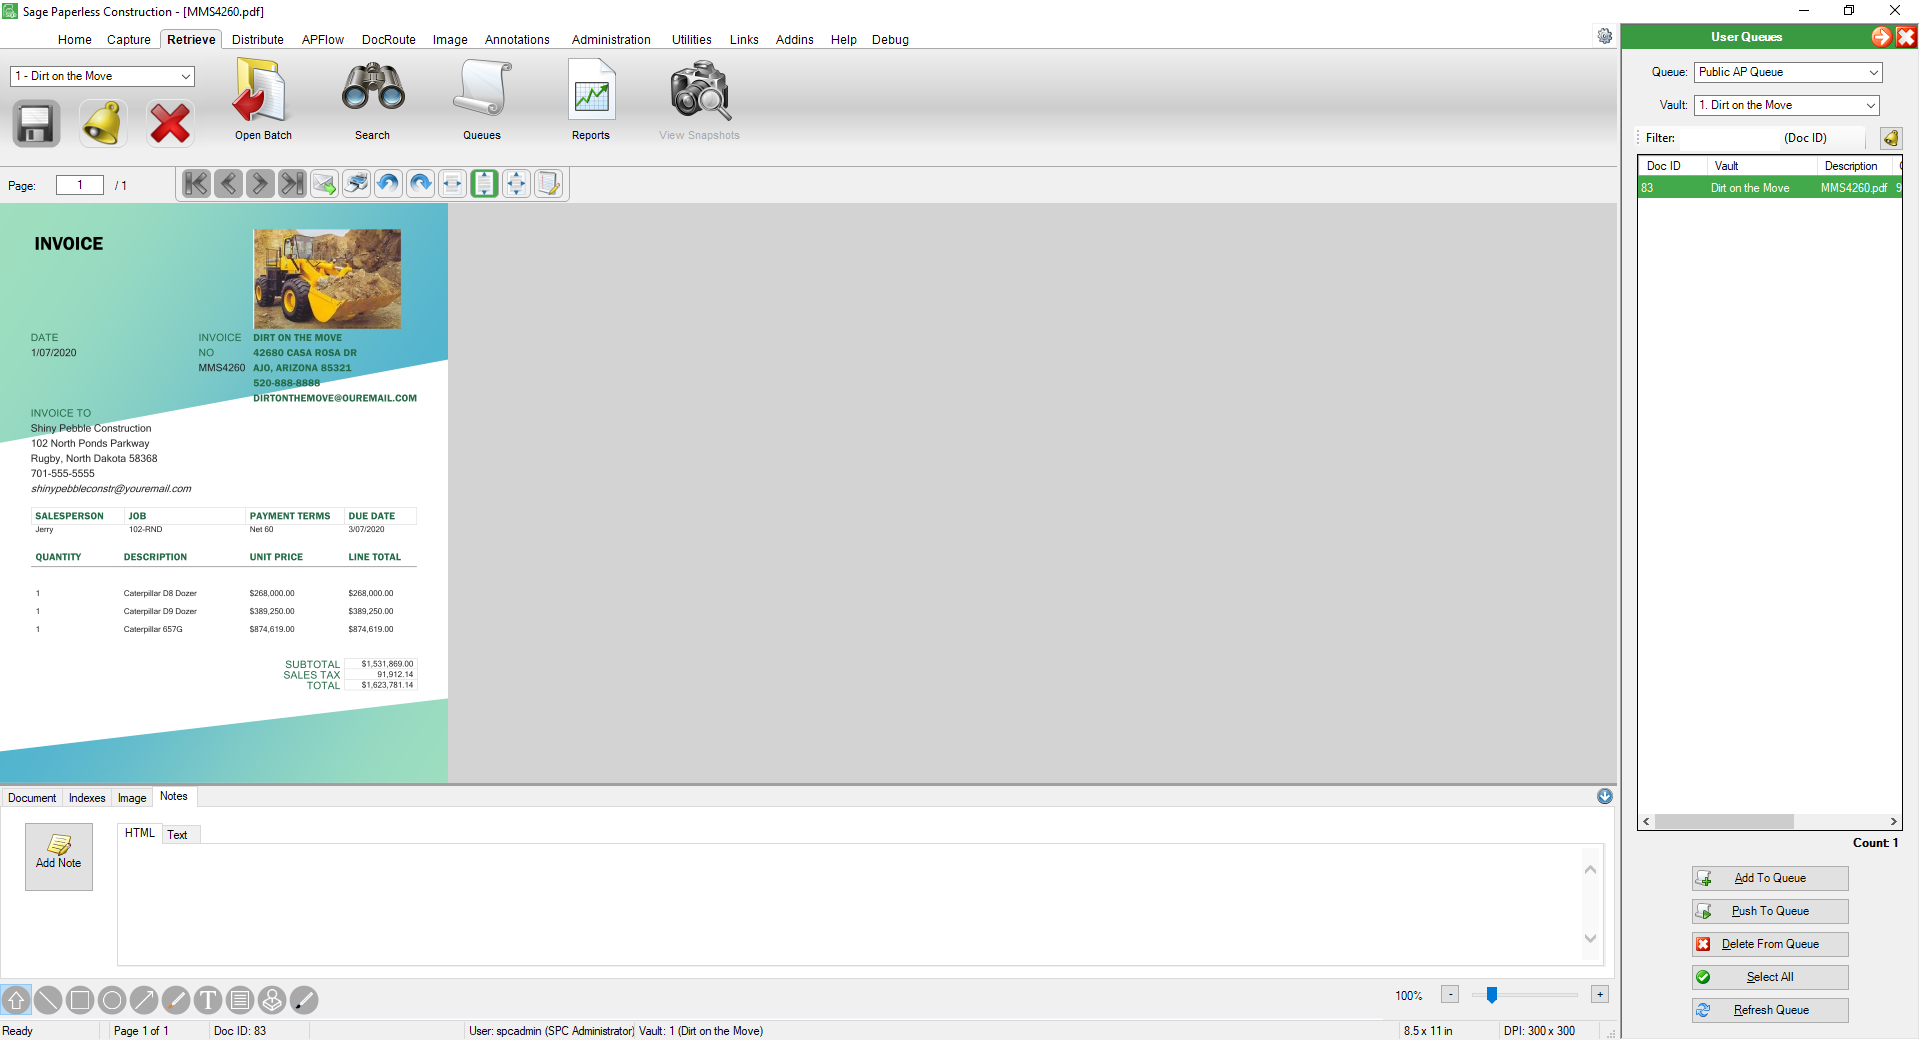
The screen similar to the following, which includes the invoice or job photo on the left and the User Queues sidebar on the right, displays:
Add To Queue
1.Click Add To Queue.
A window similar to the following displays:
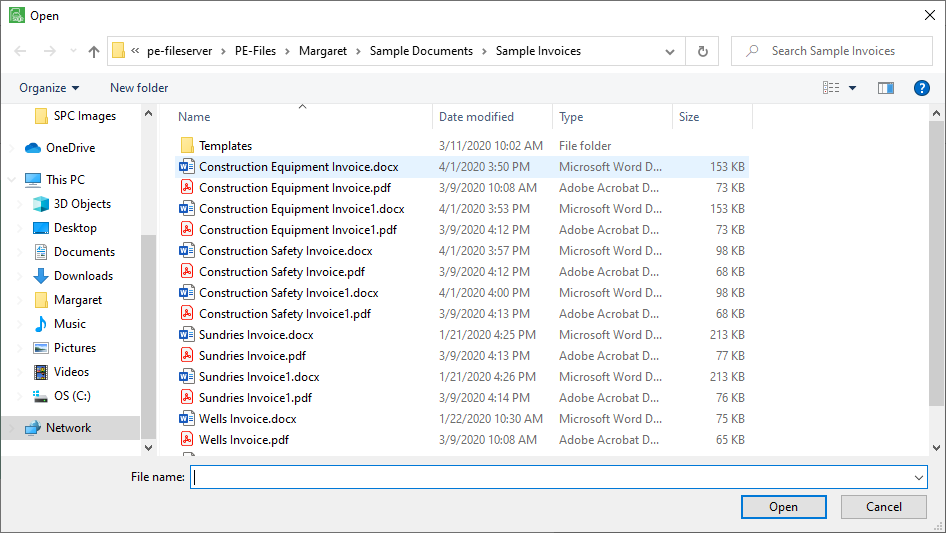
2.Select any or all document to be added to the queue.
Push To Queue
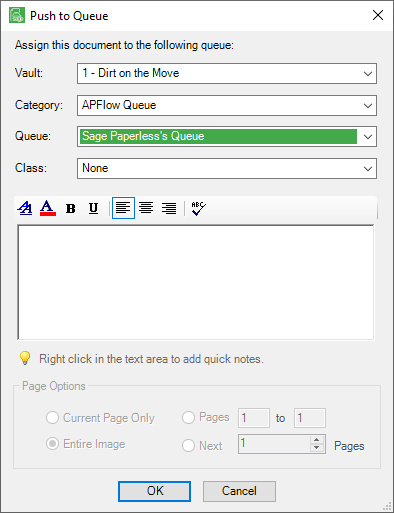
1.Click Push To Queue.
If a single document is selected in the User Queue sidebar, a Push to Queue dialog box similar to the following displays:
If multiple documents are selected in the User Queue sidebar, a Push to Queue dialog box similar to the following displays:
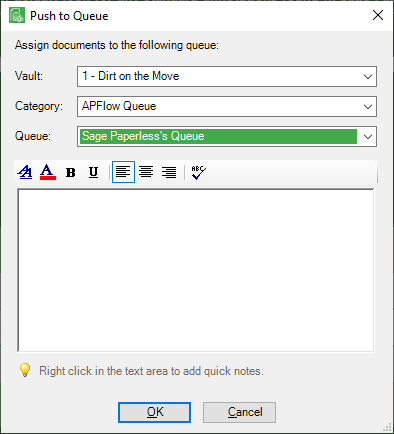
2.If the information is incorrect in any field, use the field dropdowns to revise the information.
3.Click OK.
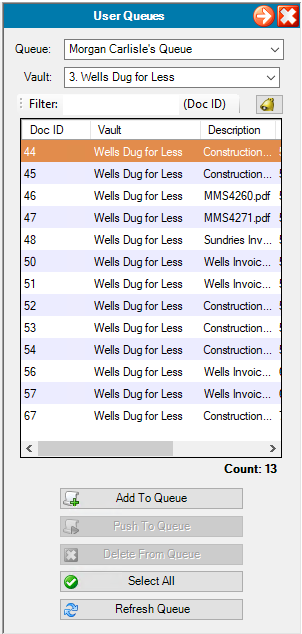
The document will display in the User Queues similar to the following:
Delete From Queue
1.Click to select the document that you want to delete in the User Queues sidebar.
2.Click Delete From Queue.
The following Delete From Queue prompt displays:
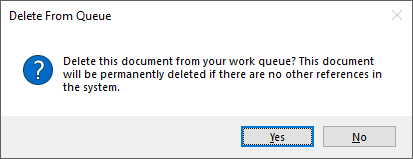
3.If the selected document should indeed be deleted, click Yes.
If the document was selected in error, click No.
Select All
If you click Select All, every document listed in the User Queues sidebar is highlighted.
Refresh Queue
If you have added a document to the queue, but the expected document does not display in the User Queues sidebar, click Refresh Queue. The document should display as expected.