Once you create a custom waiver form, you can upload the form into Greenlight CM™.
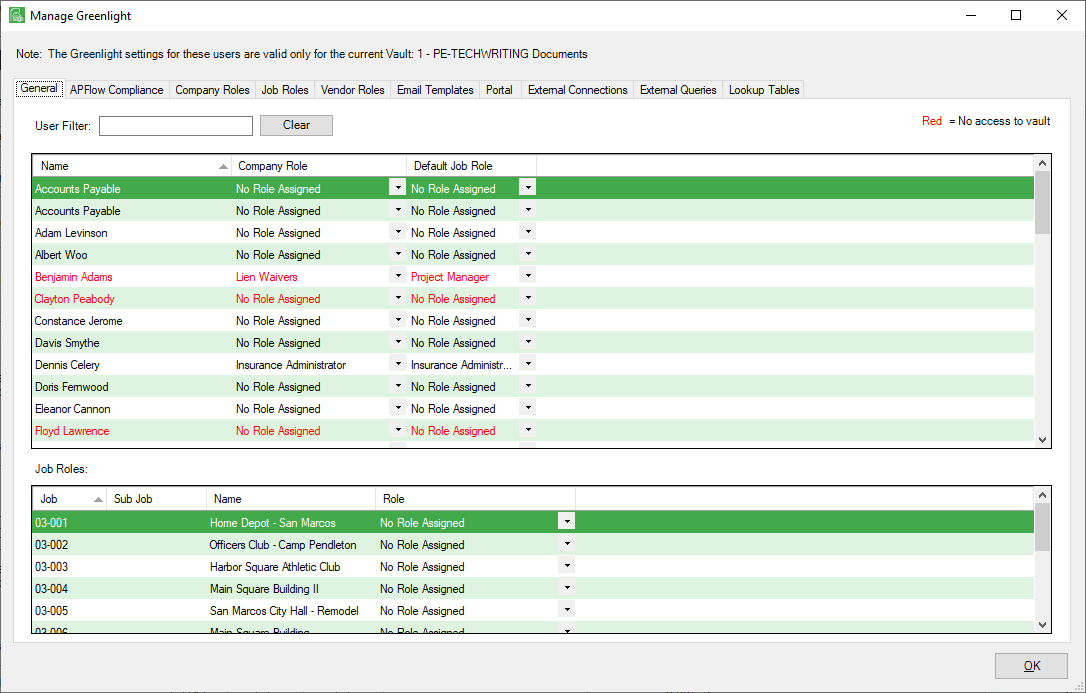
1.From the ribbon toolbar, click Greenlight.
2.Click Manage Greenlight,  .
.
The main screen displays with the General tab active:
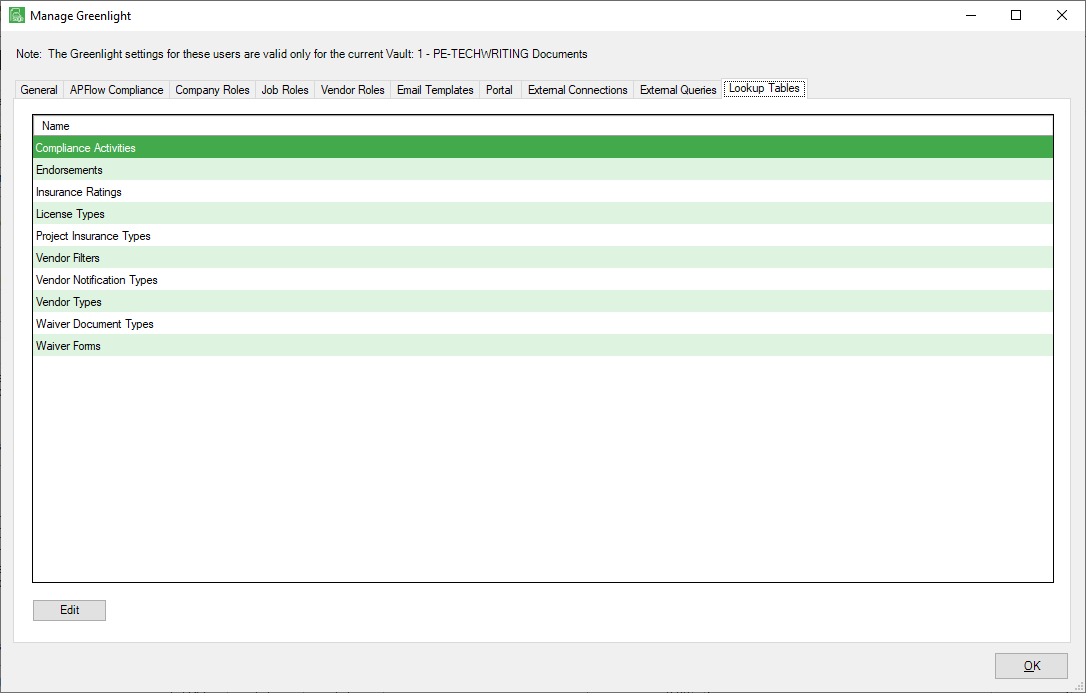
3.Click the Lookup Tables tab.
The following screen displays:
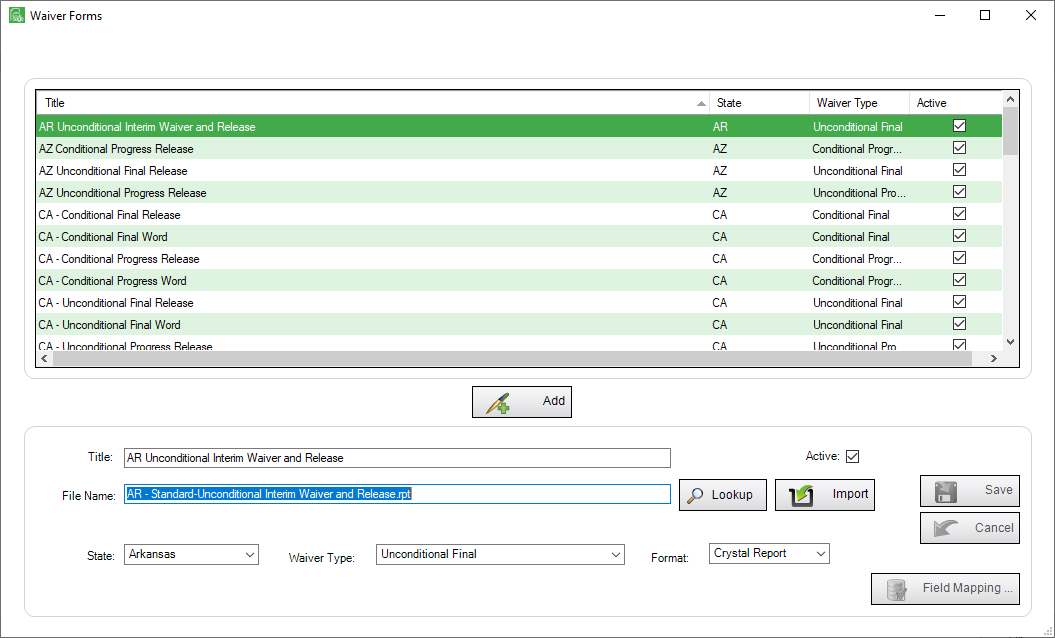
4.Click Waiver Forms.
The following screen displays:
5.Click Add,  .
.
The bottom pane field information is removed.
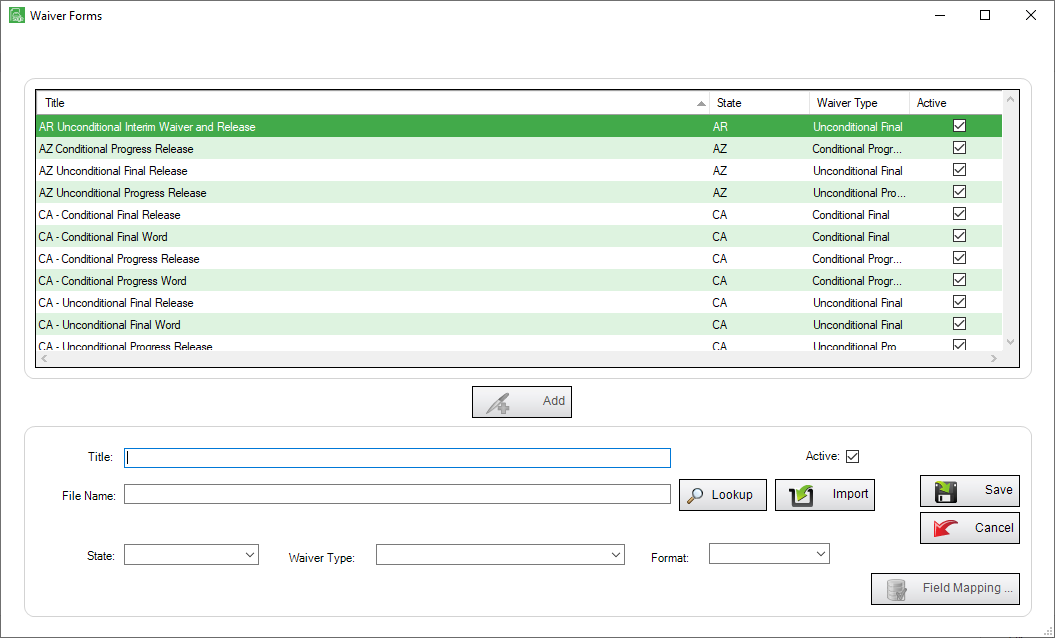
6.In the Title field, enter the form title. This is the title that will display when you are selecting forms on the Job level.
7.The Active checkbox is checked by default. If this form should not be active, click the Active checkbox to remove the checkmark.
8.For the File Name field, click Import, 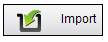 .
.
9.From the PC window that opens, select the document.
10.Use the State field dropdown to select the correct state.
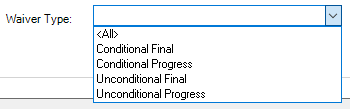
11.Use the Waiver Type field dropdown to select the appropriate type.
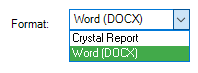
12.Use the Format field dropdown to select the appropriate type.
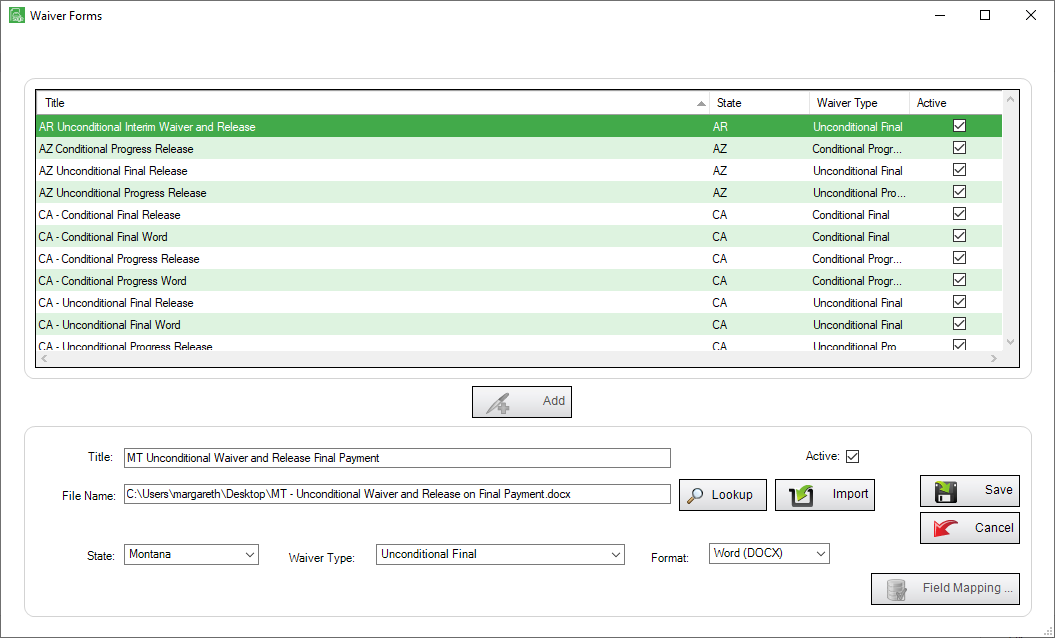
The completed Waiver Form resembles the following:
13.Click Save,  .
.
The following dialog box prompt displays:
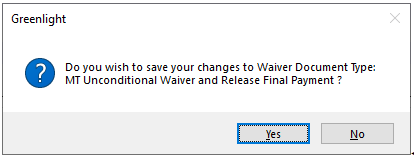
Note: If you forget to click Save and click the screen X, the following dialog box prompt will display: 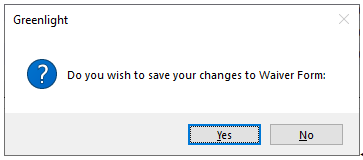
14.Click Yes.
Note: To avoid duplicates, a warning dialog box prompt displays if you click Save but the same form already exists: 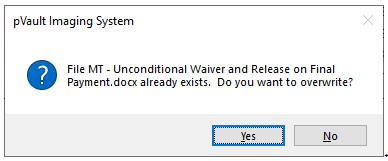
15.If you merged fields that act as placeholders where Greenlight CM™ can import data, continue with step 16.
If you did not merge field for importing data, no further steps are necessary.
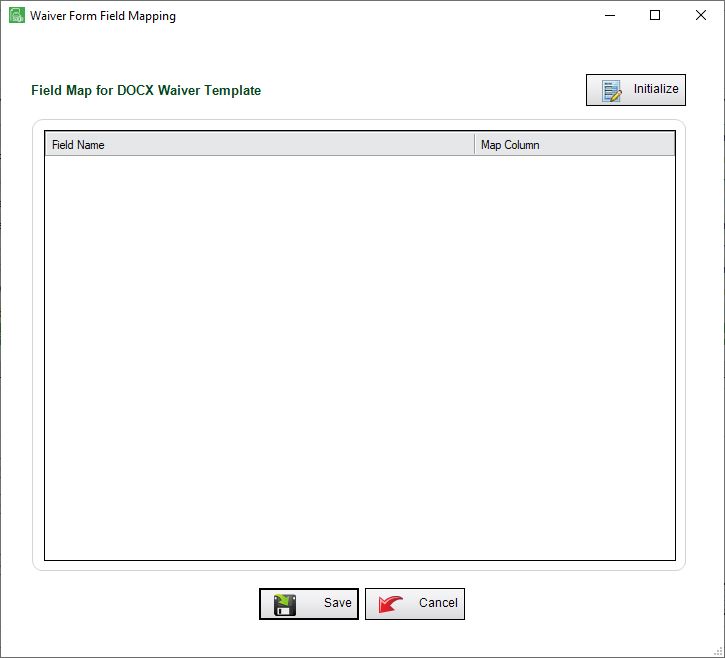
16.Locate the new entry in the grid and click to select it.
17.Click Field Mapping, 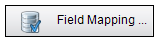 .
.
The Waiver Form Field Mapping dialog box displays:
18.Click Initialize, 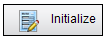 .
.
The Waiver Form Field Mapping dialog box redisplays with those fields that were merged visible.
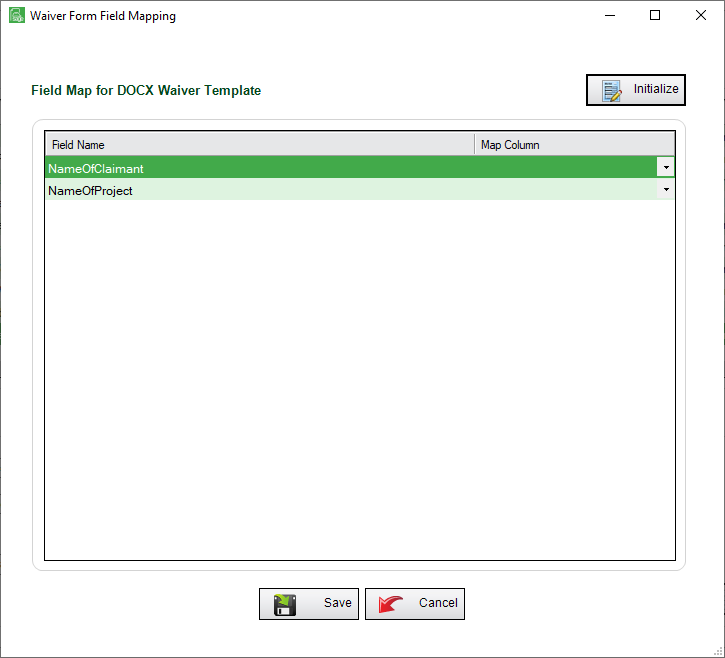
19.Use the dropdown in the associated Map Column fields to select the data fields you want to merge.
The populated Waiver Form Field Mapping dialog box will resemble the following:
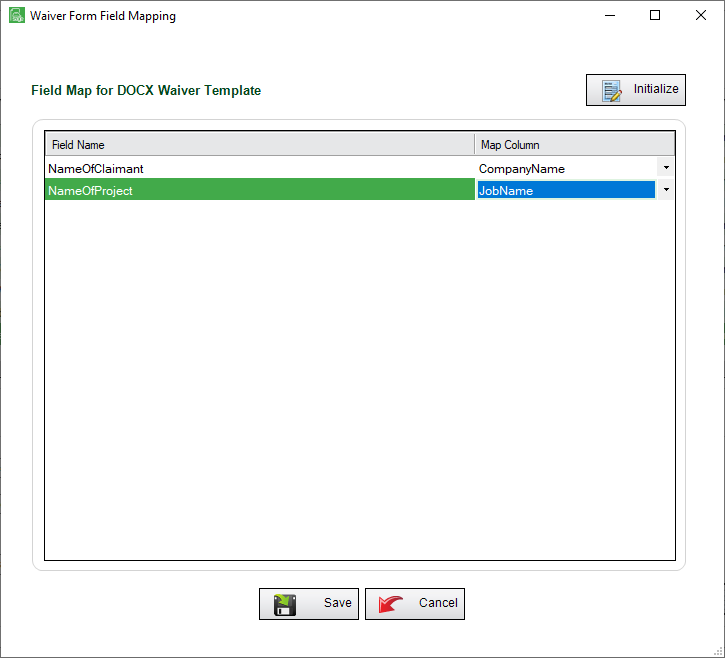
20.Click Save, .