1.From My Paperless, click Retrieve.
2.From the Retrieve navigation bar, click Queues.
3.In the Viewer header, click the Add Pages icon,  .
.
The Insert Page dialog box displays:
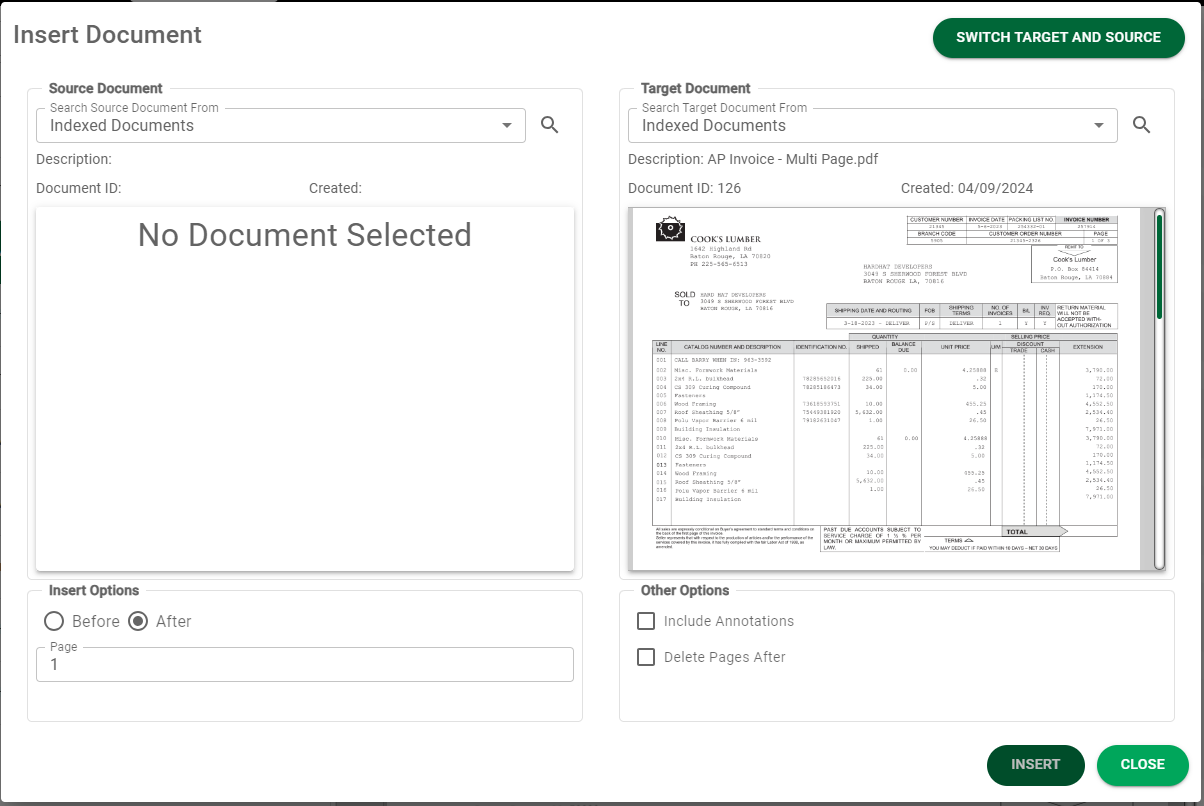
Notice there are two areas for document display:
• Source Document - where the pages are coming from displays in the left pane.
• Target Document - where the pages are going to displays in the right pane.
Note: You can click  to move the identified Target Document to the Source Document.
3.In the Search Source Document From field, click the dropdown list to select the Source Image type.
Select from the following options:
•Indexed Document - an existing indexed document stored in Sage Intacct Paperless.
•Queue Documents - an existing document currently in my queue, stored in Sage Intacct Paperless.
•File - any file that can be located on the local machine or network.
•Recent History - from a file listed in the recent history listing.
4.Click the  to begin the selection process.
5.Under Insert Options, click either the Before or After radio button.
6.Under Other Options, select optional fields as required:
•Include Annotations - Click to include existing annotations on the source document when the document is inserted.
•Delete Pages After Insert - Click to delete the source document page(s) after the successful insertion into the target document is complete.
7.Click  , to perform the insert.