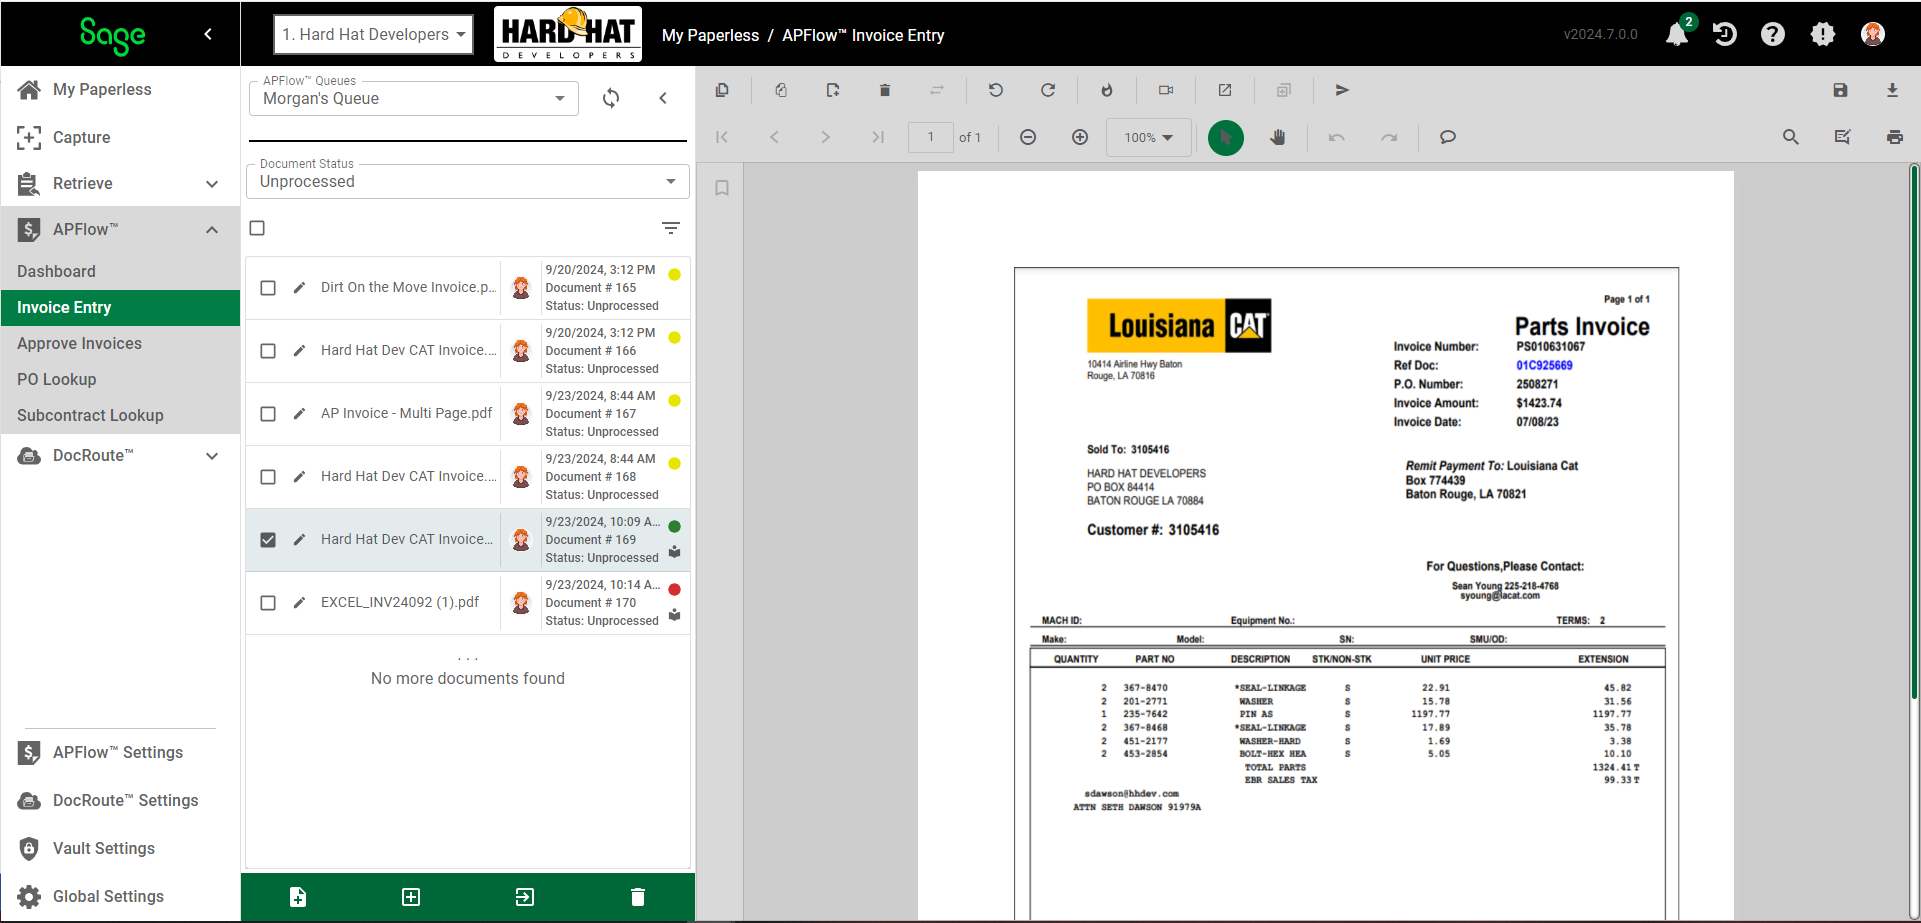
As invoices enter the queue (and display in the Document Queue) they are automatically processed by Paperless OCR. Documents still being processed by Paperless OCR will open as read-only until processing is complete.
blank OCR entry |
No icon means that the document was not picked by the Paperless OCR system for processing. |
|
This is the unprocessed OCR icon. |
|
A yellow icon indicates that the document is actively being processed by the OCR system. |
|
Click the question mark icon for more information about the status of the associated document. When you click the icon, a dialog box will display describing the error.
|
|
A red icon indicates that the OCR system failed to capture all required fields. |
|
A red circle with an exclamation point indicates a system error occurred during processing. |
|
Click this icon to access the OCR Learn page. Refer below for the OCR Learn Page details. |
|
A green icon indicates the Paperless OCR system successfully extracted all fields. For non-invoice document types that still remain in the queue as green, it is because not all fields required before saving were populated by a combination of OCR and backfilling. Non-invoice documents that processed successfully will save and leave the queue. |


File Extensions Accepted by Paperless OCR
Images |
Documents |
.gif |
.doc |
.heic |
.docx |
.jpg |
.ods |
.jpe |
.odt |
.jpeg |
|
.pipg |
.xls |
.png |
.xlsx |
.tif |
|
.tiff |
OCR Learn Page
This is where you can "train" the Paperless OCR system to correctly read your document.
1.Click the Learn icon,  .
.
The Learn page similar to the following displays:
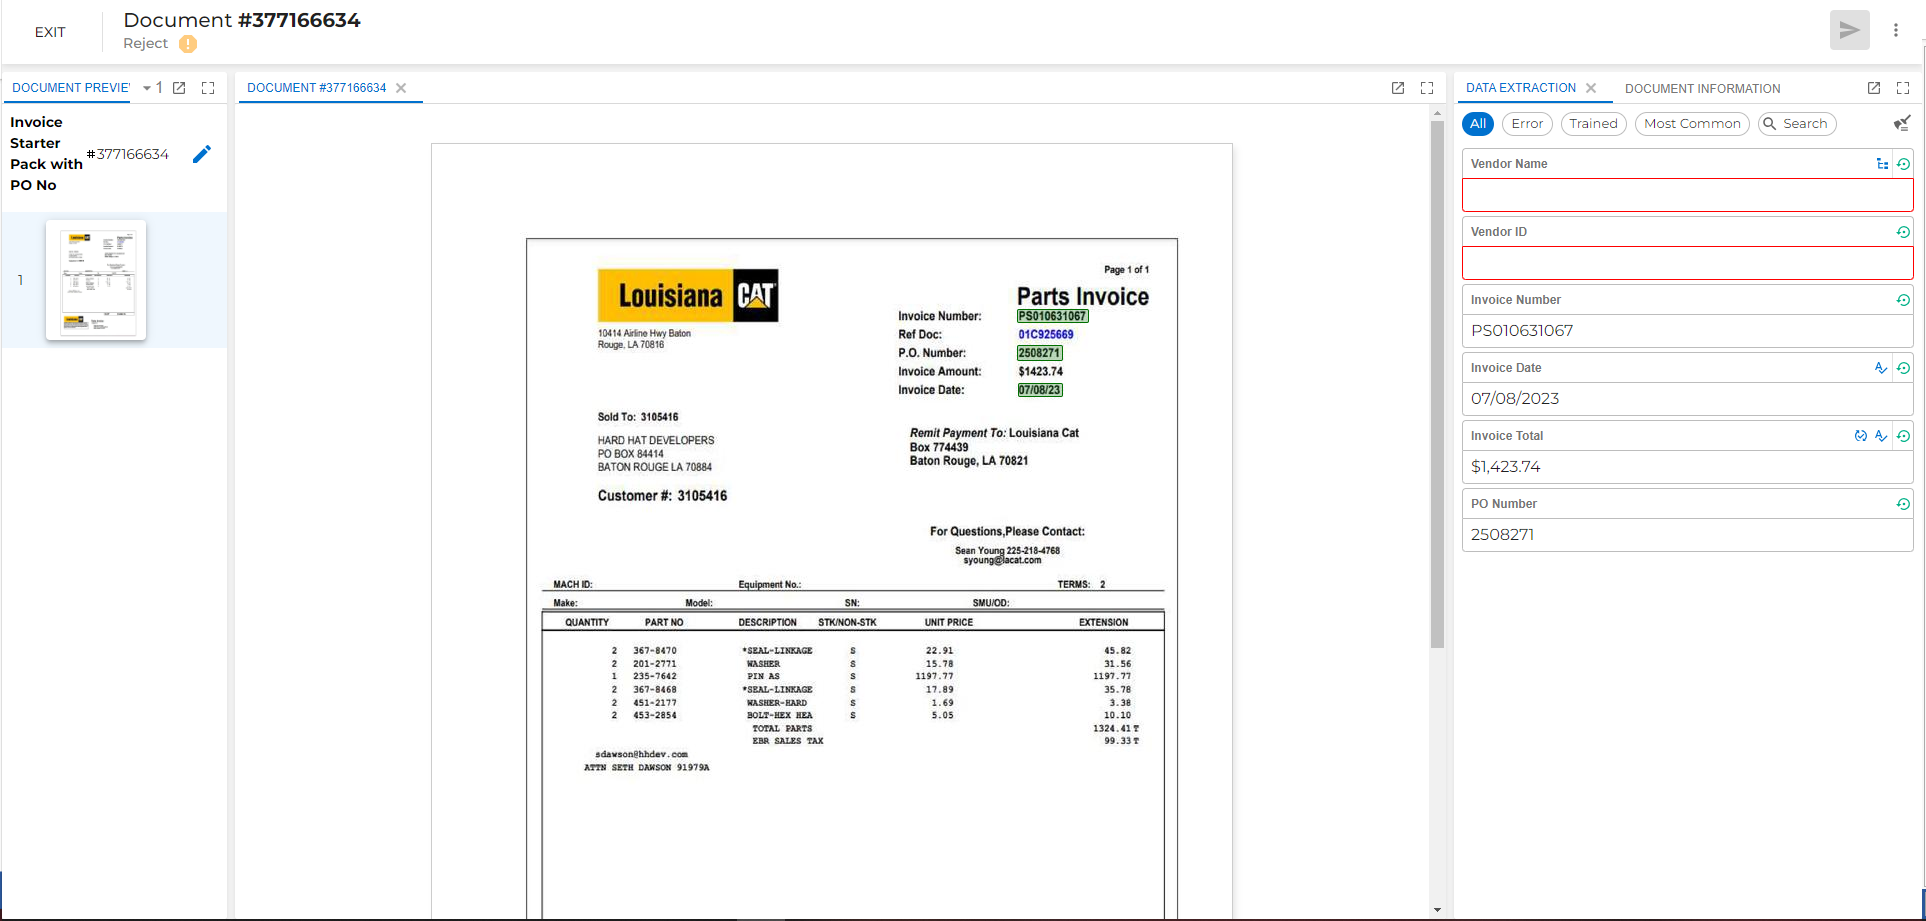
2.In the sidebar, click in a required blank field.
3.Then click to highlight the area of the invoice where that information displays.
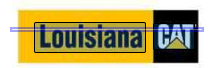
You do not need to highlight the entire area. With your left mouse button pressed, scroll over the area. You should see something similar to this:
When you release your left mouse button, the area will resemble the following:
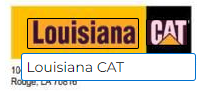
The blank field in the sidebar will now be populated.
4.Continue identifying the location--essentially "learning" the location of pertinent invoice information--of each required blank field.
When all required fields in the sidebar are populated, the Output arrow,  , turns blue.
5.Click the Output arrow. The Learn page will close and the APFlow™ page will redisplay.
The OCR status circle will change from red to green.
Immediately above the icons located at the bottom of the OCR Queue is a number and a percentage. The number reflects the number of documents that your company has run through OCR. The percentage reflects the usage percentage according to your company's plan, so you know when you are about to reach--or have exceeded--your company's OCR plan limits.