Go here to:
• Create a new routing rule without going through the wizard.
• Manage user roles.
• Manage routing groups.
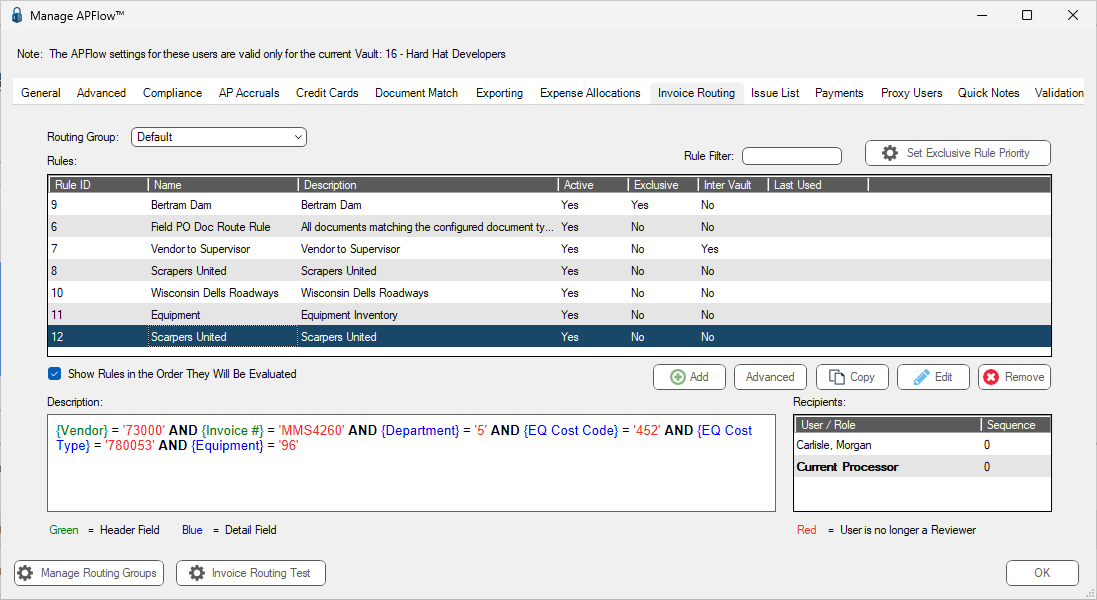
Note: If no routing rules are configured, invoices must be manually routed to reviewers each time. Routing Rules automate this by applying defined criteria (vendor, dollar amount, job, etc.).
1.Click Advanced.
Note: You can also double click on the rule entry to access the Invoice Routing Rule Properties dialog.
The Invoice Routing Rule Properties dialog displays:
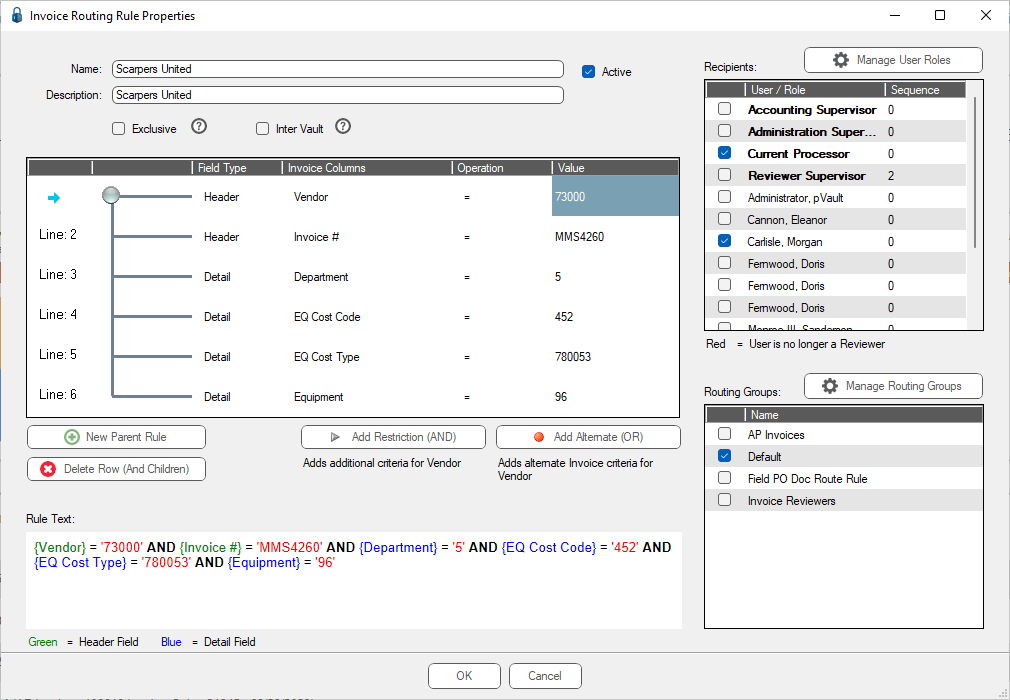
Add New Parent Rules or adjust existing rules here.
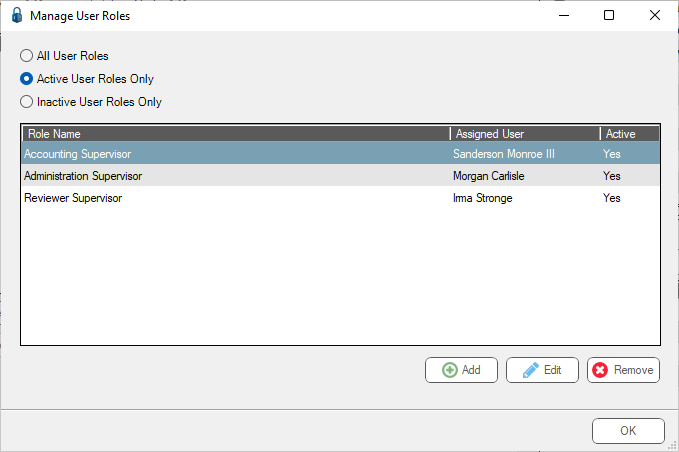
2.Click Manage User Roles. This is where you can assign users to roles.
The Manage User Roles dialog similar to the following displays:
3.Click Add or Edit.
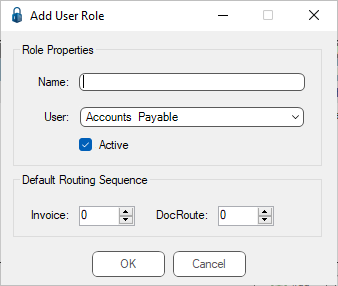
In addition to adding a user role, you can also add or adjust the role's routing sequence for invoices and within DocRoute™.
4.Click OK.
5.Click Manage Routing Groups.
The Manage Routing Rules Groups dialog similar to the following displays:

6.Click Add.
The Add Routing Group dialog displays:
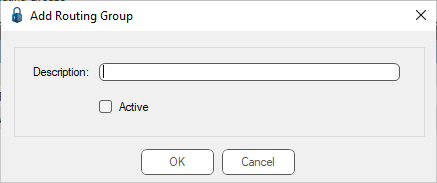
7.In the Description field, add a new routing group.
8.Click the Active check box if the newly added routing group should immediately be active.
9.Click OK.