User and security settings for the APFlow™ module are maintained on the Manage APFlow screen.
The Manage APFlow screen is accessible from the following areas within pVault®:
On the ribbon toolbar, click the APFlow tab and then click the Manage APFlow icon.
From the Invoice Manager screen, click Manage APFlow.
Note: Read more about the Invoice Manager by clicking here.
The Manage APFlow screen similar to the following displays with the General tab active:
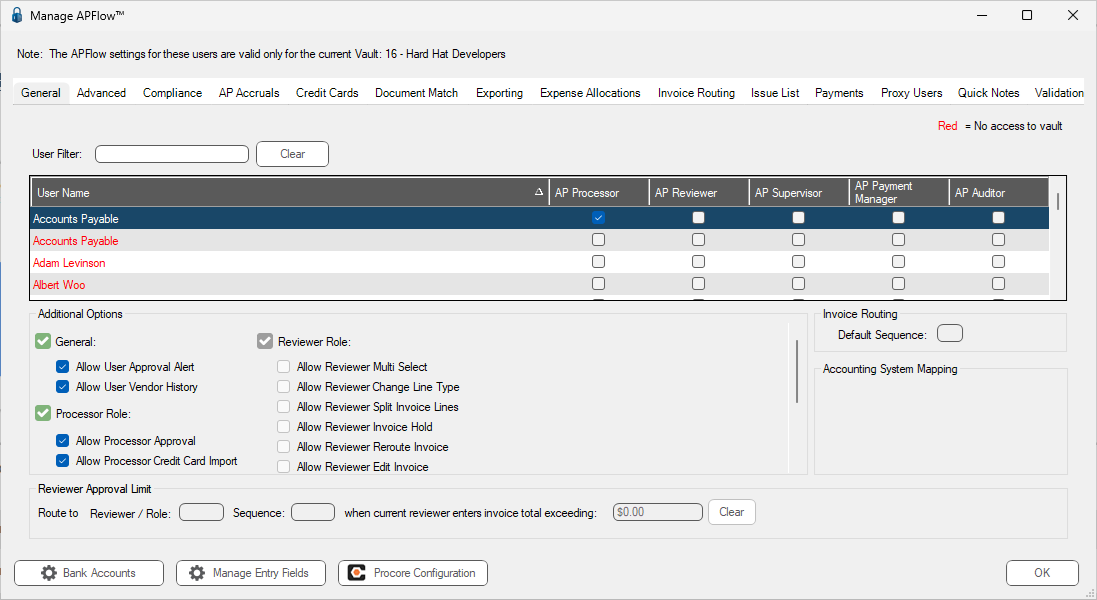
• For more information on the AP Processor, AP Reviewer, AP Supervisor, AP Payment Manager and AP Auditor roles and permissions, see General Tab.
• For more information on the Advanced tab and advanced bridge settings, see Advanced Tab.
• For more information on the Compliance tab, see Compliance Tab.
• For more information on the AP Accruals tab, expense lines and job-related lines, see AP Accruals Tab.
• For more information on the Credit Cards tab and how to create credit card templates, see Credit Cards Tab.
• For more information on the Document Match tab, document types and one time attachments, see Document Match Tab.
• For more information on the Exporting tab, see Exporting Tab.
• For more information on the Expense Allocations tab, see Expense Allocations Tab.
• For more information on the Invoice Routing tab, routing groups, rules and descriptions,see Invoice Routing Tab.
• For more information on the Issue List tab, issue names and resolution, see Issue List Tab.
• For more information on the Proxy Users tab, see Proxy Users Tab.
• For more information on the Quick Notes tab, see Quick Notes Tab.
• For more information on Bank Accounts, see Bank Accounts.
• For more information on the Manage Entry Fields, see Configure Invoice Entry Fields.
• For more information on Procore, see Procore.