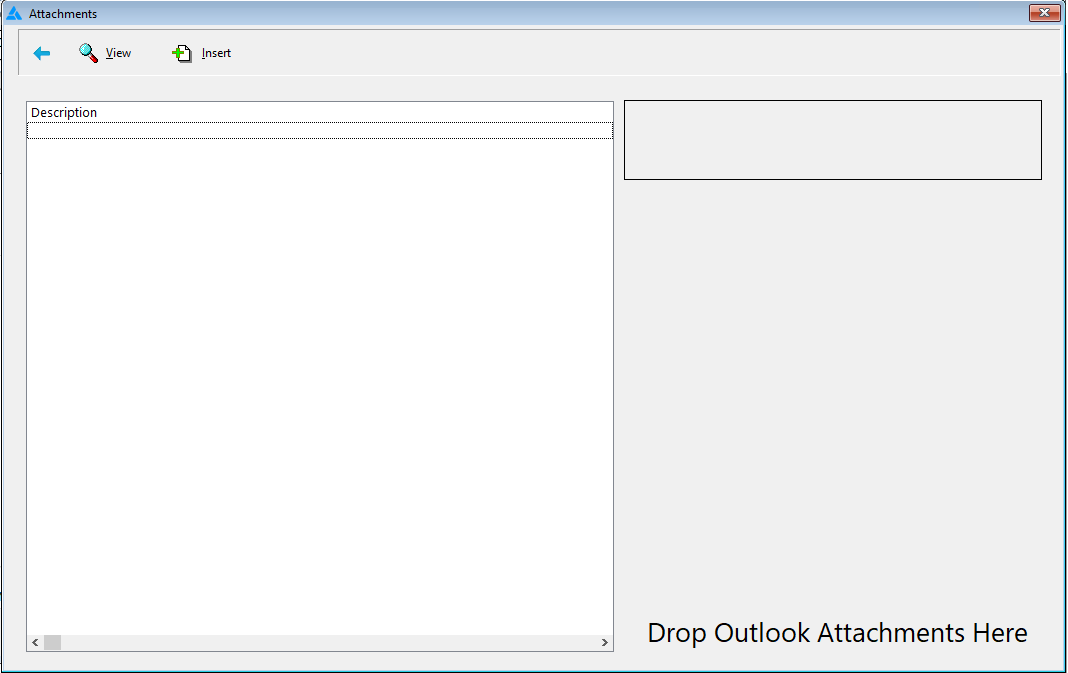
Once the Plugin is enabled, the paperclip icon in RFMS now displays attachments using the pVault® Attachment Viewer. While in RFMS, when you click on the paperclip icon, the pVault® Attachments Viewer displays. This attachments list relates to the current record you are on. From the pVault® Attachment Viewer, you can view the document image of existing attachments as well as make new attachments.
1.Click the RFMS desktop icon,  .
.
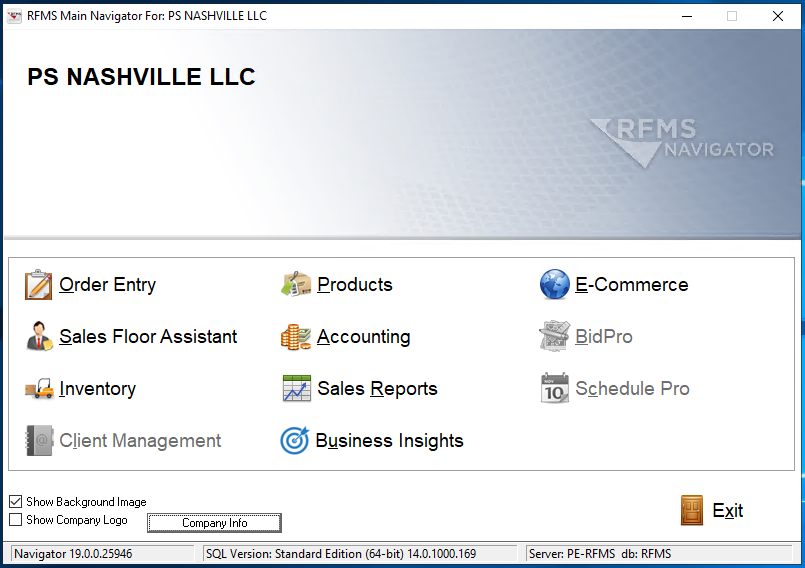
The RFMS Main Navigator screen for a specific location similar to the following displays:
2.Click the appropriate task-related icon.
A screen, based on the task-related icon clicked on the RFMS Main Navigator screen, displays:
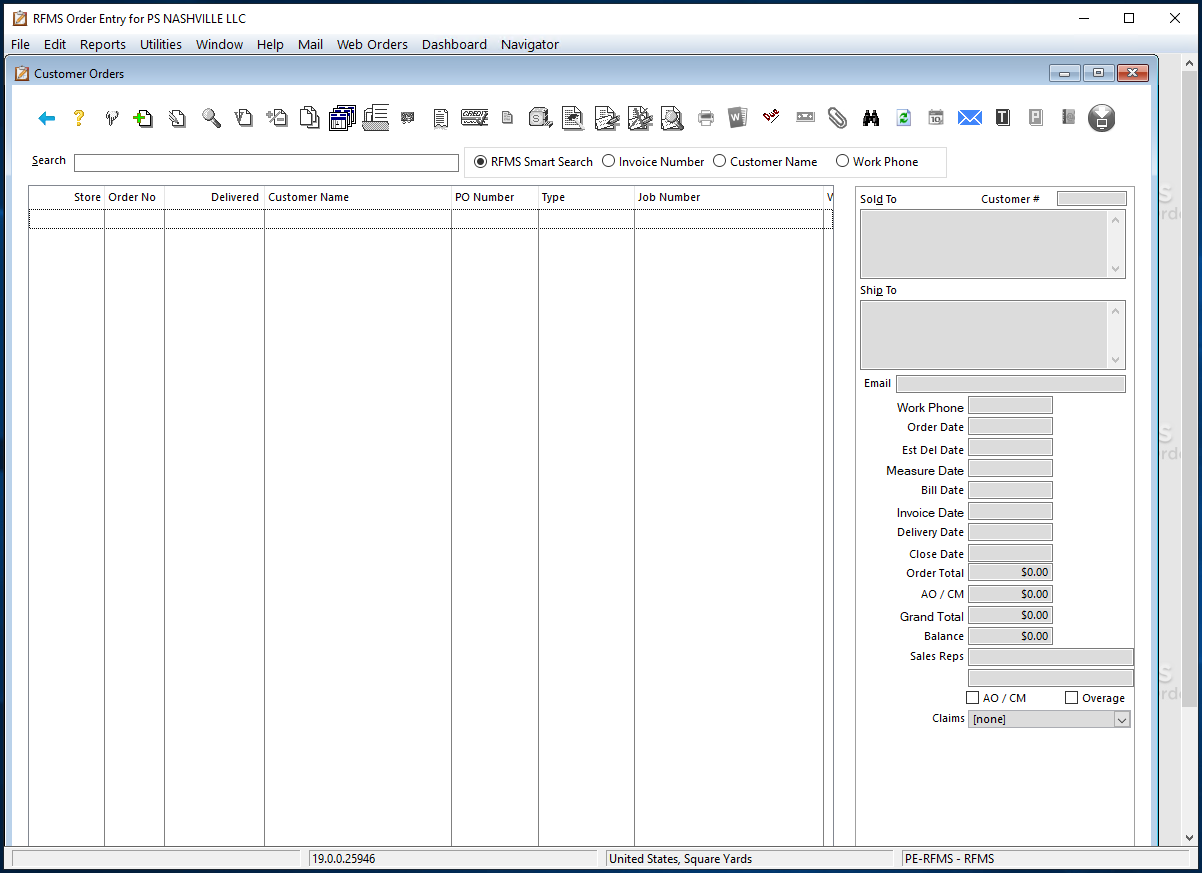
Note: This screen is associated with the Order Entry icon.
3.Click the Attachments icon,  , to browse for the file or drag and drop the document into the Viewer.
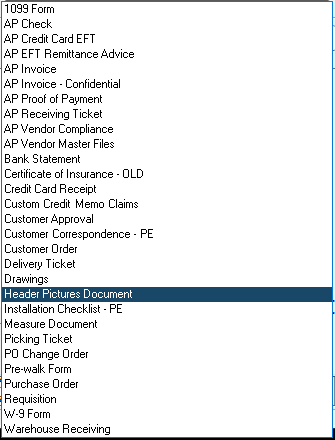
4.In the Choose Document Type dialog, use the Document Type field dropdown to select the type of document you are storing.
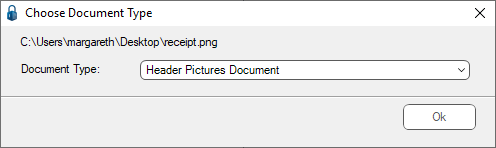
5.Click Ok.
This document is now attached.