The following is an example of how to navigate through creating a new form based on an available template. Your Web Admin determines what forms are appropriate based on your company's needs.
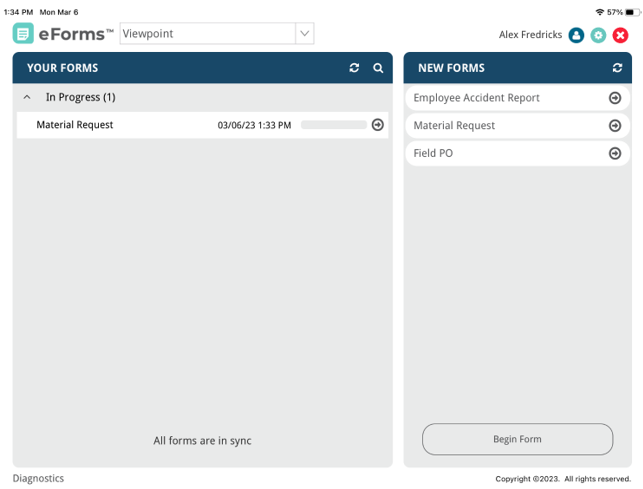
1.Click to highlight the form template.
Note: Those form templates created by your Web Admin, to which you have access, are listed here.
The Dashboard resembles the following:
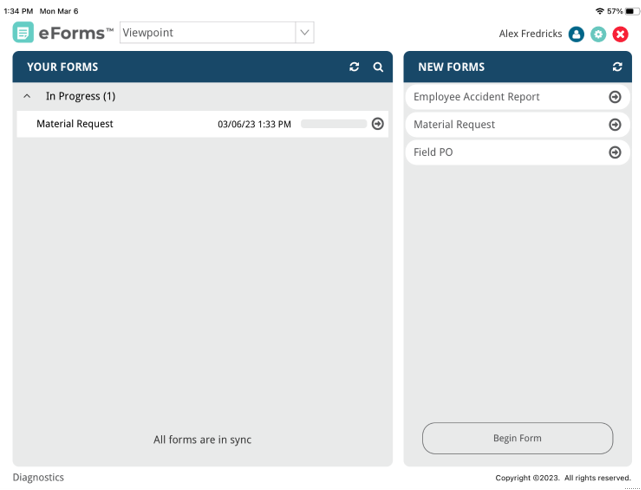
2.Click Begin Form.
The Dashboard remains visible for the name of the highlighted form displays so that you may make changes to the form title.
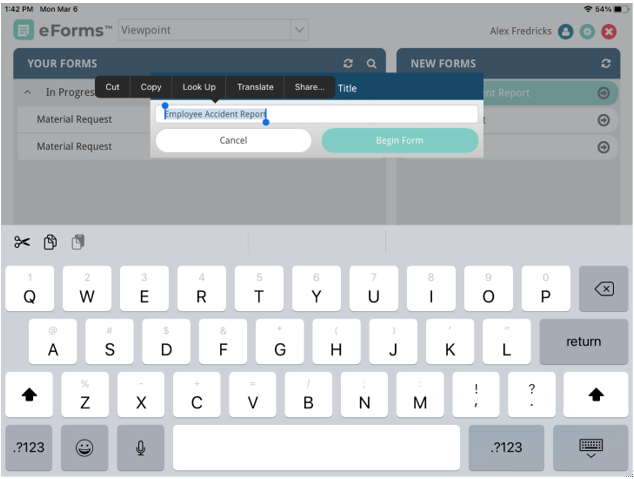
3.Make changes to the form title as appropriate. In this example, the form name was changed to include a project name.
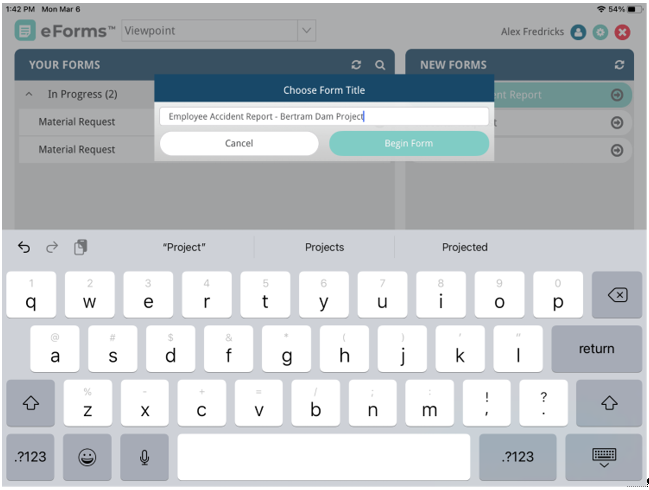
4.Click Begin Form.
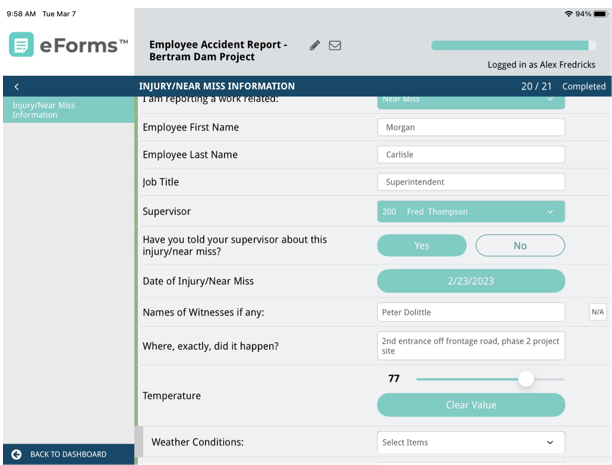
The new form, in this case Employee Accident Report - Bertram Dam Project, displays:
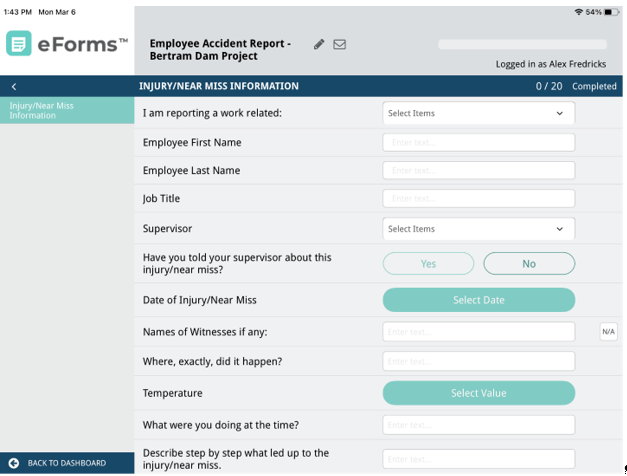
5.Click the Select Items field dropdown.
A list of available options for the field displays in a lookup similar to the following:
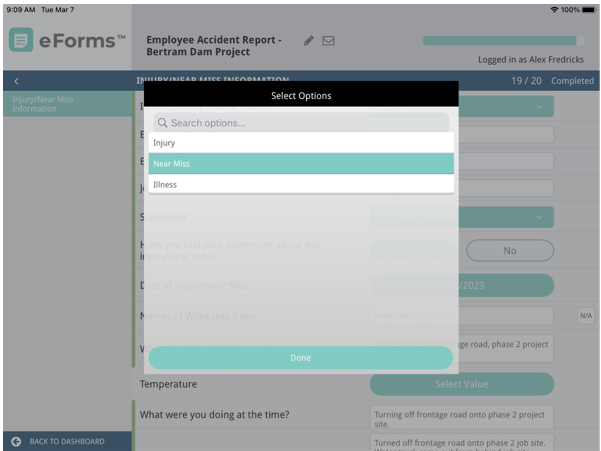
Note: If necessary, in the Search options field, start typing to narrow your search so you do not have to scroll through a long list.
6.Click the entry to select it, or if already highlighted, click Done.
7.In the next three fields, Employee First Name, Employee Last Name and Job Title, enter the appropriate information.
8.Click the Supervisor field dropdown.
A list of available options for the field displays in a lookup similar to the following:
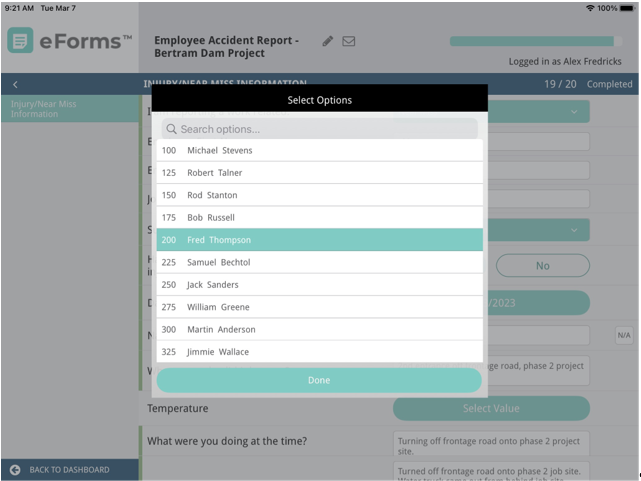
9.Click the entry to select it, or if already highlighted, click Done.
10. For the Have you told your supervisor about this injury/near miss? question, click Yes or No.
11. For the Date of Injury/Near Miss, click the associated Select Date field. The current date displays:
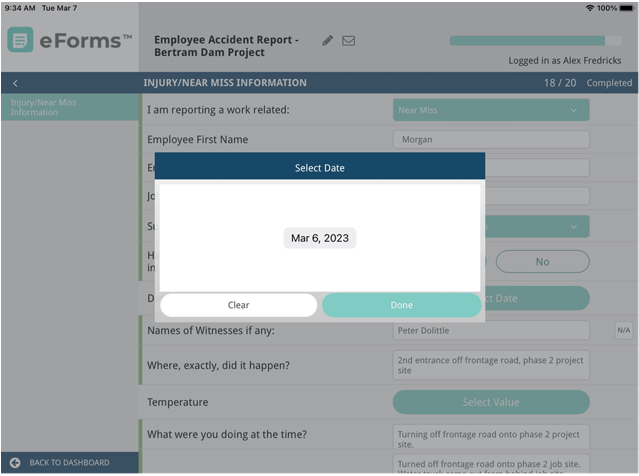
12. If that is the correct date in response to the question, click Done. Otherwise, click the date that displays to display a calendar with the current date highlighted similar to the following:
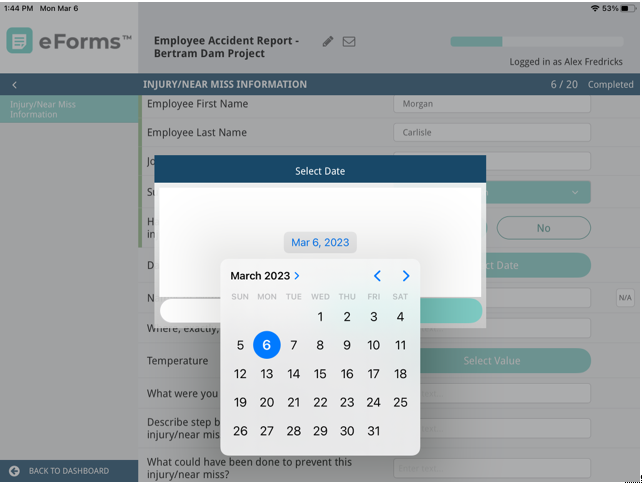
13. Use the calendar navigation to select the appropriate date. Then click the revised date to remove the calendar.
14. Click Done to populate the field in the form.
15. For the Name of Witnesses if any, if there are none, click the N/A icon. The field is grayed out.
Skip to step 16.
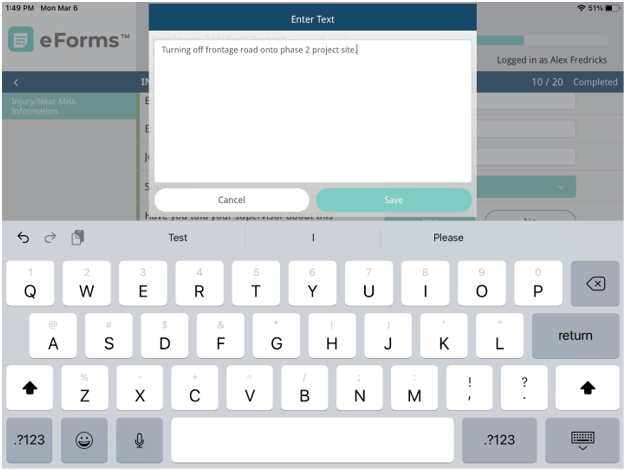
Otherwise, click the field to generate a text box where you can enter the appropriate names:
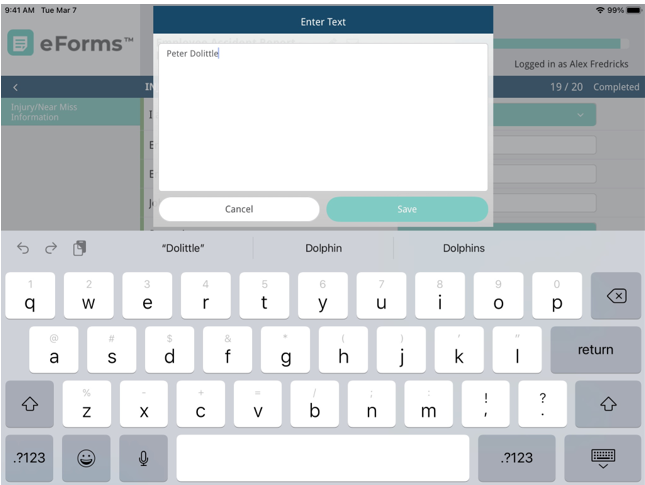
16. Once you have entered all the appropriate names, click Save.
17. For the Where, exactly, did it happen? question, click the field to generate a text box where you can enter the appropriate information:
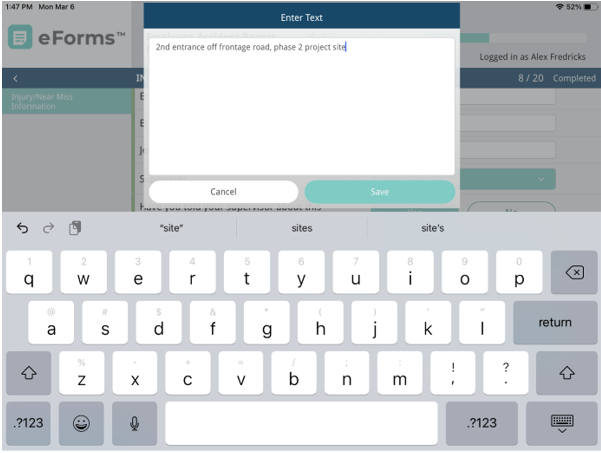
18. Click Save when finished.
19. For the Temperature, click in the Select Value field. A slider displays that you can manipulate to display the correct temperature.
Note: If you click Clear Value and respond Yes to the Are You Sure? prompt, not only does the Temperature field return to Select Value, but the Weather Conditions field is no longer visible.
20. An additional follow-up question displays, Weather Conditions. Click in the Select Items field dropdown.
A list of available options for the field displays in a lookup similar to the following:
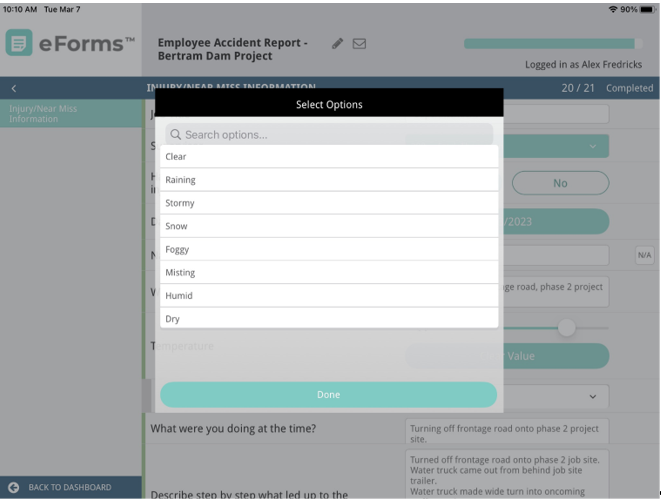
21. Click the entry to select it, or if already highlighted, click Done.
22. For the What were you doing at the time? question, click the field to generate a text box where you can enter your response.
23. Click Save.
24. For the Describe step by step what led up to the injury/near miss., click the field to generate a text box where you can enter your response.
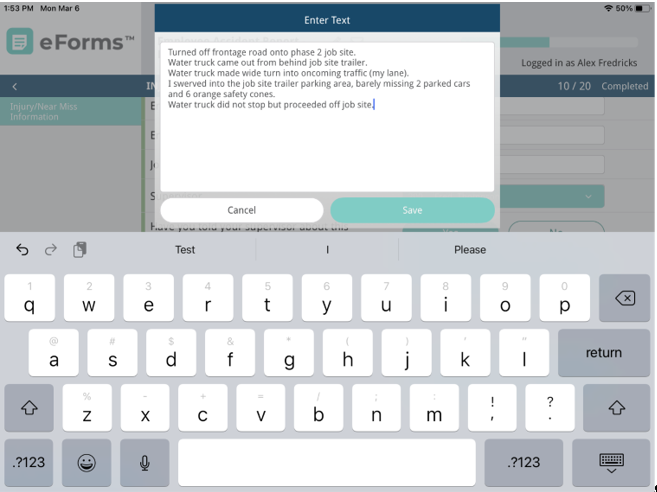
25. Click Save.
26. For the What could have been done to prevent this injury/near miss? question, click the field to generate a text box where you can enter your response.
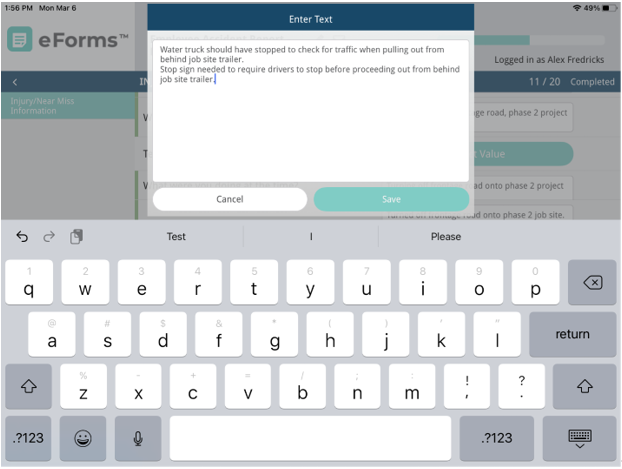
27. Click Save.
28. For the What parts of your body were injured? If a near miss, how could you have been hurt? question, click the field to generate a text box where you can enter your response.
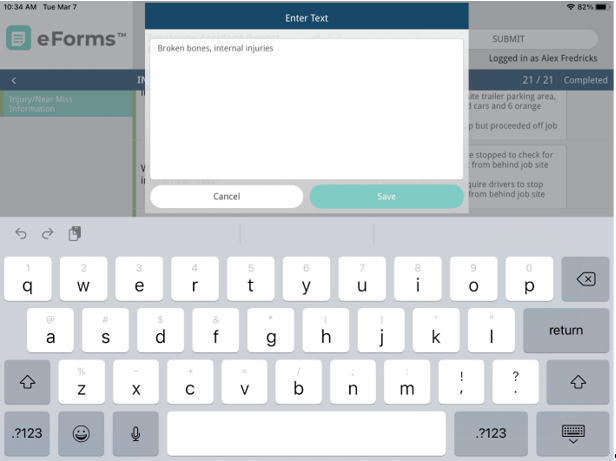
29. Click Save.
30. For the Did you see a doctor about this injury/illness? question, click Yes or No.
31. For the Has this part of your body been injured before? question, click Yes or No.
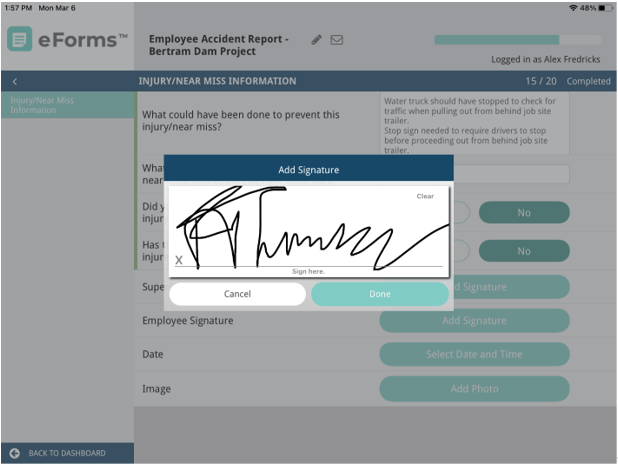
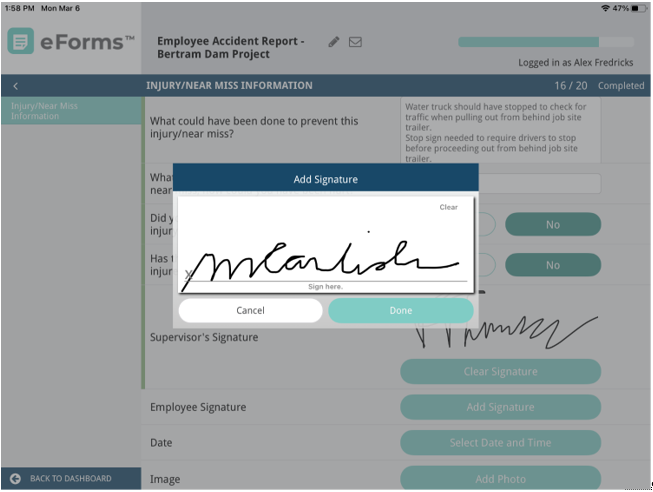
32. If the Supervisor's Signature is required, click Add Signature.
An Add Signature dialog displays:
33. Manually sign within the signature box.
Note: This is where, should you need to re-sign, click Clear to remove the signature and then sign again as appropriate.
34. Click Done.
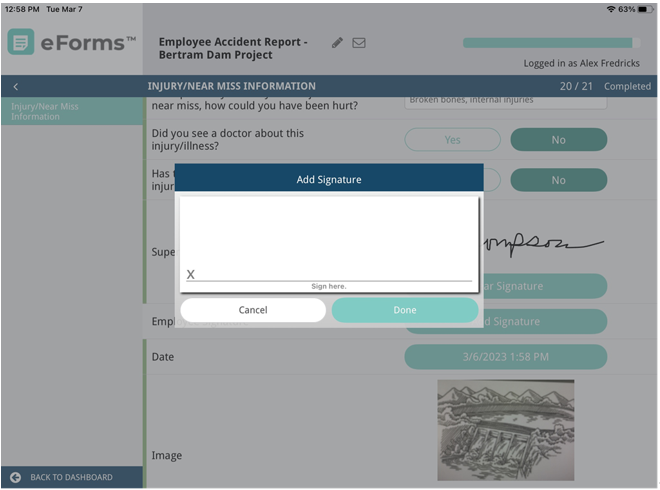
35. If the Employee Signature is required, click Add Signature.
An Add Signature dialog displays:
36. Manually sign within the signature box.
Note: This is where, should you need to re-sign, click Clear to remove the signature and then sign again as appropriate.
37. Click Done.
38. For an appropriate Image, click Add Photo.
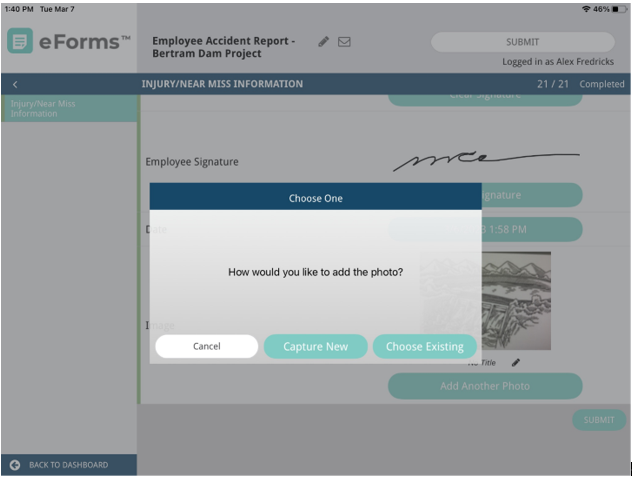
39. Click Capture New to take a photo or click Choose Existing to select a photo from your Photo Gallery.
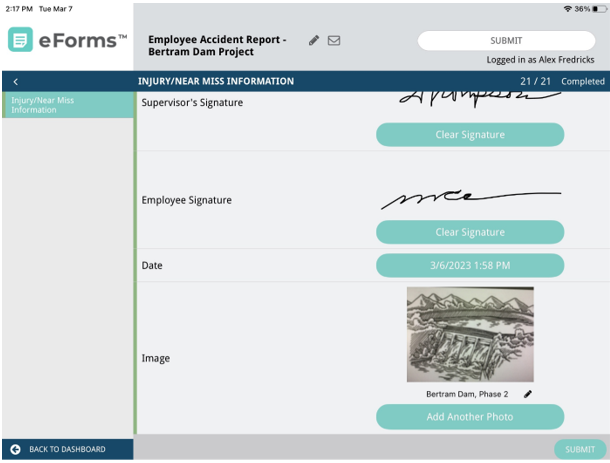
The complete Employee Accident Report form should resemble the following:

40. Notice that the photo has no caption or title. Click the  icon.
icon.
The Edit Media Title dialog displays:
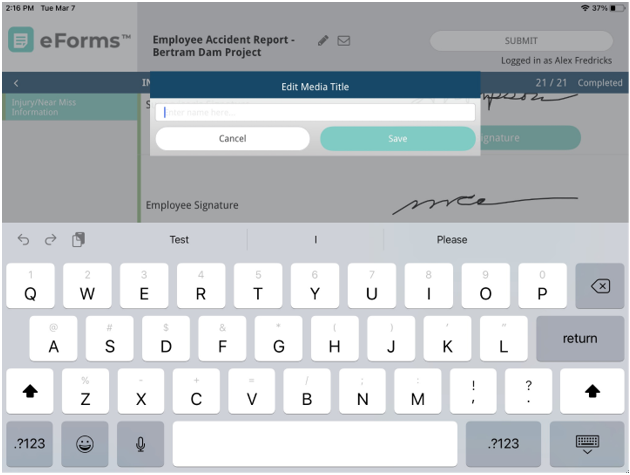
41. Enter a title or caption for the photo.
42. Click Save.
The text displays below the photo on the form similar to the following:
43. Notice the edit icon that displays next to the form name. You can click the icon if you need to change for name of the form. This dialog displays:
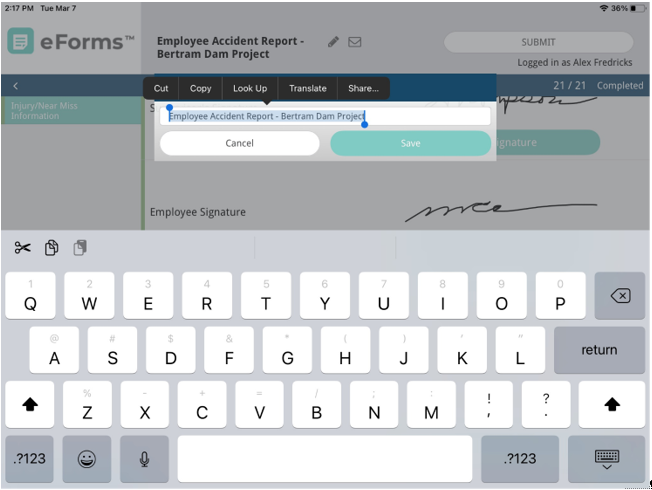
44. Make any necessary changes and click Save.
If no changes are necessary, click Cancel to close the dialog.
45. Notice the  route icon that displays next to the form name. You can click this icon if you need to route the form. This Routing dialog displays:
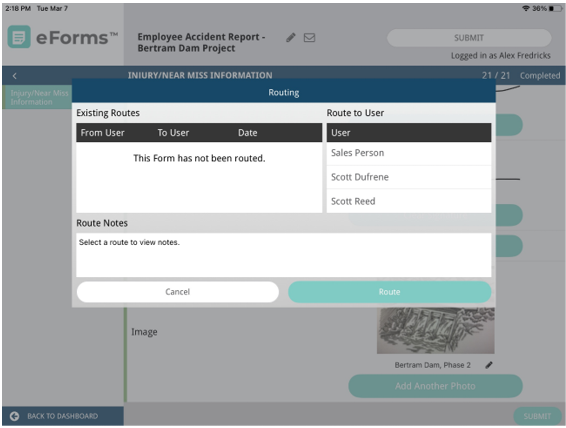
46. Scroll through the Route to User grid to select the individual to whom the form is to be routed.
47. In the Route Notes text box, enter pertinent information for the individual who receives the form.
48. Click Route.
49. Click SUBMIT.
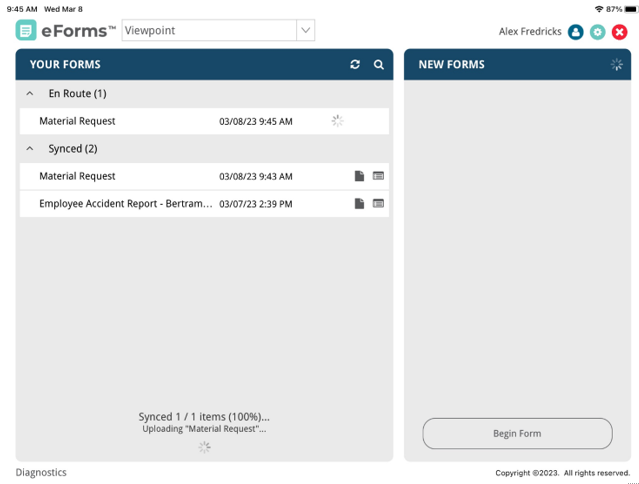
The Dashboard displays with the newly created form listed in the Submitted grid.
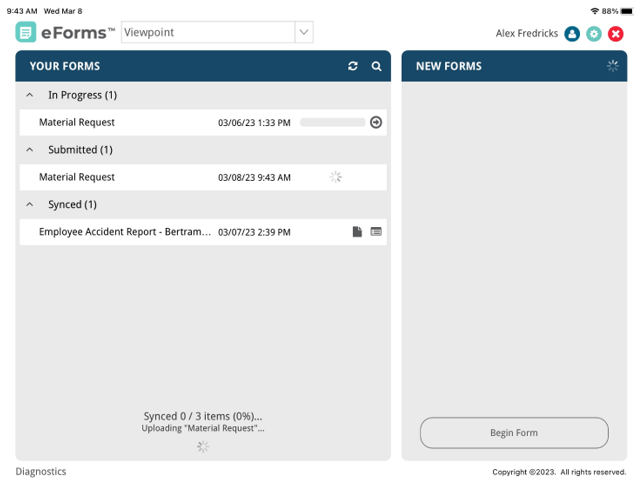
Note at the bottom of the page that the most recently submitted form upload is underway.
The newly created form displays in the Synced grid. You can now create a PDF of this form, by clicking the form pdf icon,  . You can also review the form in a read-only format by clicking the
  icon.
icon.