Ad Hoc Users are those external users who are subscription users. These subscription users pay for eForms™ and/or eCapture™ only. Ad Hoc are generally users who were added on the fly through Document Routing but they do not log in to other apps. They are not Sage Paperless Construction users and they can do nothing within Sage Paperless Construction.
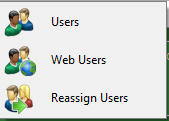
1.From the ribbon toolbar, click Administration.
2.Click the Users dropdown,  .
.
3.Click Web Users.
The Web User Accounts window similar to the following displays:
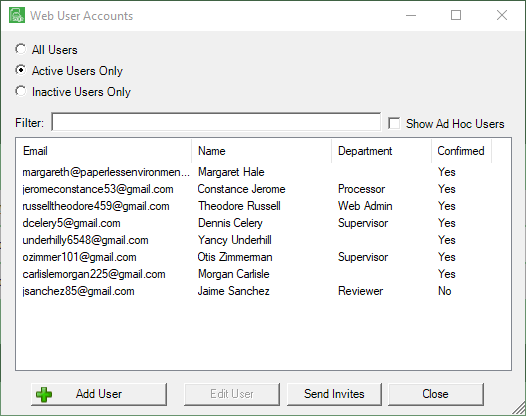
If looking to view Active and Ad Hoc Users, click the Show Ad Hoc Users check box.
If adding an Ad Hoc User, continue with step 4.
If adding a Web User, click here.
Note that there is a Filter text field where you can start to enter a user to narrow the list.
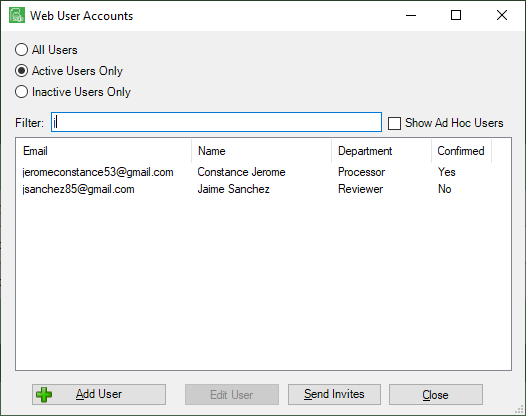
4.Start typing in the Filter field to narrow the list similar to the following:
Not only can you filter on the Email column entries, but you can also filter on the Name column and Department column entries too.
5.Click Add User.
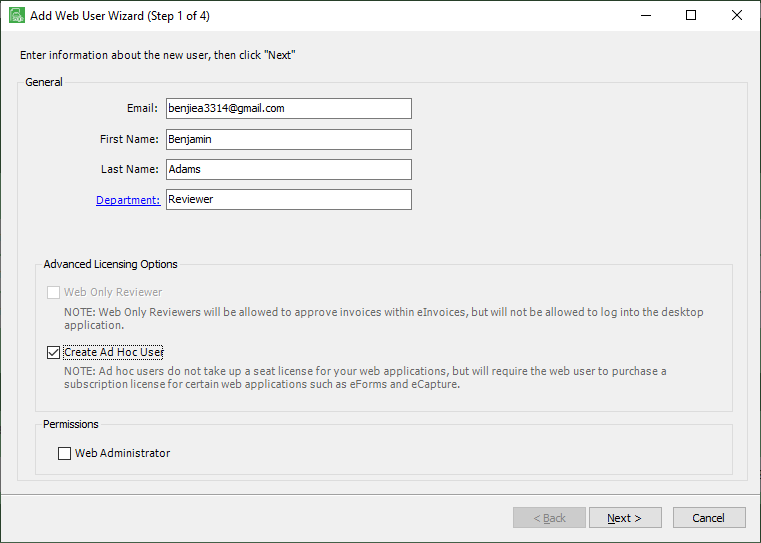
The Add Web User Wizard (Step 1 of 4) window similar to the following displays:
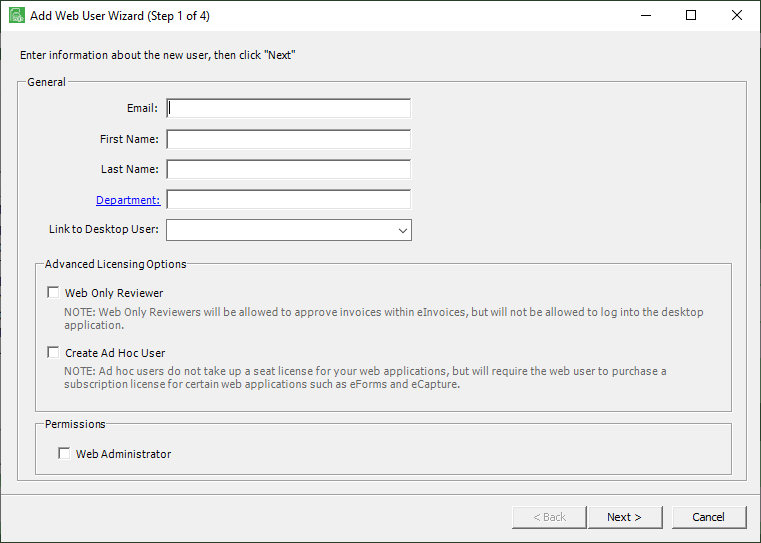
6.In the Email field, enter the Ad Hoc User's email.
7.In the First Name field, enter the Ad Hoc User's first name.
8.In the Last Name field, enter the Ad Hoc User's last name.
9.Click the Department field label to display the Previous Department Values dialog box.
You can also use your lookup key (by default this is F4 but it can be configured). This is where the list of departments you have previously added will display.
If you need to add a new department, you can enter it in the Department field. The new department that you added will display on the Previous Department Values dialog box after the user is created.
In this field, you can type any value that you want to filter on.
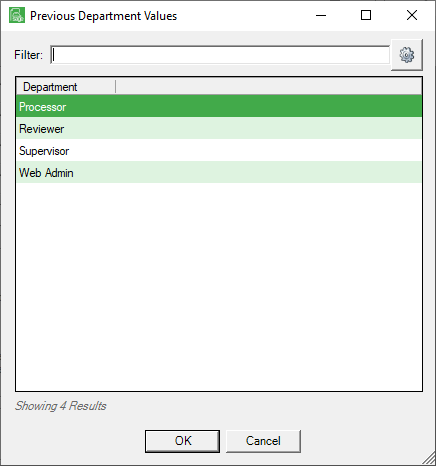
Note that there is a Filter text field where you can start to enter a value to narrow the list if necessary.
If you want to change the order of the list, click in the Department column header to sort the values.
10. Leave the Link to Desktop User field blank.
11. Click the Create Ad Hoc User check box.
Note: When the Ad Hoc Users check box is selected, the Internal User field will no longer be visible.
The completed window should resemble the following:
12. Click Next.
The Add Web User Wizard (Step 2 of 4) window similar to the following displays:
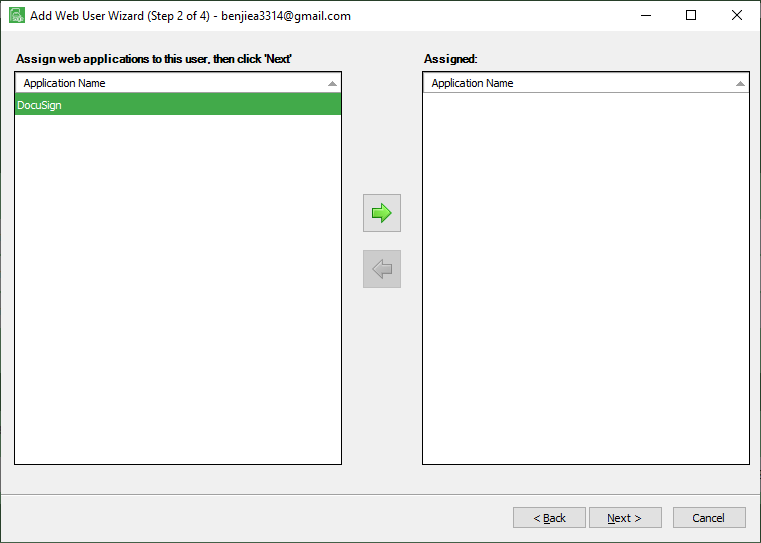
13. Click to select the appropriate application(s) in the left pane and click the arrow,  , to move the selected web application(s) to the Assigned pane.
The completed window should resemble the following:
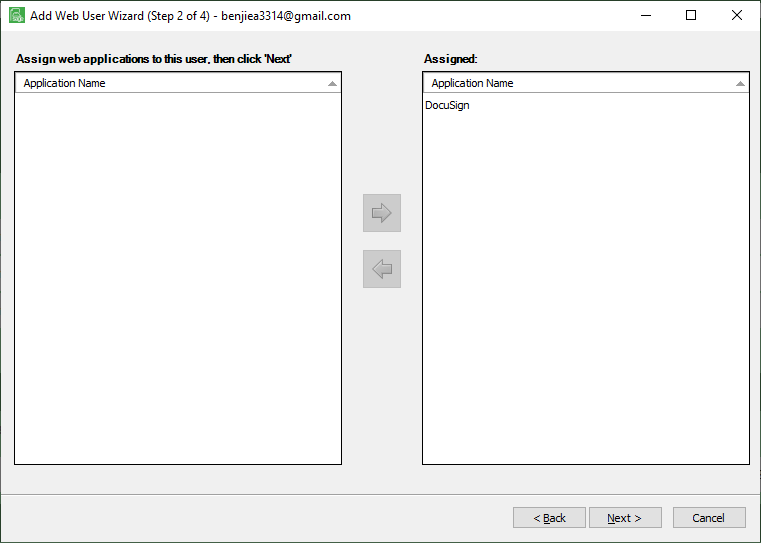
14. Click Next.
The Add Web User Wizard (Step 3 of 4) window similar to the following displays:
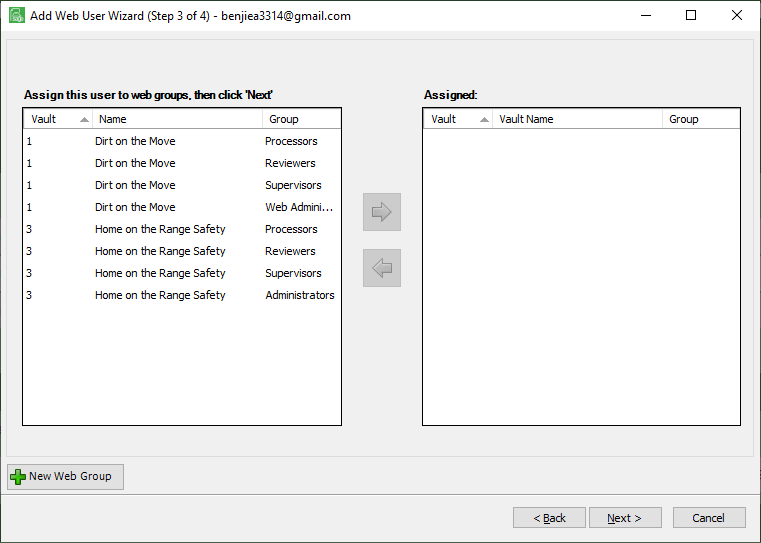
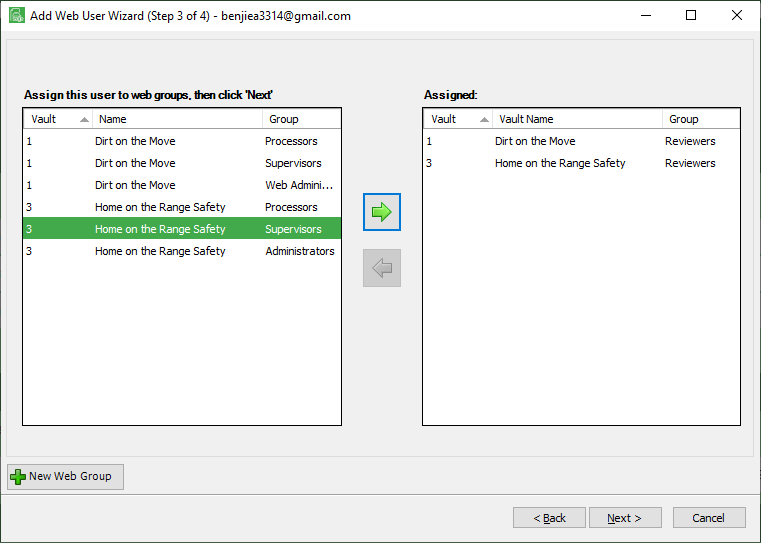
15. Click to select the appropriate web group(s) in the left pane and click the arrow, , to move the selected web group(s) to the Assigned pane.
The completed window should resemble the following:
16. Click Next.
The final Add Web User Wizard window displays:
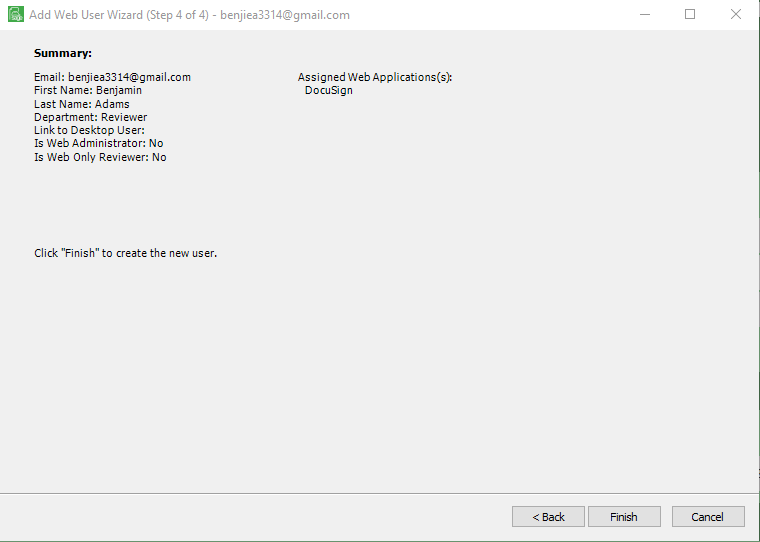
This window displays a summary of all the settings selected or entered during the Add Web User Wizard Ad Hoc setup.
17. Review the information in the Summary portion of this screen.
18. If any of the information is incorrect, click Back to make necessary corrections and then return to this screen.
19. Click Finish to complete the new Sage Paperless Construction Ad Hoc User.