Web users must confirm their email addresses before they can use a Sage Paperless Construction web application. This confirmation is done by sending the web user an invitation email containing a confirmation link.
1.From the ribbon toolbar, click Administration.
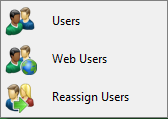
2.Click the Users dropdown,  .
.
3.Click Web User.
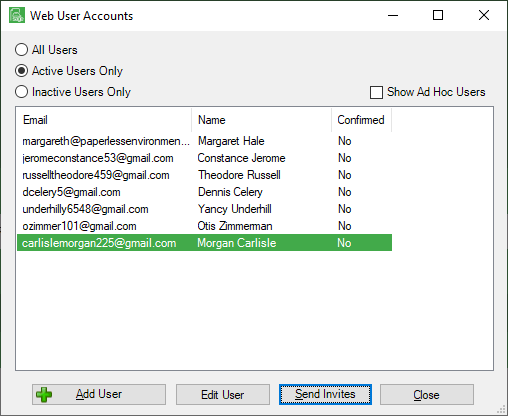
A Web User Accounts window similar to the following displays:
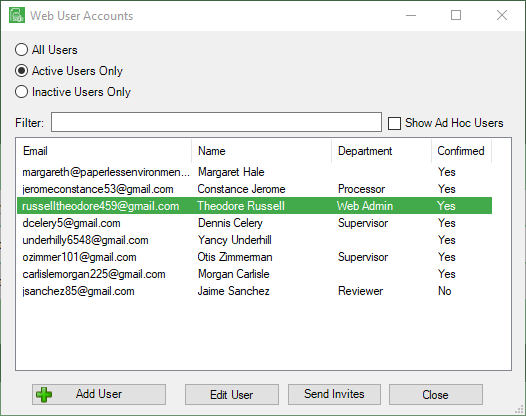
Note: The confirmation status of each web user is shown in the Confirmed column of the web user list.
Note that there is a Filter text field where you can start to enter a user to narrow the list.
4.Start typing in the Filter field to narrow the list similar to the following:
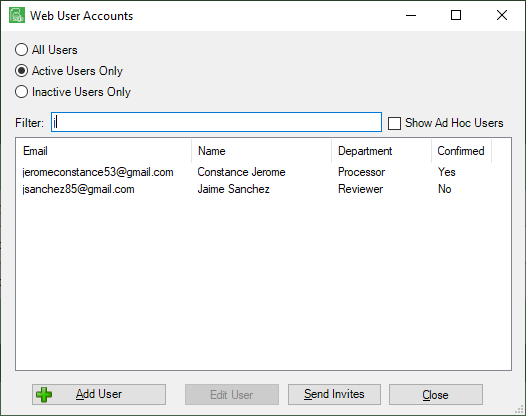
Not only can you filter on the Email column entries, but you can also filter on the Name column and Department column entries too.
5.Click Send Invites.
The Send Web User Invites dialog box similar to the following displays:
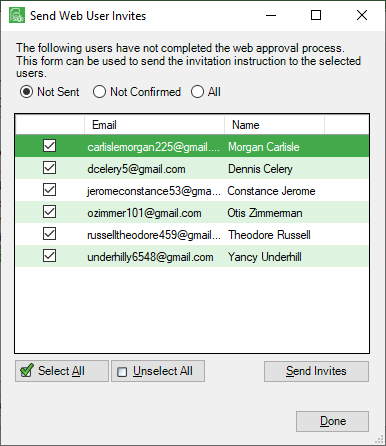
6.Click to select one of the following status groups:
• Not Sent - Displays a list of web users to whom a web invite email has not been sent.
• Not Confirmed - Displays a list of web users who have not confirmed their email addresses.
• All - Displays all web users.
6.Check the email addresses where invitations should be sent.
7.Click Send Invites.
The number of invites sent will be reflected in the following dialog box:
8.Click OK.
9.Click Done to close the Send Web User Invites dialog box.
If more individuals were listed on the Send Web User Invites dialog box than were sent invites, the following dialog box will display:
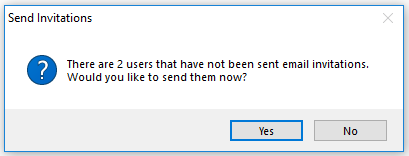
10. Send the remaining email invitations out by clicking Yes.
Do not send the remaining email invitations out by clicking No.
11. From the Web User Accounts window, highlight the new user similar to the following:
12. Click Edit User.
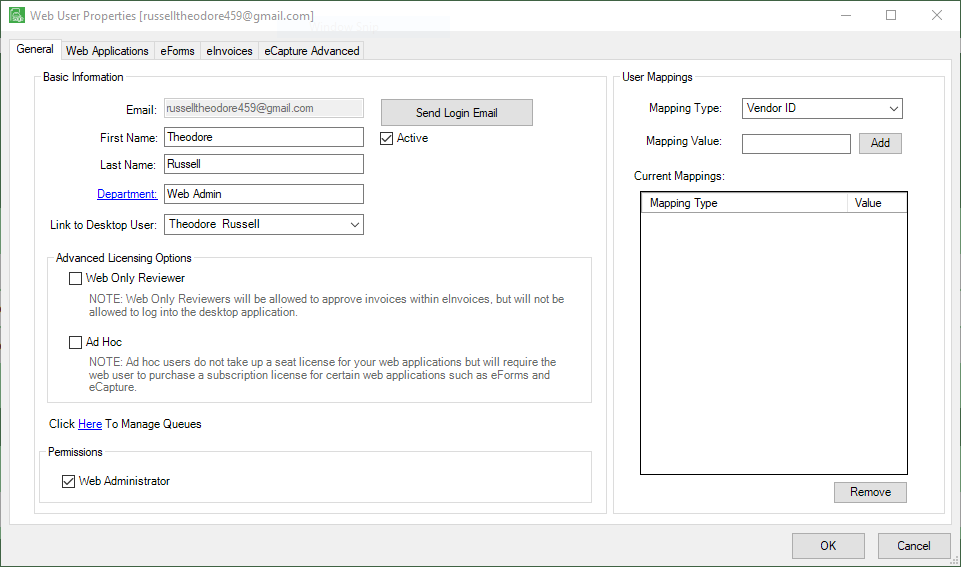
The following window displays:
Important:
If the web user is not yet fully synched, a dialog box will display indicating This user has not been synched with Cloud Services. Try editing again in a minute.
If the dialog box displays, wait a short while before continuing with step 13. Click OK to close the dialog box.
13. In the Internal User field, use the dropdown to link the user to the Reviewer in Sage Paperless Construction. (eInvoices™ Review module only)
14. Click Send Login Email.
A dialog box similar to the following displays:
15. Click OK.