Adding more vaults to the Sage Paperless Construction system enables documents to be stored from another department or another company separately. This keeps some vault documents from inadvertently mixing with other vault documents (i.e. Human Resources, Confidential, etc.).
Note: As many vaults as the Sage Paperless Construction license allows may be added.
1.From the ribbon toolbar, click Administration.
2.Click Vaults,  .
.
The following Vaults window displays:
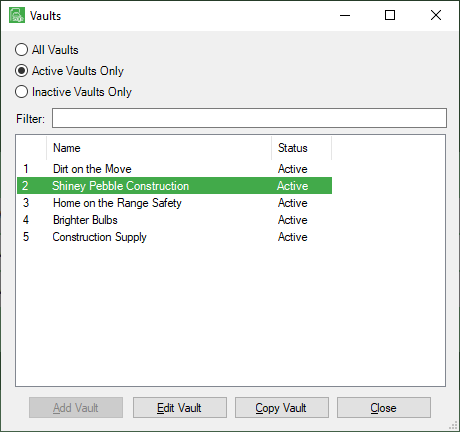
3.Click Add Vault to initiate the Add Vault Wizard.
The Add Vault wizard consists of four windows used to gather the information needed to set up the vaults in Sage Paperless Construction.

4.In the Vault Number field, keep the system-generated number or enter a meaningful company number to assign to the vault.
5.In the Name field, enter the company name.
6.In the Description field, enter a description of the vault or reenter the company name.
Note: This is a required field.
The completed window should resemble the following:

7.Click Next.
The second Add Vault wizard window displays:
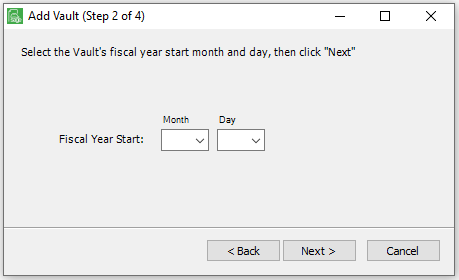
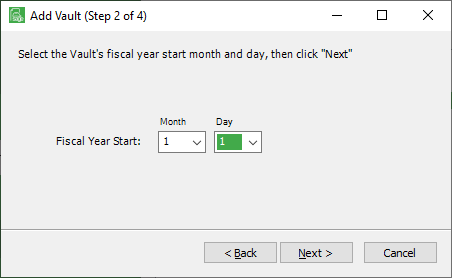
8.In the Fiscal Year Start field, click the down arrows to select the Month and Day numbers. This information will be used for document retention purposes.
Based on your company fiscal year start date, the completed window should resemble the following:
9.Click Next.
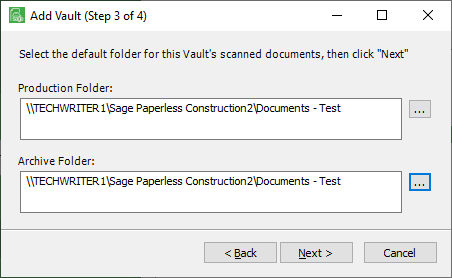
The third Add Vault wizard window displays:
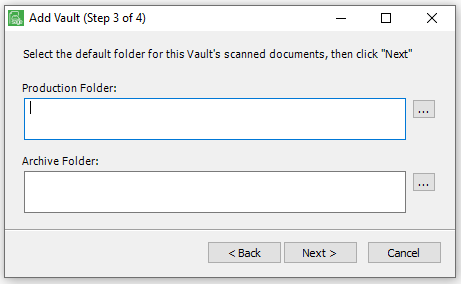
10. In the Production Folder field, specify where the current vault’s indexed documents will be stored. Manually enter the folder location, or browse for it by clicking  to locate and systematically populate the folder location in the field.
11. In the Archive Folder field, specify where the indexed documents should move when they reach the archive age. Manually enter the folder location or browse for it by clicking to locate and systematically populate the archive folder location in the field.
Note: The Archive Folder field is not required.
Based on where you will store your indexed documents, this window will resemble the following:
12. Click Next.
The fourth Add Vault wizard window contains a summary of all the field information entered in wizard windows 1 through 3.
The window will resemble the following:
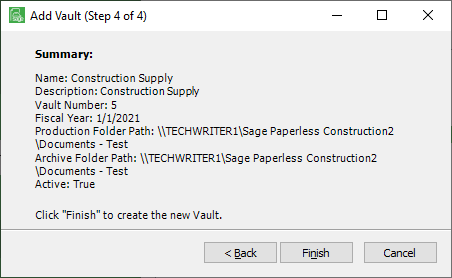
13. Review the vault summary information.
If any of the information is incorrect, click Back and revise the information accordingly.
14. Once the information on this screen is correct, click Finish.
The Vault Properties screen displays:
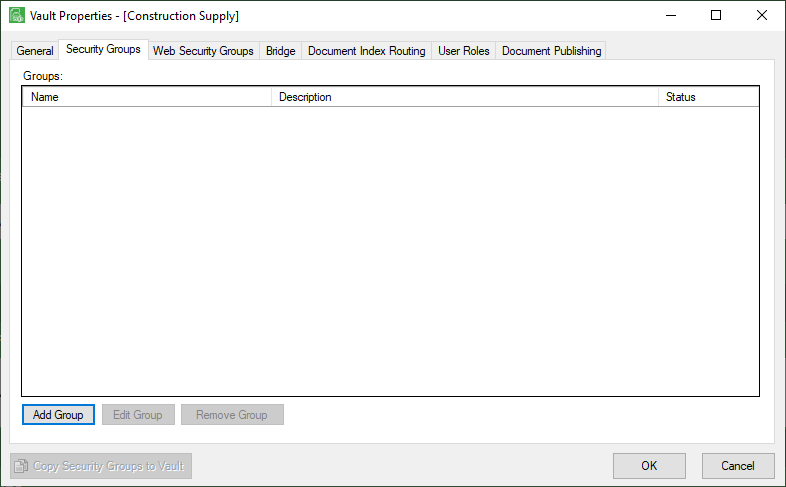
15. Continue setting up security groups, etc. for the new vault. Refer to the Security Groups tab.