1.From the ribbon toolbar, click Administration.
2.Click the Types dropdown,  .
.
3.Click Index Types.
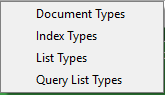
The Index Types window resembling the following displays:
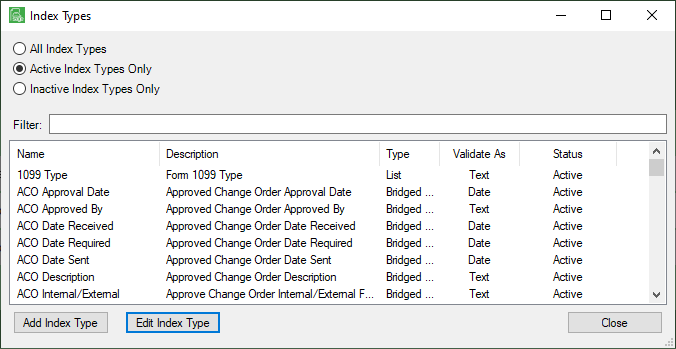
Note that there is a Filter text field where you can start to enter an index type to narrow the list.
4.Start typing in the Filter field to narrow the list similar to the following:
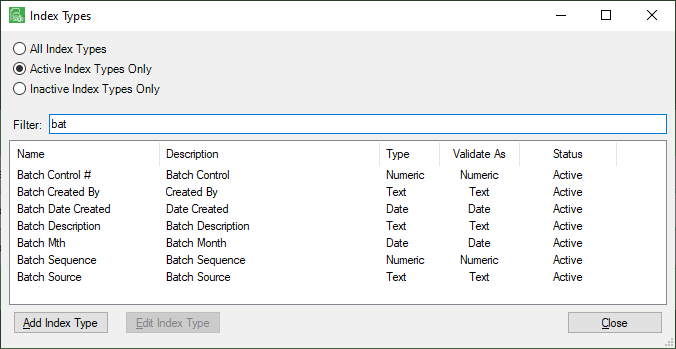
Not only can you filter on the Name column entries, but you can also filter on the Description, Type, Validate As and Status column entries too.
5.Click Add Index Type.
The first Create Index Type wizard window displays:
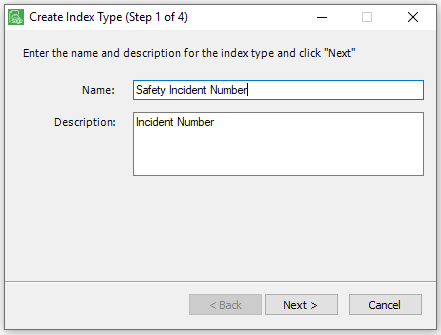
6.In the Name field, type the new index type.
7.In the Description text box, type a suitable description to associate with the new index type. This field is required.
8.Click Next.
The second Create Index Type wizard window displays:
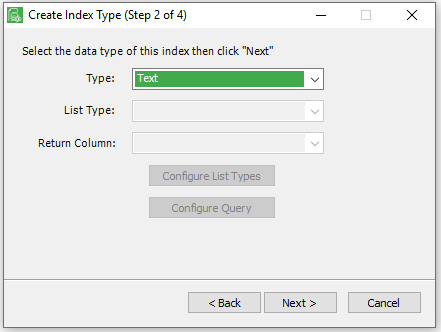
9.In the Type field, use the dropdown to select the type of data to be collected with this index value. Select from one of the following:
• Text – index data is treated as text.
• Numeric – index data is validated as a numeric value.
• Date – index data is validated as a date.
• List – index data is pulled from a predefined list of values. (Refer to List Types )
• Bridged List – index data is queried from the accounting system that is bridged to the vault.
• Query List – index data is queried from a custom query designed by the system administrator. (Refer to Query Lists )
If selecting List, continue with step 9.
If selecting BridgedList, skip to step 10.
If selecting Query List, skip to step 13.
If selecting Text, Numeric or Data type indexes, skip to step 15.
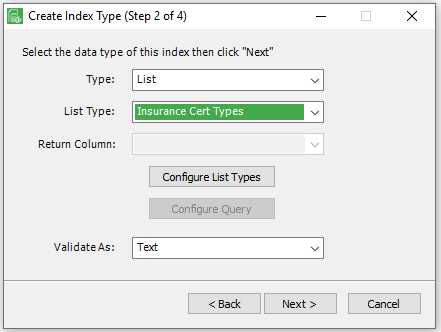
10. In the Type field, use the dropdown to select List.
Note: To create a new List Type, click Configure List Types. (Refer to List Types)
 |
|
11. In the Type field, use the dropdown to select BridgedList.
12. In the List Type field, use the dropdown to select a predefined bridge list.
13. In the Return Column field, use the dropdown to select the column to return from the BridgedList.

14. In the Type field, use the dropdown to select Query List.
15. In the List Type field, use the dropdown to select a predefined query list.
Note: To set up a new Query List, click Configure Query.
16. In the Return Column field, use the dropdown to select the column to return from the Query List.
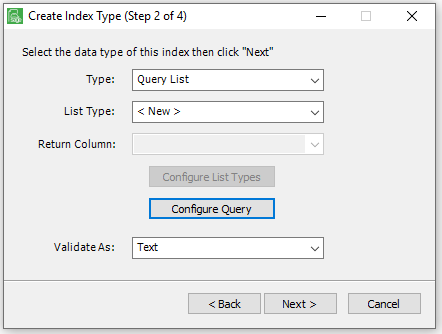
17. In the Validate As field, use the dropdown to select how Sage Paperless Construction should validate the information entered. Select from one of the following:
•Text (default)
•Numeric
•Date
18. Click Next.
The third Create Index Type wizard window displays:
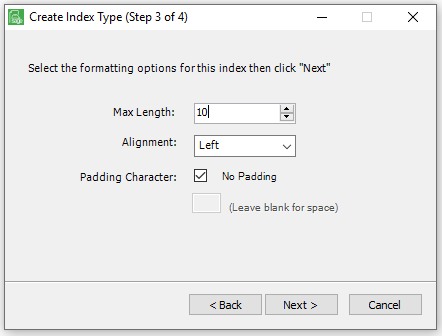
19. In the Max Length field, use the up and down arrows to determine the maximum number of characters allowed for this index type.
20. In the Alignment field, use the dropdown to establish the alignment of the index value.
Note: Left (justified) is the default.
21. If the Alignment value is Left, click the Padding Character No Padding check box.
If the Alignment value is any other value, a padding character may be added. Enter a padding character in the box.
For example: If the accounting system contains check numbers that are 10 digits long, right justified with leading zeroes, select a Max Length of 10, an Alignment of Right and the Padding Character number to 0.
22. Click Next.
The fourth Create Index Type wizard window displays:
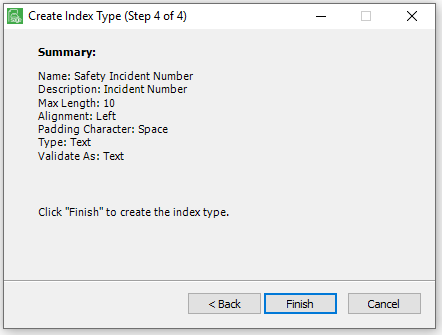
23. Review the summary of all selections made throughout the Create Index Type wizard.
24. If any changes are needed, click Back and make the necessary modifications.
If no changes are needed, click Finish.