After clicking New Invoice on the APFlow™ sidebar, an Invoice Entry screen similar to the following (based on the bridged accounting system) displays:
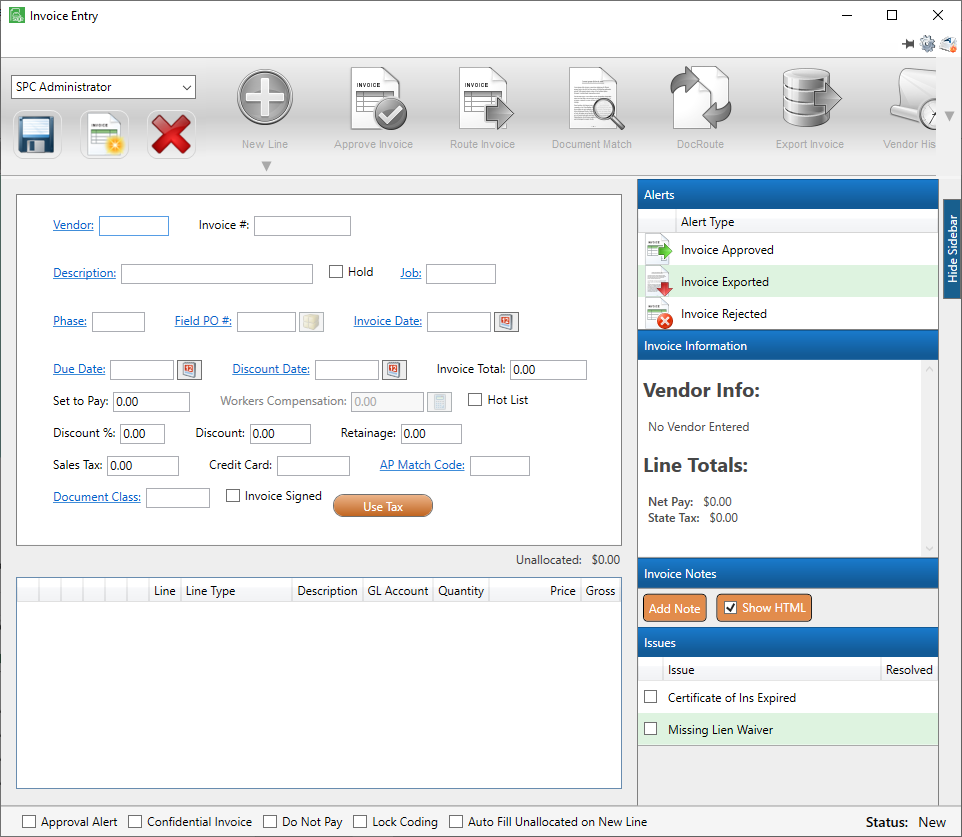
1.In the top pane, enter the invoice header information.
For the New Line icon to be active, the Vendor and Invoice # fields must be entered.
2.Click the Vendor field label (displaying in blue font) to display the vendor list.
Note: Any field label that displays in blue font and underlined has an associated lookup utility. For more information on field lookups, click here.
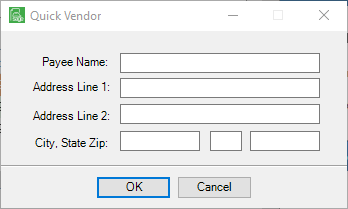
For Sage 300 only: The Quick Vendor icon that displays adjacent to the Vendor field, Note: This is not the same as Add Vendor, as that functionality is for a new vendor that is not yet in the accounting system but will be generating invoices on a frequent basis. Click here to read more about the Add Vendor functionality. |

3.Based on the invoice, enter the invoice number in the Invoice # field.
The New Line icon will now be active.
4.Click the New Line icon dropdown,  .
.
The dropdown list displays:
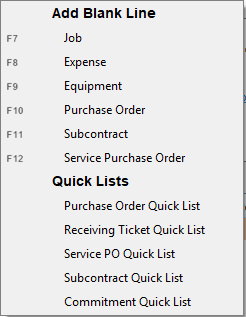
5.From the dropdown, select the appropriate invoice line type.
This selection will determine which fields display in the Invoice Entry screen, third or bottom pane.
Note: Fields are also determined by the bridged accounting system.
6.In the bottom pane, fill all pertinent fields.
7.Click the New Line dropdown as many times as necessary to enter all invoice lines.
8.In the Invoice Entry sidebar, add Invoice Notes and/or Line Notes (if the bridged accounting system supports) as appropriate.
9.In the Invoice Entry toolbar, click Document Match,  , to match any documents that are associated with the just entered invoice.
10.Route the invoice for approval. For details on invoice routing, click here.