There are two types of allocations:
•percentage based
•reoccurring fixed dollar amount
Allocations must be configured first by the Administrator before they can be used by Processors.
Allocations are vault specific. If an allocation is set up in Vault #1, that same allocation will not automatically exist in Vault #2.
•To read about the User level Expense Allocations settings, click here.
•To read about Allocation Rules, click here.
Allocations Configuration (Administrators)
Access
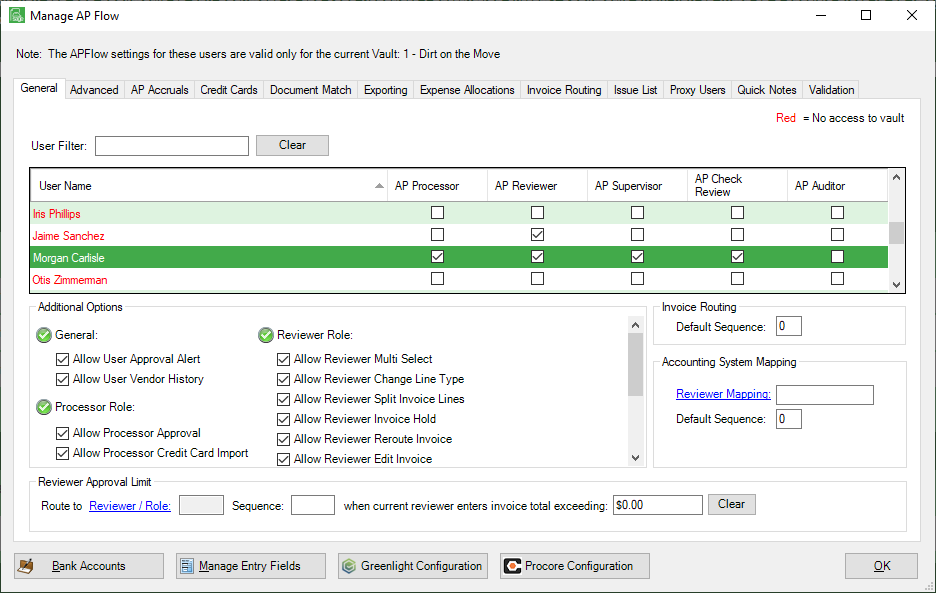
1.From the ribbon toolbar, click APFlow™.
2.Click Manage APFlow™,  .
.
The Manage AP Flow screen similar to the following displays with the General tab active:
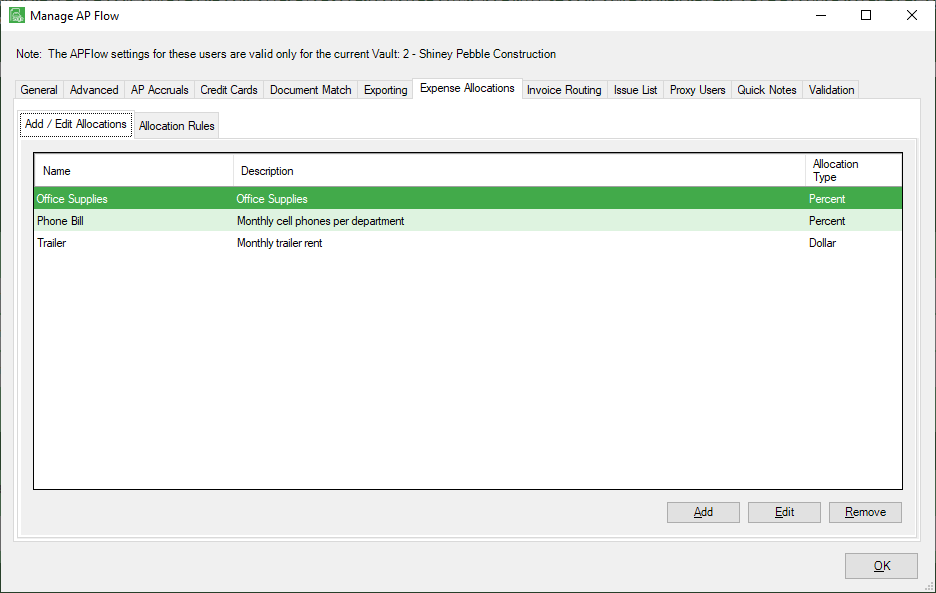
3.Click Expense Allocations.
A window similar to the following displays:
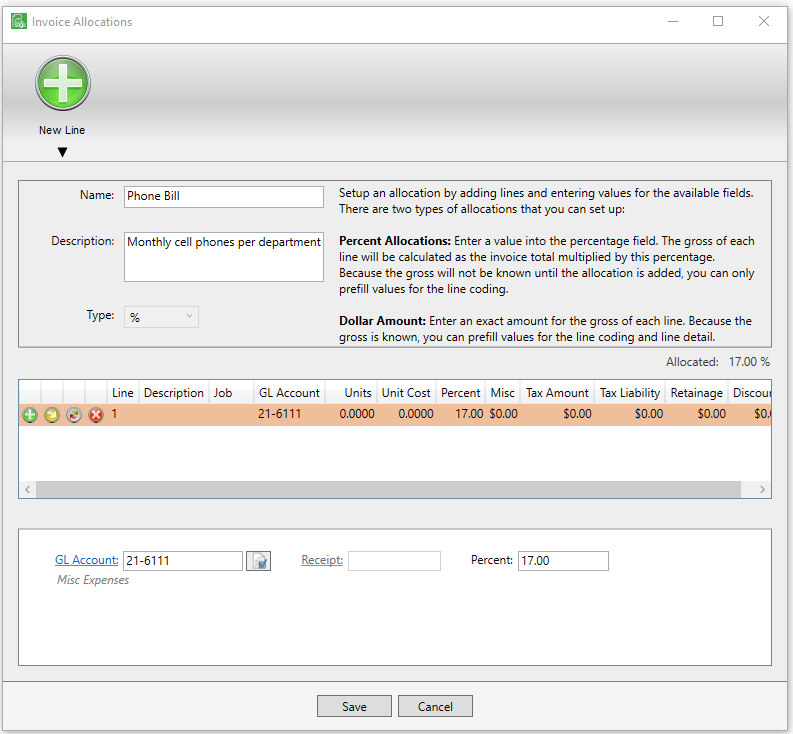
Adding a Percentage-Based Allocation
Important: Percentage-based allocations are based on the invoice total. Be sure to enter the invoice total before adding a percentage-based allocation or else all lines brought in from the allocation will be zero amounts.
1.Click Add.
The Invoice Allocations configuration window displays:
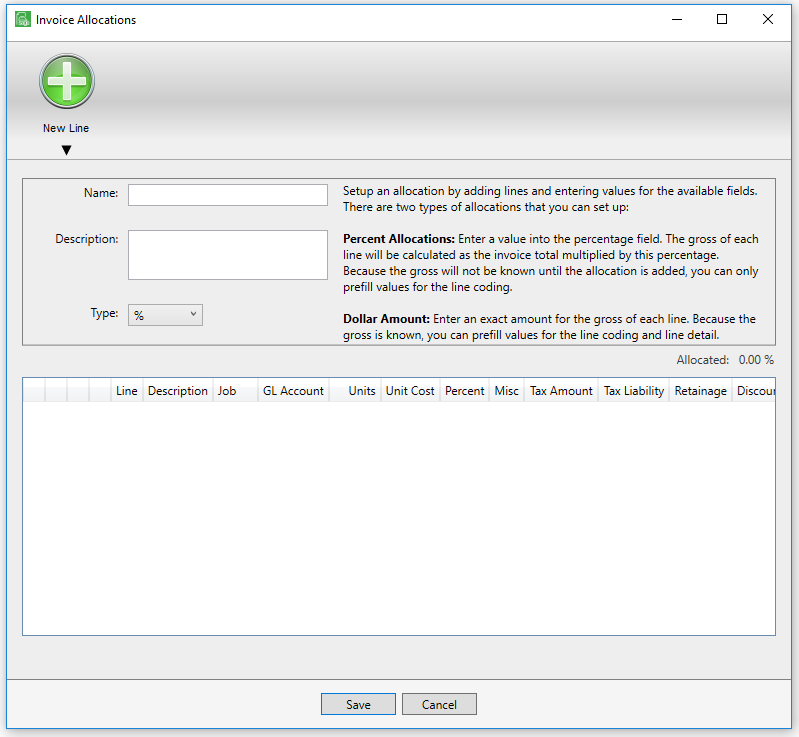
2.In the Name field, enter a meaningful name for the reoccurring percentage.
3.In the Description field, add information to identify the allocation.
Note: This field is optional.
4.In the Type field, use the dropdown to select the following:
% (percentage-based)
Allocated: This field is systematically populated based on the percentage entered in the Percent field.
|
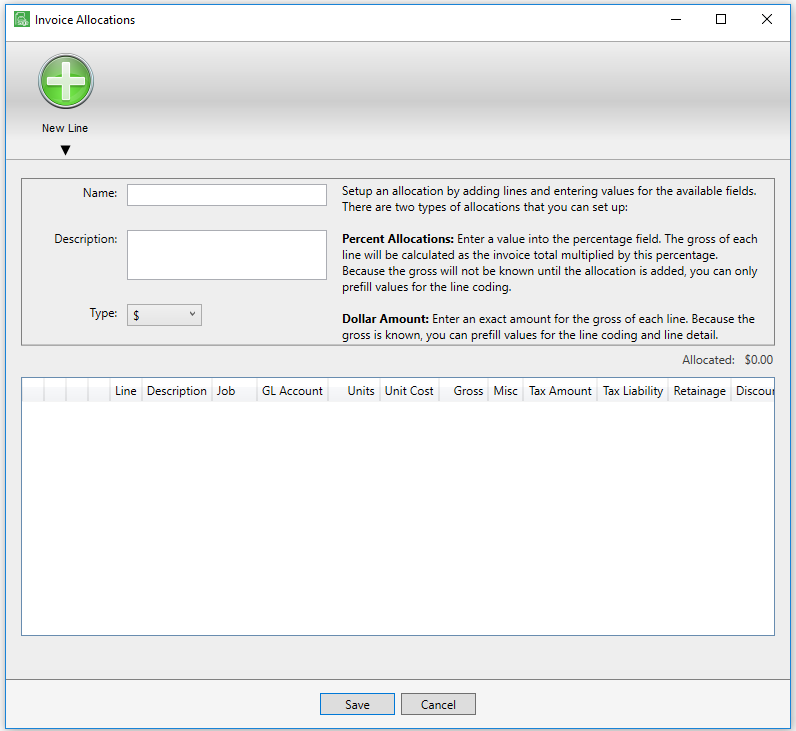
5.Click the New Line,  dropdown list.
Note: At least one line must be added.
The following list displays:
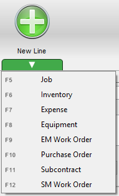
The Line Types displaying in the dropdown list will depend on the accounting system.
These are the same Line Types available when adding lines on the Invoice Entry screen.
Remember: Lookups (F4) are available for every field displaying in the blue font.
6.Select the appropriate Line Type.
Only the coding of the line for percentage-based allocations can be pre-filled.
If the percent amount is not 100%, the following warning dialog box will displays:
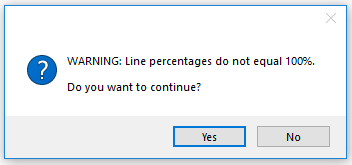
Important: The system does not prevent the Administrator from entering line percentage(s) that do not equal 100%.
Click Yes to close the dialog box.
7.Click OK.
The Invoice Allocations window re-displays with a new line.
8.Complete the fields that display below the new line.
Note: For lines with percentages, a percentage figure in the Percent field (located in the Detail section) is required.
Other than the Percent field, other fields displaying in the Detail section will vary, as they are based on the bridged accounting system.
Adding a Fixed Dollar Amount Allocation
Important: If the invoice total is zero and a dollar amount allocation is selected, the invoice total will pre-fill with the total amount allocated within the allocation.
1.Click Add.
The Invoice Allocations configuration window displays:
2.In the Name field, enter a meaningful name for the reoccurring dollar amount.
3.In the Description field, add information to identify the allocation.
Note: This field is optional.
4.In the Type field, use the dropdown to select the following:
$ (Fixed dollar amount)
Allocated: This field is systematically populated based on the dollar amount entered in the Gross field.
|
5.Click New Line, .
Note: At least one line must be added.
The following list displays:
The Line Types displaying in the dropdown list will depend on the accounting system.
These are the same Line Types available when adding lines on the Invoice Entry screen.
Remember: Lookups (F4) are available for every field displaying in blue font.
6.Select the appropriate Line Type.
Any line coding value or detail value can be pre-filled.
Note: There is no set number of lines; nor no limit to the number of lines available for allocation.
7.Click OK.
The Invoice Allocations window re-displays with the new line.
8.Complete the fields that display below the new line.
Note: For lines with dollar fixed cost amounts, an amount in the Gross field (located in the Detail section) is required.
Other than the Gross field, other fields displaying in the Detail section will vary, as they are based on the bridged accounting system.
1.From the ribbon toolbar, click APFlow™.
2.Click Manage APFlow™, .
The Manage APFlow screen similar to the following displays with the General tab active:
3.Click Expense Allocations.
A window similar to the following displays:
4.Highlight the allocation needing to be edited.
5.Click Edit.
An Invoice Allocations window similar to the following displays:
6.Make any necessary changes to the line(s).
7.Click Save.
Removing an Allocation
1.From the ribbon toolbar, click APFlow™.
2.Click Manage APFlow™, .
The Manage APFlow™ screen similar to the following displays with the General tab active:
3.Click Expense Allocations.
A window similar to the following displays:
4.Highlight the allocation needing to be removed.
5.Click Remove.
The following dialog box displays:
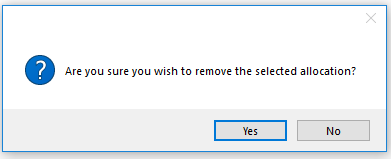
6.Click Yes.
The allocation no longer exists in Expense Allocations.