The Invoice Routing tab is used to set up a list of predefined rules for auto assigning approvers to inputted invoices based on the coding of the invoice.
For example, you can define approvers based on job coding, invoice totals, etc.
For each rule, you can specify routing the invoice to one or more reviewers and include defining the sequence of the routing. In addition, you can define routing rule groups--called routing groups--and on the invoice at the time of routing you can specify which routing group(s) apply. The default group is the default routing group that is initially assigned when you go to route invoices.
Finally, instead of assigning individual users to a rule, you can assign a role instead. Then for that role, you can assign one or more individuals. The benefit of this is that when a person changes roles, only the role needs to be updated rather than every routing rule to which that person was assigned as part of their past role.
For specific Sage 100 Accounting System Routing Rules setup, click here.
For specific Sage 300 Accounting System Routing Rules setup, click here.
1.From the ribbon toolbar, click APFlow™.
2.Click Manage APFlow™,  .
.
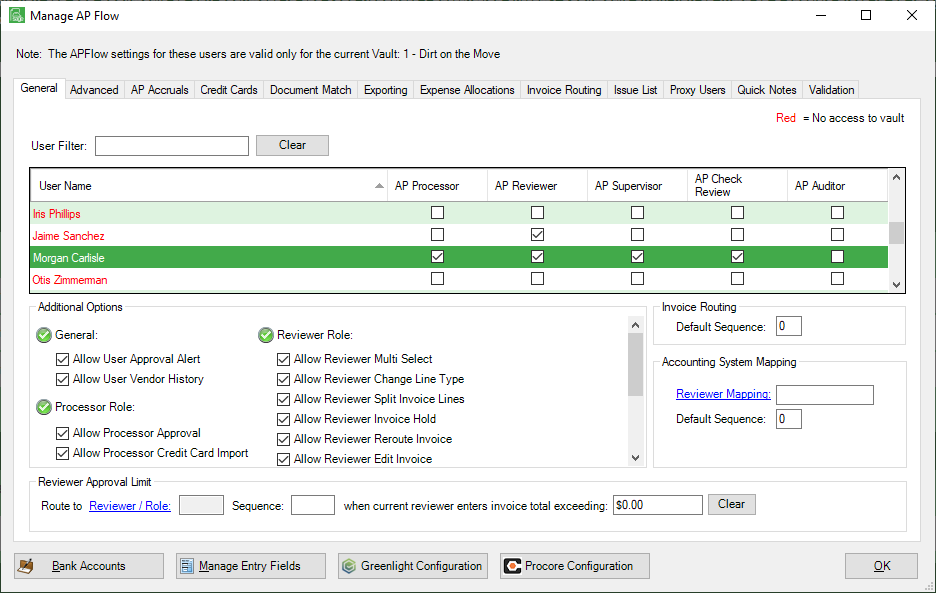
The Manage AP Flow screen similar to the following displays with the General tab active:
3.Click the Invoice Routing tab.
A window similar to the following displays:
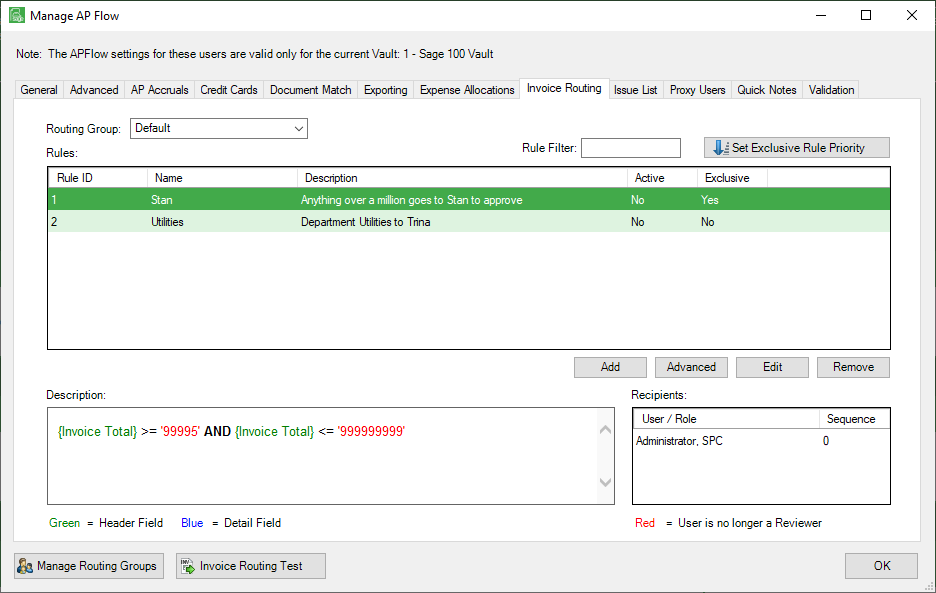
4.Click Add.
The first New Rule Wizard window similar to the following displays:
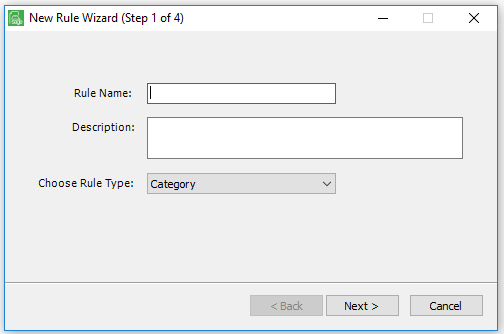
5.In the Rule Name field, enter an appropriate name.
The Description field system-generates based on the name entered in the Rule Name field.
6.For the Choose Rule Type field, use the dropdown list.
Note: The Rule Types are accounting system-specific.
7.If the invoice is routed against rules configured in another vault, click to select Inter Vault. Otherwise leave blank.
8.Click Next.
The second New Rule Wizard window similar to the following displays:
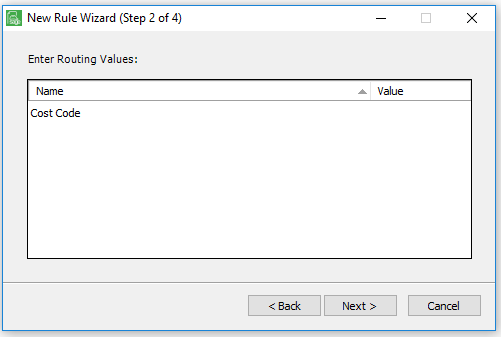
Note: The listed items are based on Rule Type selected on the First New Rule Wizard window and are account system-specific.
9.Enter Values for all the listed items.
Note: At least one value must be entered.
10.Click Next.
The third New Rule Wizard window similar to the following displays:
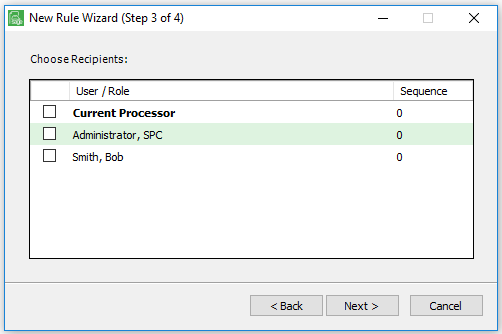
11.Select the users and modify the sequences are necessary.
12.Click Next.
The fourth New Rule Wizard window similar to the following displays:
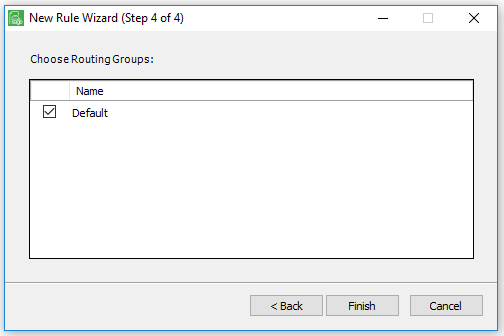
13.Select Routing Groups as necessary.
14.Click Finish.