The final configuration step is to assign the workflow mappings to queues.
1.From the ribbon toolbar, click Administration.
2.Click Queues,  .
.
The dropdown resembles the following:
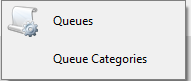
3.From the dropdown, click Queues.
A Queues window similar to the following displays:
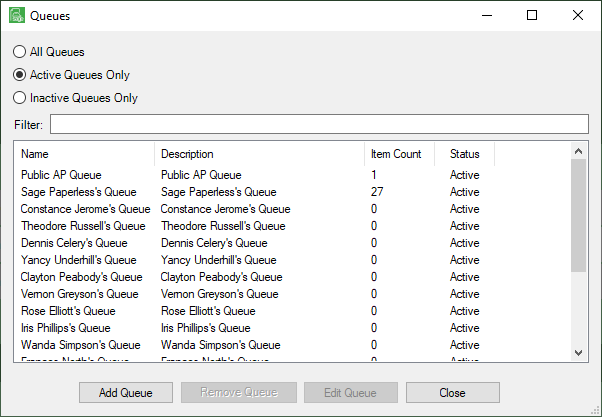
4.Click to highlight a queue.
5.Click Edit Queue.
A Queue Properties window similar to the following displays:
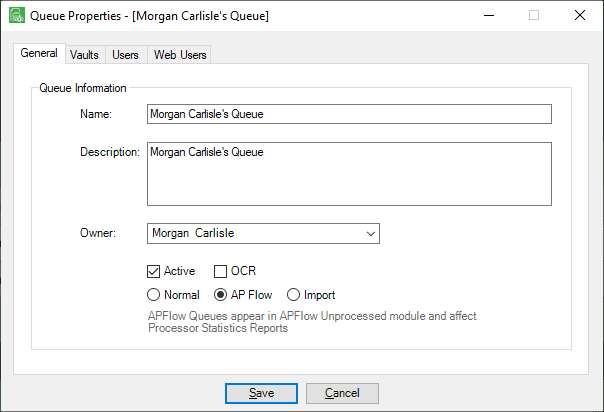
6.Click the OCR check box.
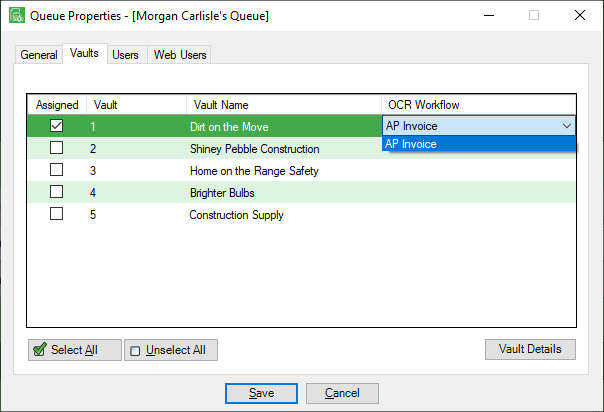
7.Click the Vaults tab.
The window similar to the following displays:
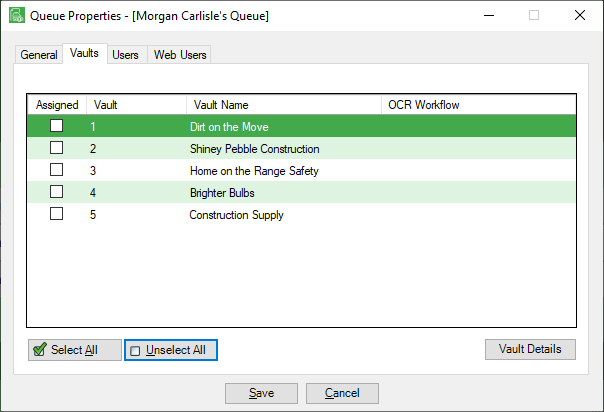
8.Highlight the appropriate Vault row.
9.In the OCR Workflow column, click the dropdown arrow.
The window similar to the following displays:
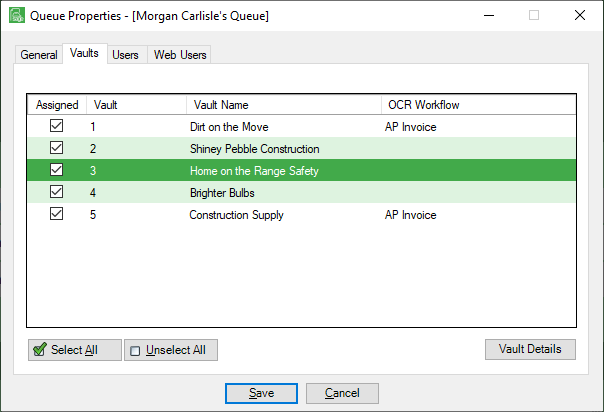
Important: Be sure to click off the active row to verify that the OCR Workflow entry remains, similar to the following:
10.Click Save.
11.Click Close to close the Queue Properties window.