Important: You need to import either the Sage 100 Field Reports or Sage 300 Field Reports document types to ensure that submitted eForms are synced and indexed properly. To do so, log in to Sage Paperless Construction, then select Administration > Types > Document Types. Make sure the Active Document Types Only radio button is selected, then locate either Sage 100 Field Reports or Sage 300 Field Reports. Multiple options may display, depending if there is an active bridge to each respective accounting system. Click Import Types.
Select the field reports check box and click Import.

Multiple document types (for example, daily report, equipment report, meeting report) are imported into the system. For more details on importing document types, see Importing Predefined Document Types.
1.Log in to the eForms Administration Portal.
2.Select Admin > Add Field Reports.
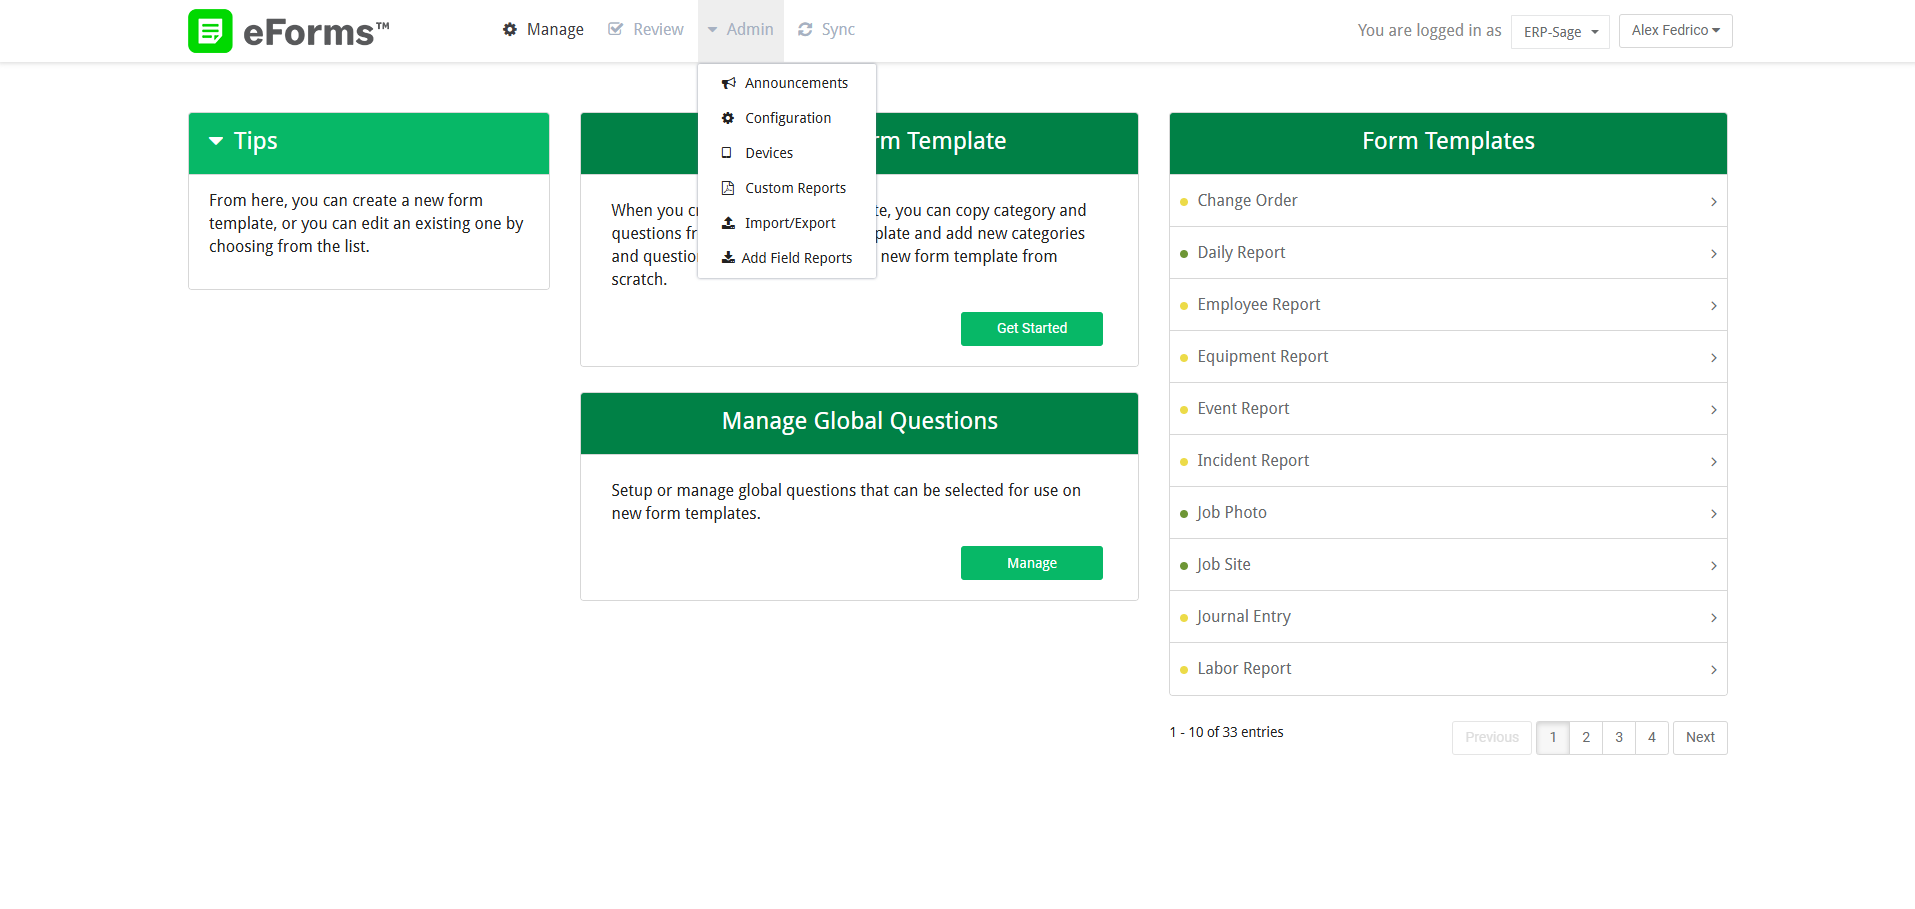
The Field Reports page displays and lists all reports available for your accounting system.
Note: The Daily Report contains all available field reports, while the options beneath represent its individual categories. You can choose to use the entire Daily Report eForm or one or more individual field report options if that is a better fit for your company’s reporting needs.
3.Select the check box for the report(s) you want to configure.

For a list of all available daily field reports, see the following:
For the Sage 100 Contractor Field Reports, click here.
For the Sage 300 CRE Field Reports, click here.
4.At the bottom of the page, click Add.
You are returned to the eForms Administration Portal home screen, and the form(s) you selected populate in the Form Templates grid.
Note: Forms with an inactive status display a yellow indicator and forms with an active status display a green indicator.
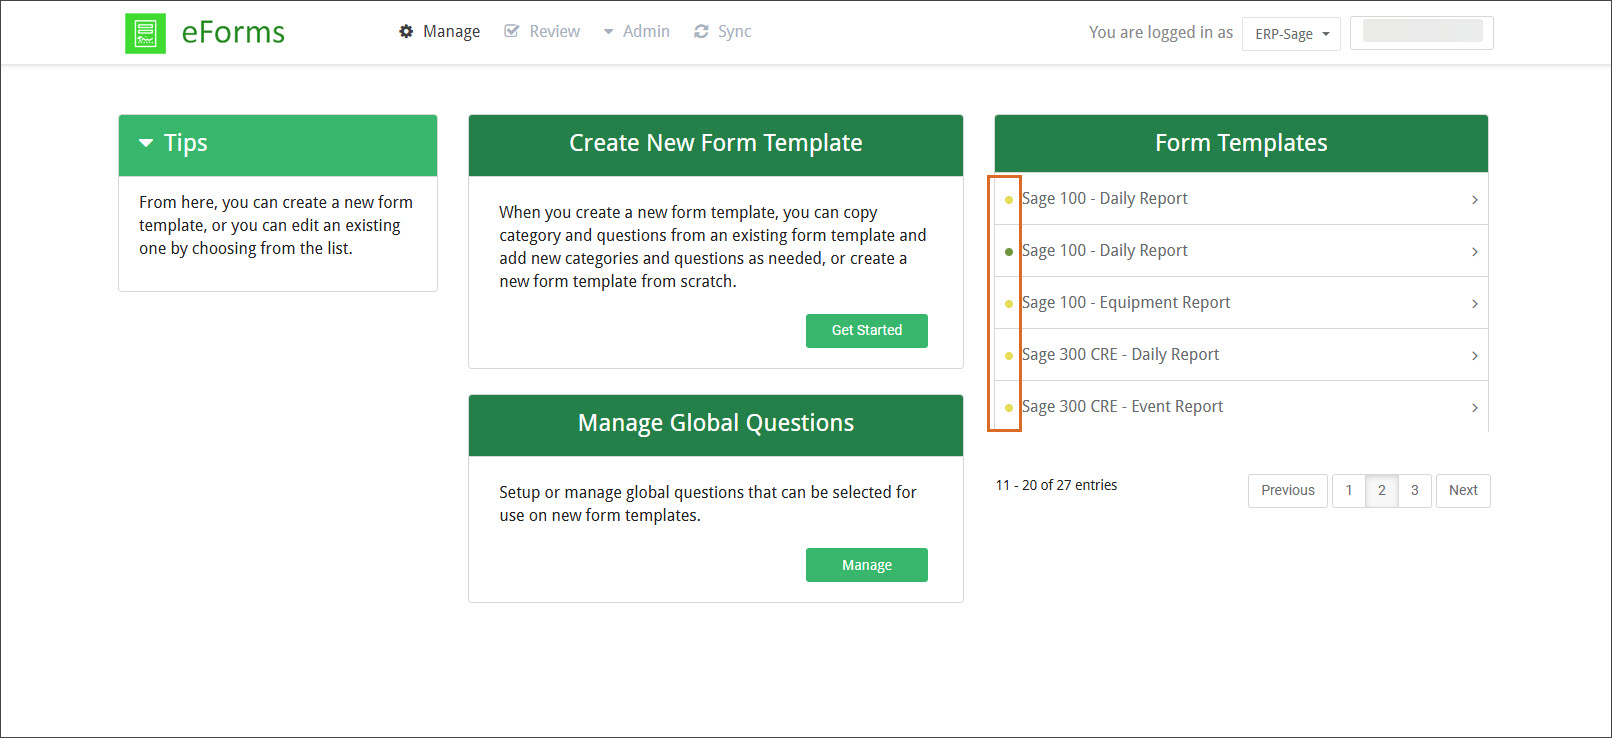
5.Click on the form to open it.
Note: The form is set to an Inactive status.
6.Click the Edit icon.

The Edit Template page displays:
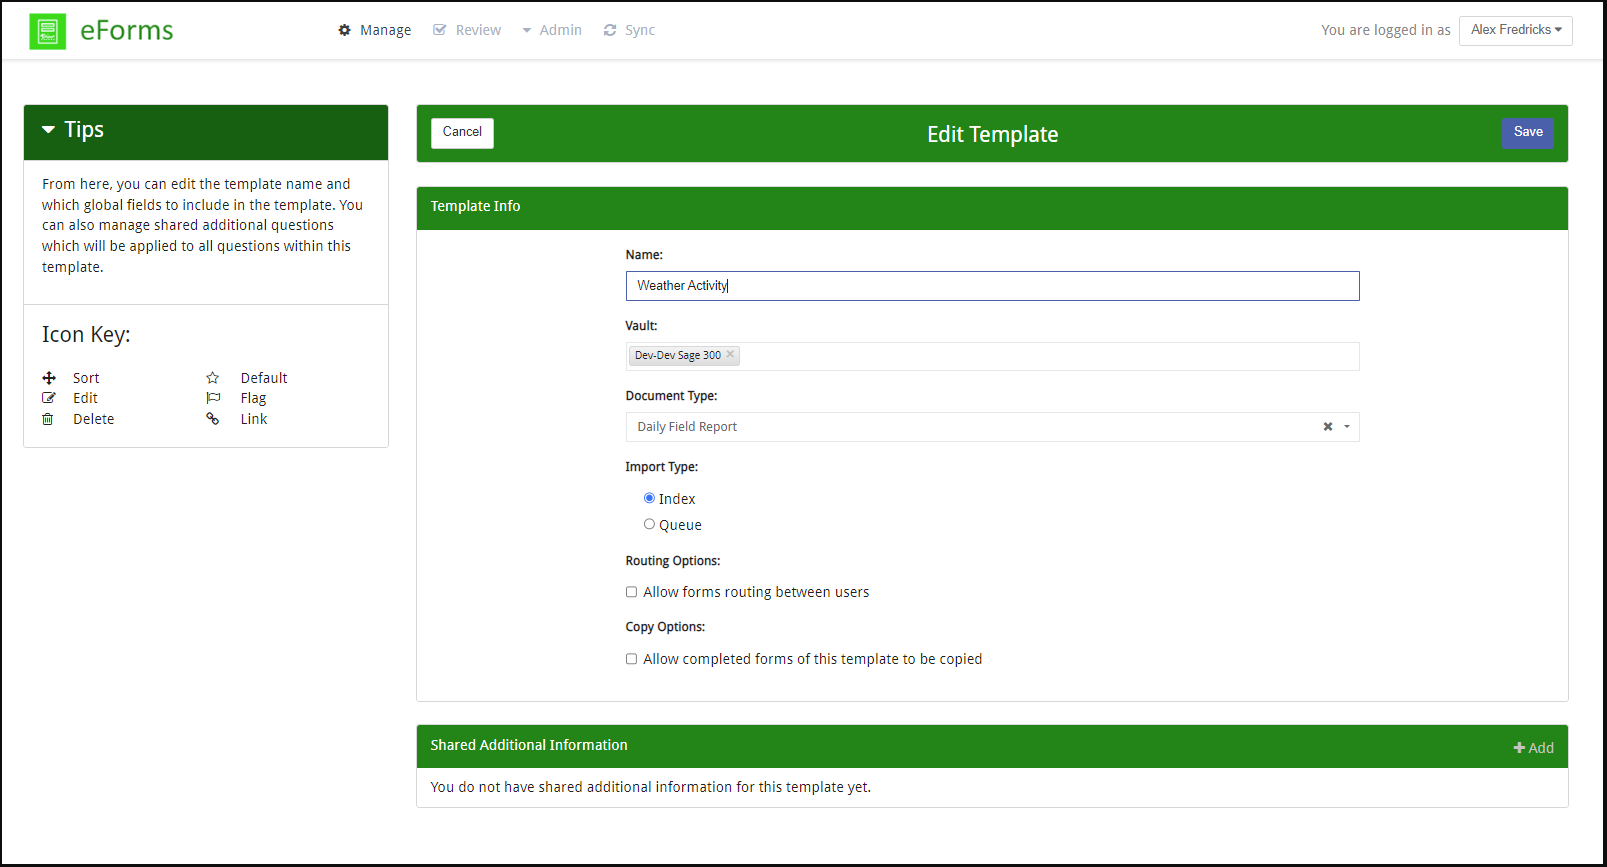
7.Complete the following Template Info fields:
a.Name: Keep the assigned template name or enter a new name to make it easier to track.
b.Vault: Select the appropriate vault (or vaults) from the list.
c.Document Type: Use the dropdown to select the document type that matches the form you selected.
d.Import Type: Select either the Index or Queue radio button, depending on how you want the reports directed once they sync with the ERP.
e.Add these Global Questions to Form Template: Select the Global Text Question check box if you have previously created a Global Question and you want it to be included in this template.
f.Routing Options: Select the Allow forms routing between users check box to allow the form to be routed to different users for signature, approval or further action.
g.Copy Options: Select the Allow completed forms of this template to be copied check box if complete forms can be copied. For example, to be copied and used as a starting point the next day.
h.Click Save.
The Form Template Manager page redisplays.
Note: By default, field report categories are marked as NA, or not applicable, on the Form Template Manager page and in the eForms application. The NA setting enables users to skip the categories and questions that do not apply to them. For relevant categories, users can click the NA button to enter information.
8.Click a Category to display its list of questions.
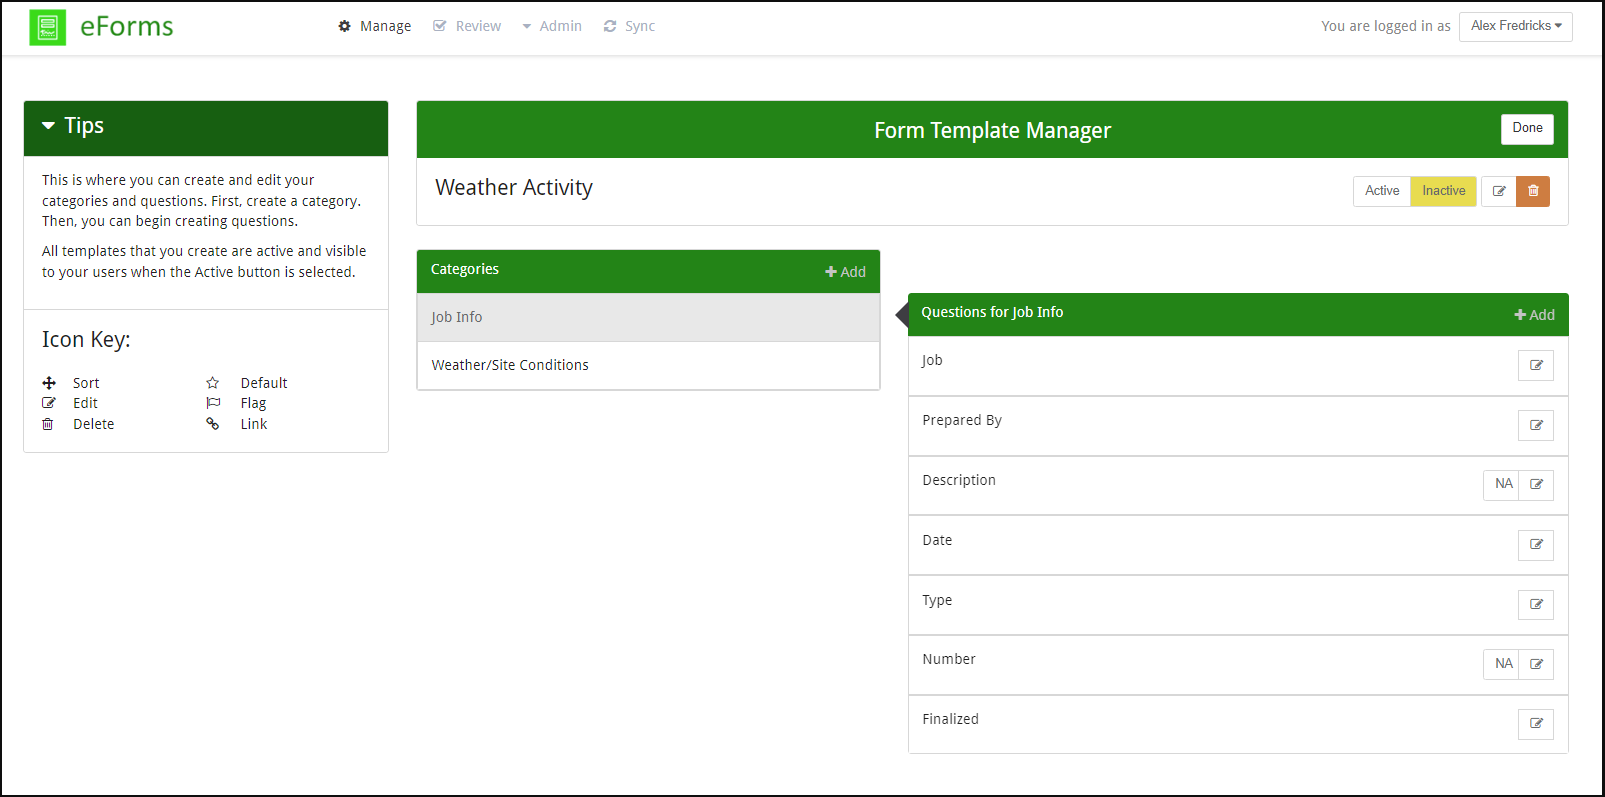
Important: Because this is a pre-built form, the response types, behaviors and editing options vary for each question. Some questions can be edited and some are read-only.
9.Review the list of questions for each category.
10.If you find a question you want to review or customize, click the Edit icon.
The Question Editor page displays:
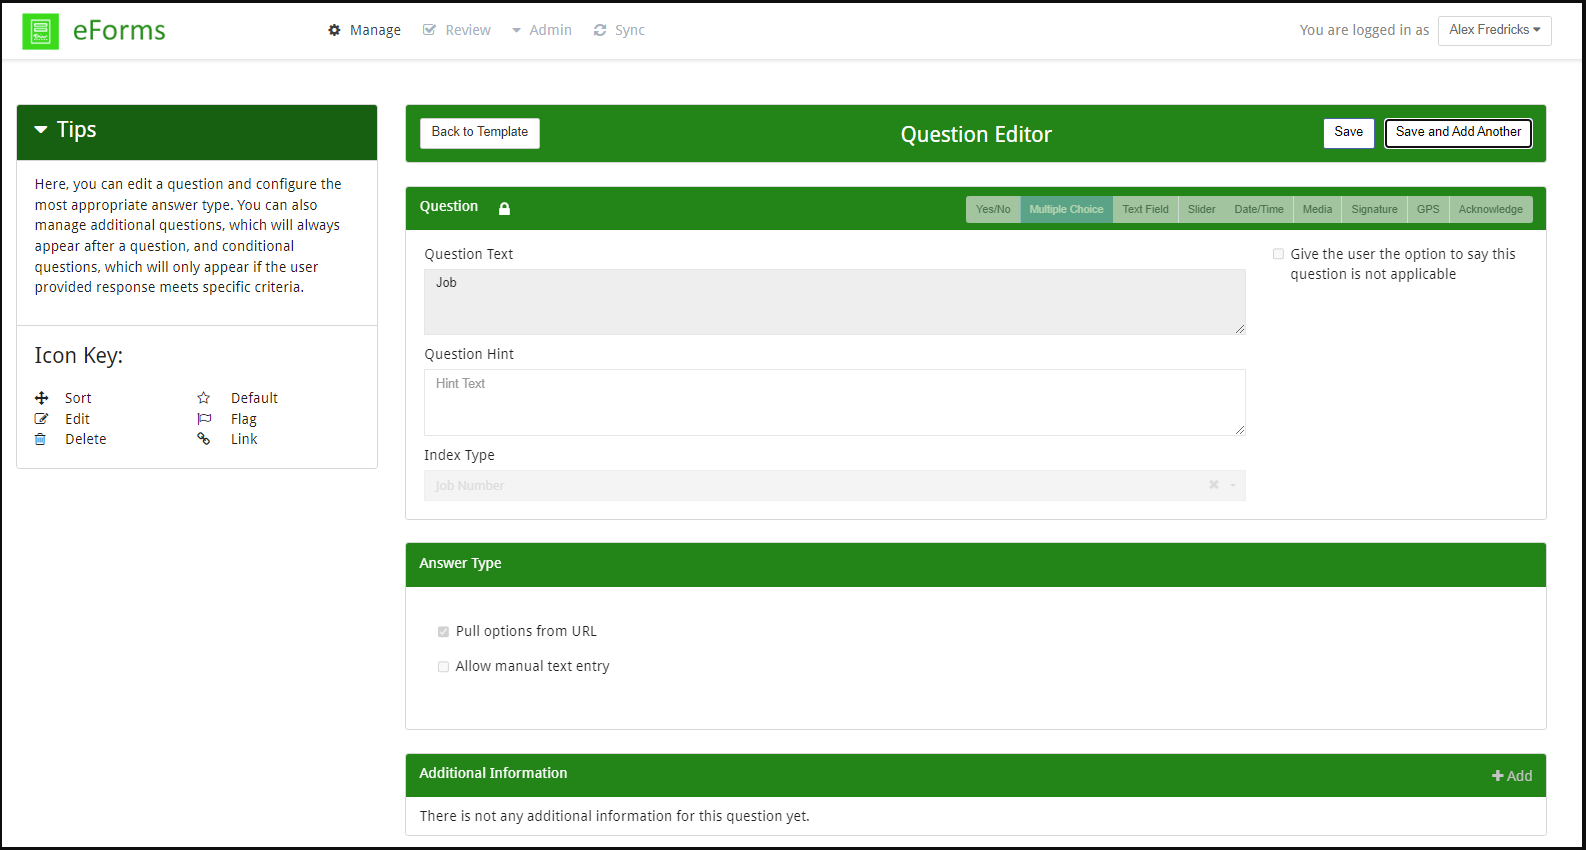
Note: Refer to the Icon Key section at left to understand the changes you can make to the question. Options that are grayed out cannot be edited, but certain fields allow changes or additions.
11.(Optional) For some questions, you can add conditional questions based on the user’s response.
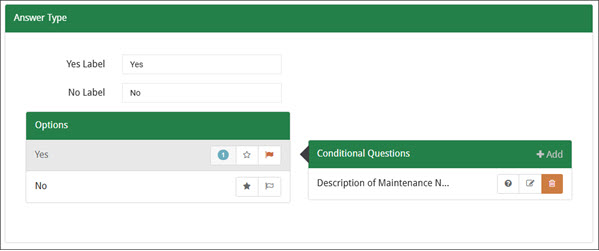
For example, if the user reports that a piece of equipment has damage, you can add conditional questions that require them to add a description and photos of the damage. Click Add to create a new condition question. Click the Edit icon to open the Edit Conditional Question dialog and make changes.
12.In your Sage 100 Contractor or Sage 300 CRE ERP system, locate your field reports and identify any custom fields that are in use. Then, return to the eForms Administration Portal and do one of the following for each custom question:
•Rename the question to match its name in the ERP.
•Delete the question if it is not in use.
13.To save your changes, do one of the following:
•Click Save.
•To add a new question, click Save and Add Another.
14.Click Back to Template when finished.
15.When you are finished customizing the template, select Active to make it available to users and then click Done.