Forms that are published to tablets have 3 key components:
▪Templates – Each electronic form is called a Template in the eForms™ Administration module.
▪Categories – Each template contains one or more categories of questions (for example Job Information, Equipment Information, Employee Information).
▪Questions – Each template category contains one or more questions for the user to answer (for example Job Number, Report Date, Employee Number, GPS Location). Each template question must either be answered or marked Not Applicable before the form can be submitted back to Sage Paperless Construction.
1.In the Create a New Form Template pane, click Get Started to open the Create Template screen.
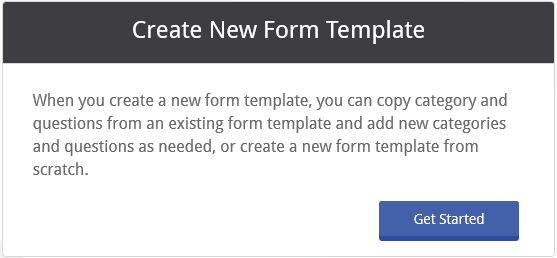
The following Create Form Template dialog displays with the Create New tab active:
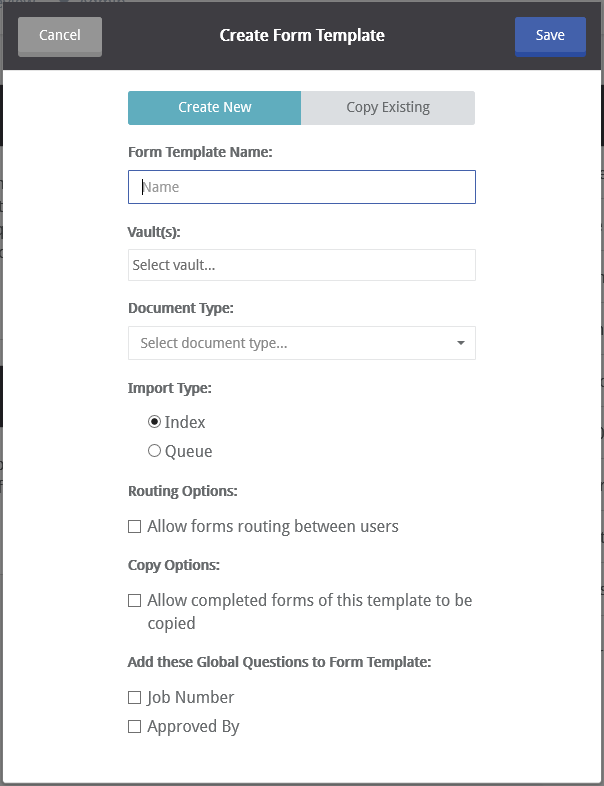
2.To copy an existing template, click Copy Existing.
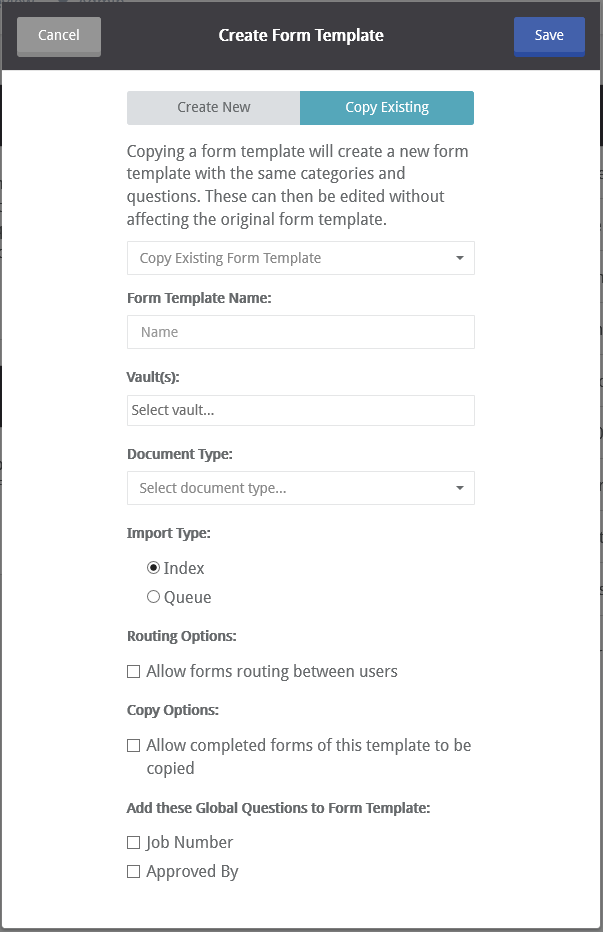
3.From the Copy Existing Template field dropdown, select a template to copy.
4.In the Name field, enter the name of the template.
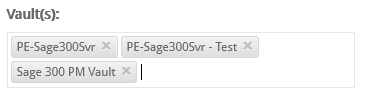
5.Click in the Vault field to display a list of vaults that are set up on the Sage Paperless server. Click to select the vault to which eForms users are allowed to submit to the new template.
Repeat this step to add each vault in which the template may be used.

If multiple vaults are selected, the Vault(s) field resembles the following:
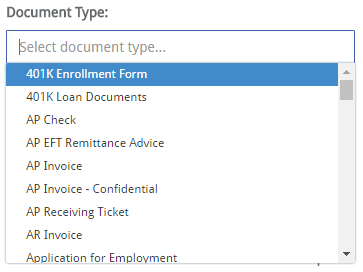
6.Click in the Document Type field to display a list of document types that are set up on the Sage Paperless Construction system. Click to select the document type which corresponds to the type of template being created.
Submitted templates are indexed as this document type in Sage Paperless Construction.
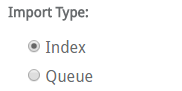
7.Import Type determines if the template is automatically indexed in Sage Paperless Construction, or if the template is sent to a queue and indexed later.
Click a radio button to select the import type.
Note: If Queue is selected, a queue selection question is automatically added to the template.
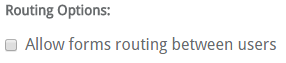
8.To enable forms routing between personnel (if, for example, the form requires input from multiple people), click the check box in the Routing Options field.
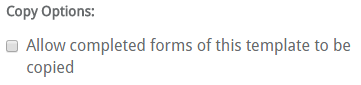
9.To allow a completed form from this template to be copied, click the check box under Copy Options.
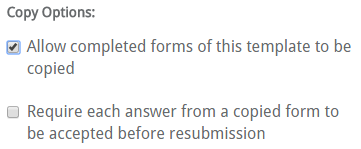
10. Checking the box to allow a completed form to be copied displays an additional check box.
Click the box to Require each answer from a copied form to be accepted before resubmission to make sure that the user visits each question on the copied form before being able to submit.
If checked, the copied form’s answers are disabled until the user touches each one.
Leaving the box unchecked allows the user to skip the question and submit the same answer from the previously completed form.
11. To add a global field to the template, click the check box next to the field to add.

Note: If no global fields were created, this option does not display (see Manage Global Fields for more information).
12. Click Save in the top right corner of the screen to save the changes and open the Template Manager (see Template Manager for more information).