Note: For preliminary setup instructions, click here.
Once accrual defaults are set up and it is time to record accruals, the next steps are to review the invoice line entries, verify coding information, and then export these journal entries in to the bridged accounting system.
1.From the ribbon toolbar, click APFlow™.
2.Click AP Accruals,  .
.
The Invoice Accrual Settings dialog box similar to the following displays:
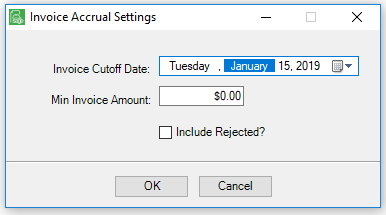
3.Enter the Invoice Cutoff Date.
No invoices beyond this date will be included in the AP Invoice Accrual Details screen.
Note: A calendar dropdown,  , is available.
4.In the Min Invoice Amount field, enter the minimum dollar amount. Any invoices that meet this minimum amount will be included.
Note: The minimum invoice amount refers to the invoice total. If the invoice includes multiple line entries that are below the specified minimum amount, but the invoice total exceeds the minimum amount, all the invoice line entries will be included in the AP Invoice Accrual Details screen.
5.If the list should include rejected invoices that meet the criteria, click to select Include Rejected.
Note: If any lines on an invoice are rejected, the entire invoice is rejected.
6.Click OK.
A banner displays to indicate that based on the criteria entered in the Invoice Accrual Settings dialog box, the invoice data is being validated and then loaded.
When the invoice data is finished loading, an AP Invoice Accrual Details screen similar to the following displays with the Expense Lines tab active:
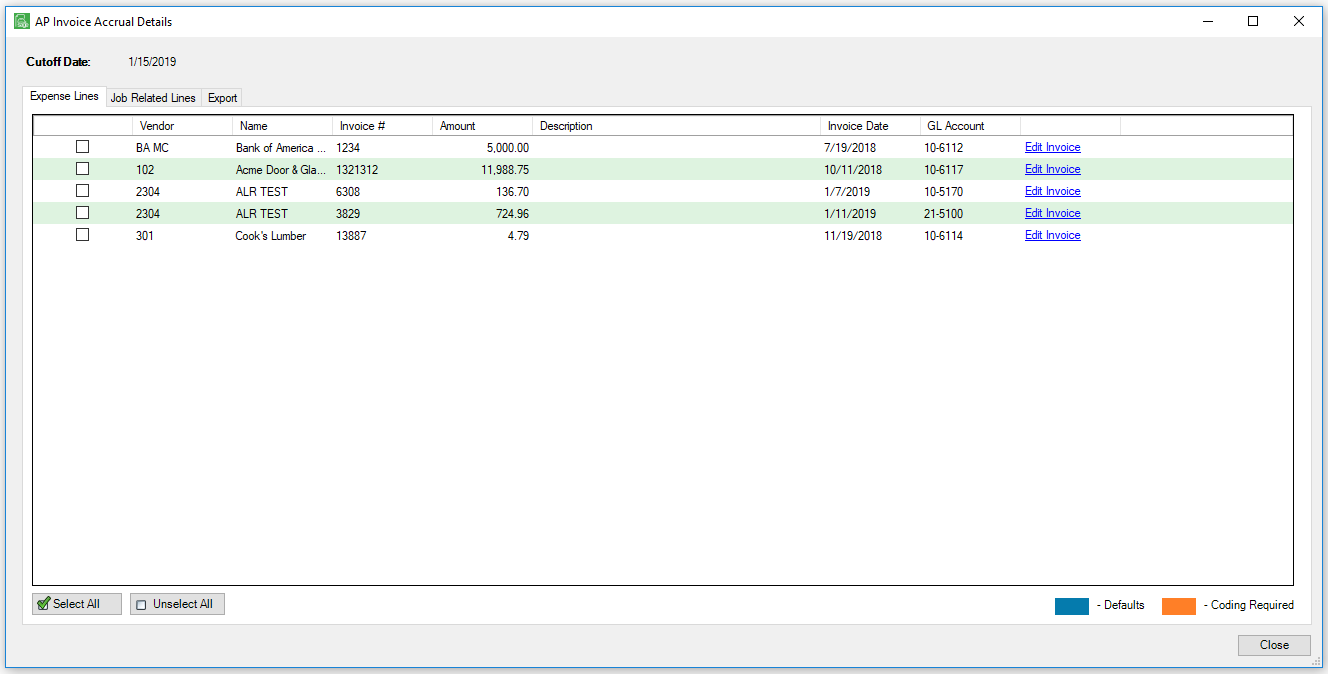
Note: The column fields vary by accounting system.
Click here to read more about the Expense Lines tab.
Click here to read more about the Job Related Lines tab.
Click here to read more about the Export tab.