•For details on starting the invoice import process, click here.
•For details on creating or modifying templates, click here.
•For details on moving unassigned lines to new invoices, click here.

1.On the Credit Card Importer main screen toolbar, click Import Invoices, ![]() .
.
For Import Invoices status details, click here.
2.Once the Import Invoices dialog box fields are completed, click OK.
If a Duplicate Transaction Found dialog box displays, click here to read more about it.
While the import is underway, the following displays:

Field validation is systemically performed similar to the field validations that occur in Invoice Entry. Required fields with missing, incomplete or inaccurate data display with red shading.
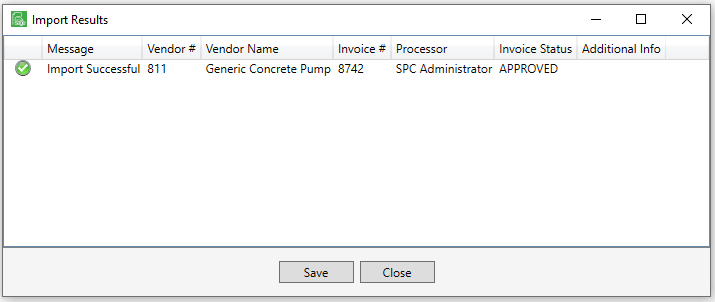
An Import Results dialog box will display.
Import Successful

Click Save.
A Save As window will open with a systematically generated file to store in a folder of the user's choosing.
If appropriate, open the Show Import Information and Settings to access the Import Completed setting.
For additional details on marking imported complete, click here.
Important: Once an invoice is imported successfully, it becomes an historical record and cannot be modified.
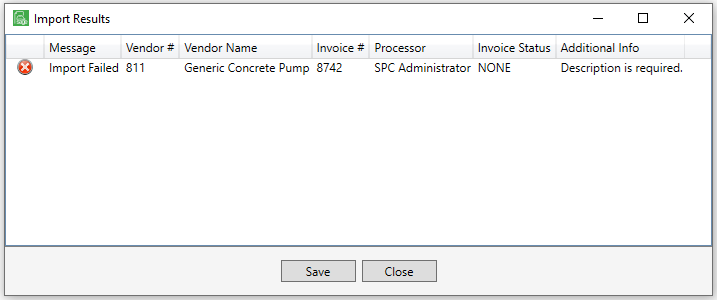
Import Unsuccessful

Click Close to re-access the Credit Card Importer main screen and make the identified changes, or click Save.
A Save As window will open with a systematically generated file to store in a folder of the user's choosing.
History of invoices created from imports are visible.
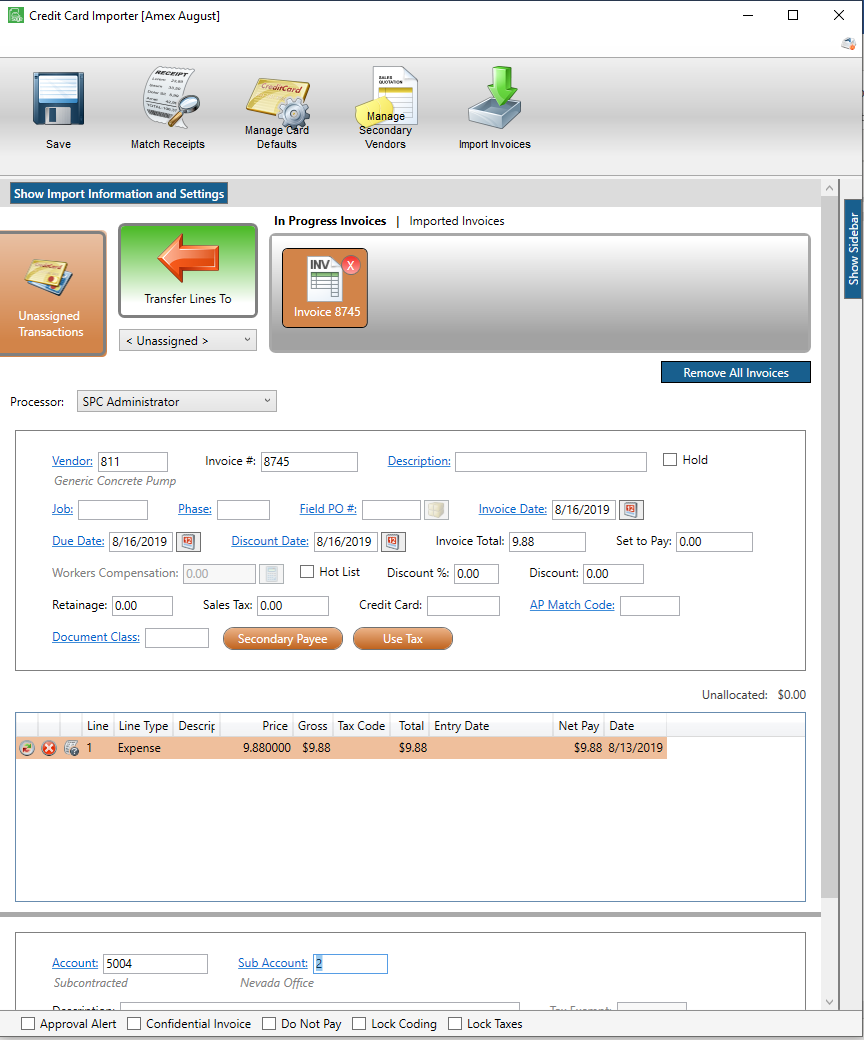
In the Credit Card Importer main screen, In Progress Invoices and Imported Invoices are accessible:

Imported Invoices are read-only. These are historical records of what was imported. Once an invoice is imported, data cannot be changed.