Setup
1.From the ribbon toolbar, click Capture.
2.Click Importer,  .
.
A Document Importer window similar to the following displays:
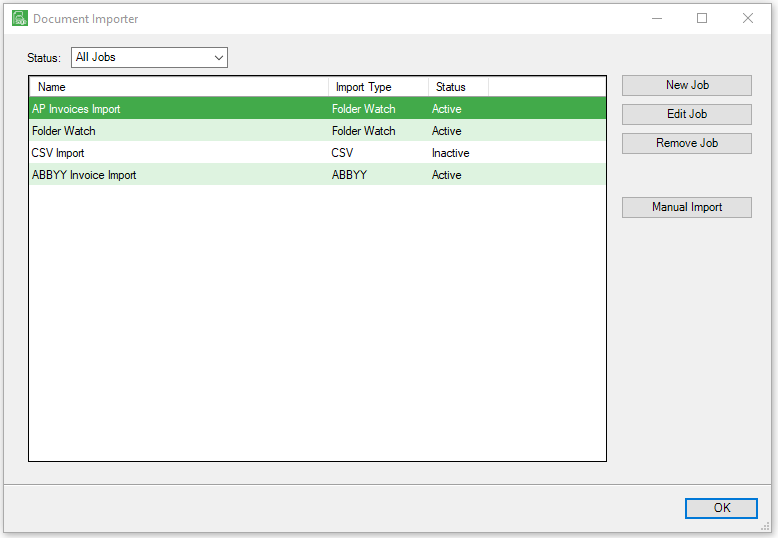
This window lists any import job templates previously set up.
3.If Email Import is listed in the Document Importer window, click to highlight it and then click Edit Job. Skip to the General Tab section of this page.
If Email Import is not listed in the Document Importer window, a new template must be created. Click New Job and continue with step 4.
An Import Type window similar to the following displays:
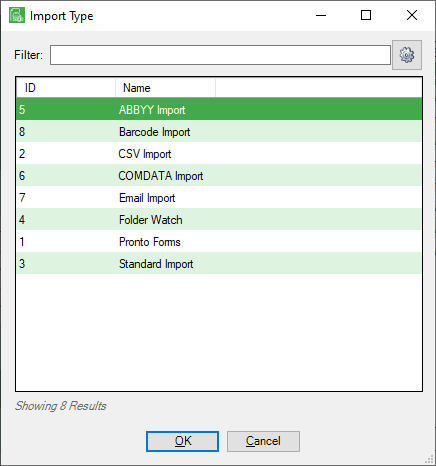
4.Click to highlight Email Import.
5.Click OK.
Important: There are 5 tabs listed on the New Job screen. All 5 tabs must be accessed with information entered into all fields, for each new job.
•General - Click here for basic information about the job.
•Sources - Click here for file source information to import.
•Error Options - Click here for action options to take in case an import error occurs.
•Archiving Options - Click here for archiving files options for files that are successfully imported.
•Configuration - Click here for the user queue selections to import the files.