1.Click Add New Report.
2.Give your scheduled report a recognizable name (for example, you could include the type of report and its delivery frequency).
3.Choose which report you want to run from the Report Type dropdown:
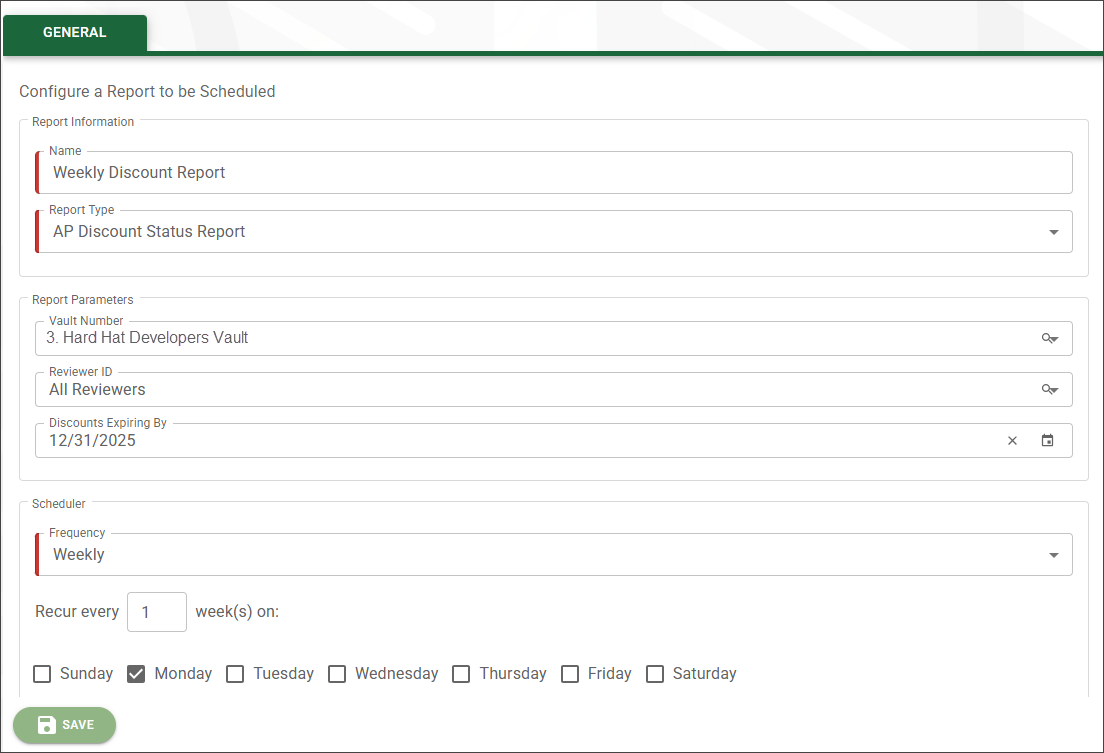
4.Modify the Report Parameter details to suit your requirements:
•The Report Type you select impacts the fields that display within Report Parameters. For more information about different report types and their respective parameters, click here.
•For parameters that include dates, you can use the default dates or click the calendar icon to select a specific date. When scheduling reports to run over an extended period of time, it is recommended that you use the MONTH BEGIN, CURRENT DATE or MONTH END buttons so that the criteria updates dynamically each time the scheduled report runs.
5.Set the Frequency of the report email. You can choose Daily, Weekly, Monthly or Yearly.
6.Based on your selection in the previous step, choose the time, date, day of the week and any other required values for when you would like the report to be emailed.
7.(Optional) Add, edit or delete report recipients.
8.Leave the Active check box selected if this report is ready to be scheduled and sent. Deselecting the Active check box maintains your settings but its status is inactive.
9.Click Save.