1.From My Paperless, click Administration.
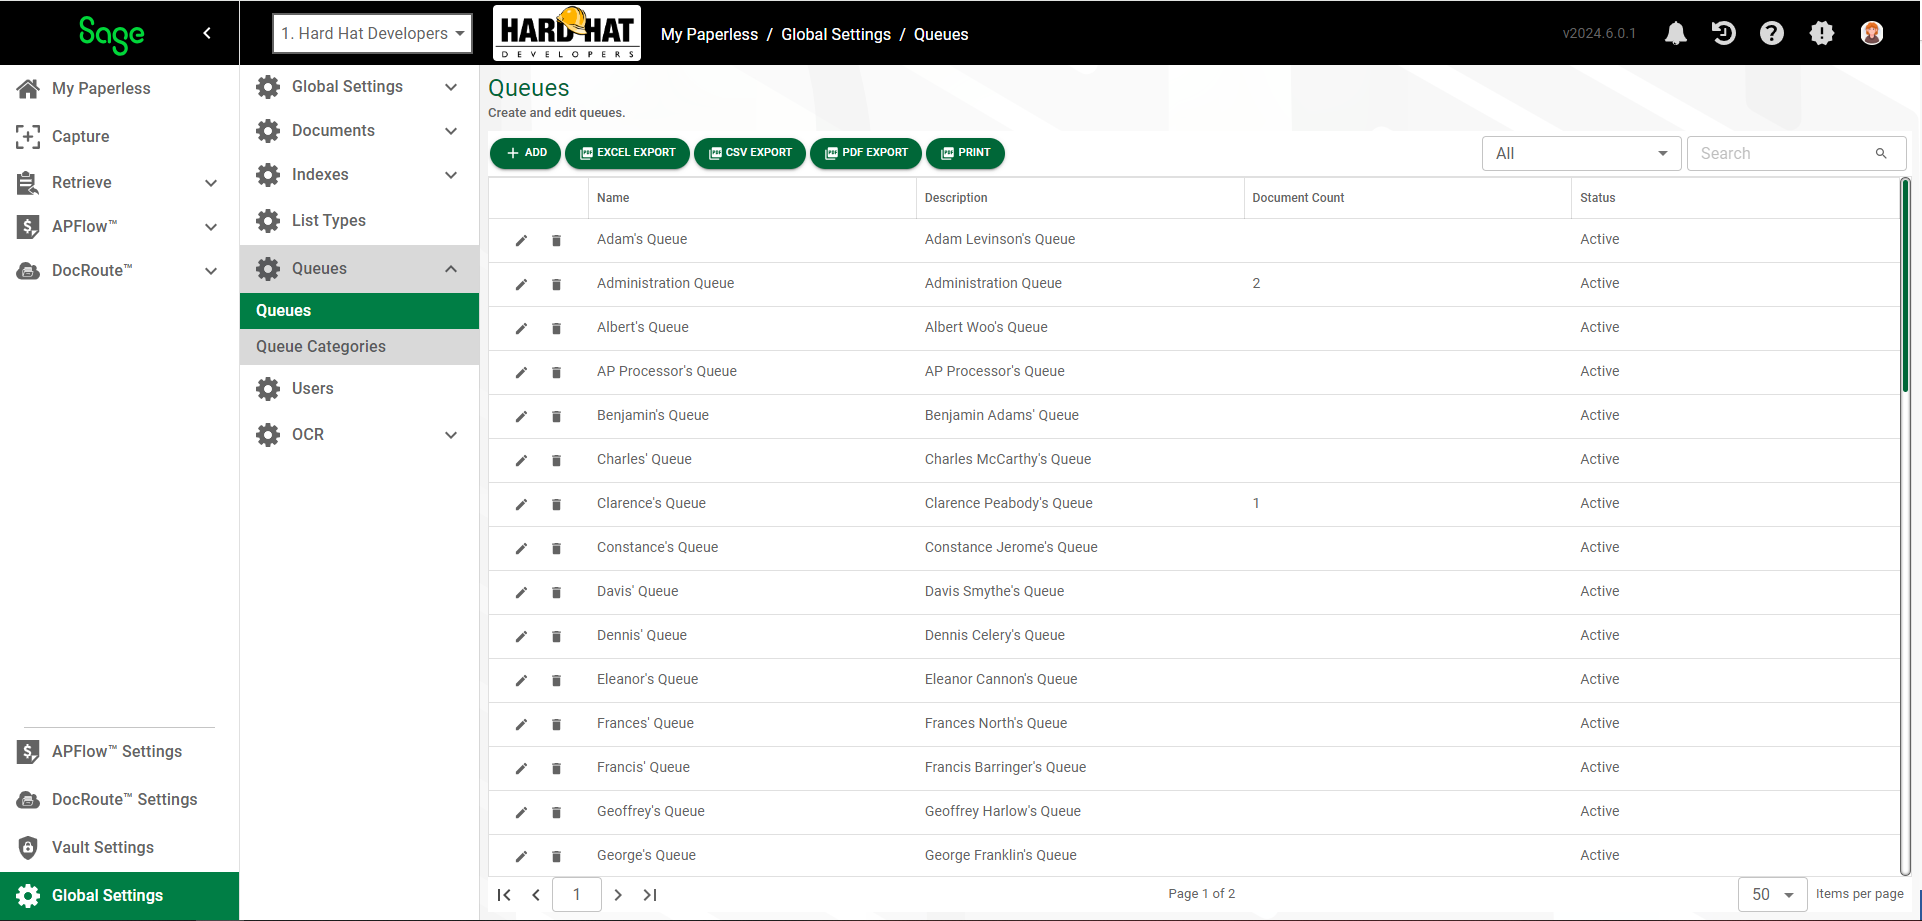
2.In the Global Settings navigation bar, click Queues.
3.From the Queues dropdown, click Queues.
The Queues page displays:
4.Click  .
.
The Queue Properties page displays with the GENERAL tab active:

5.In the Name field, enter the name of the new queue. This field is required.
6.In the Description text box, enter a description of the new queue. This field is required.
7.In the Owner field, use the dropdown to assign a Sage Intacct Paperless user as the principal "owner".
Note: This is an optional field used for reporting purposes only.
8.In the Queue Type field, use the dropdown to associate this queue with specific modules or workflows. Normal is the default.
9.Click Active to indicate the queue is active in the Sage Intacct Paperless system.
10.Click OCR to associate the appropriate OCR Workflow. For additional information, click here.
11. Click  to activate the remaining tabs.
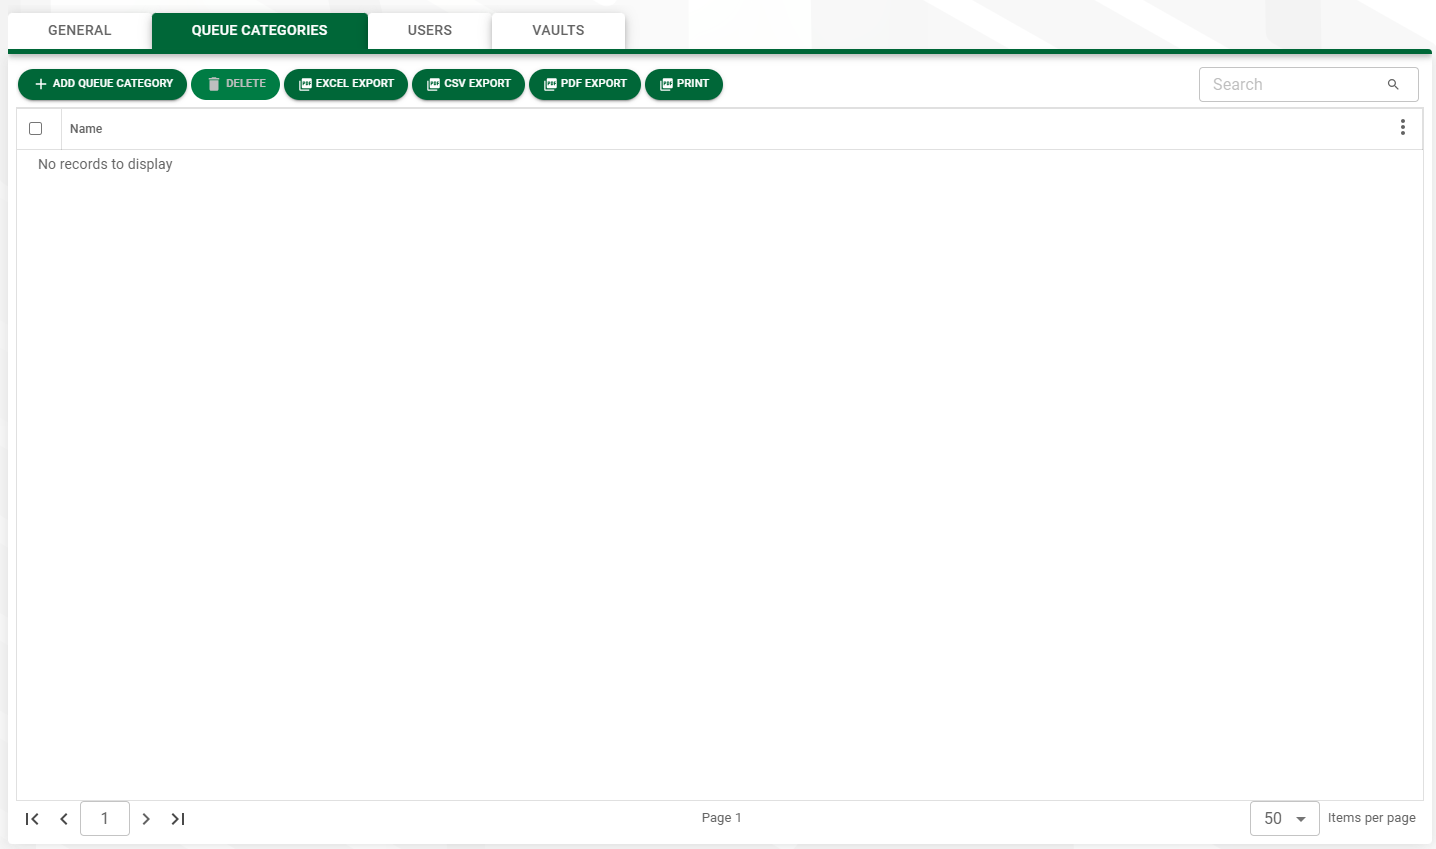
12. Click the QUEUE CATEGORIES tab.
A page similar to the following displays:
13. Click  .
.
The Add Queue Categories dialog box displays:
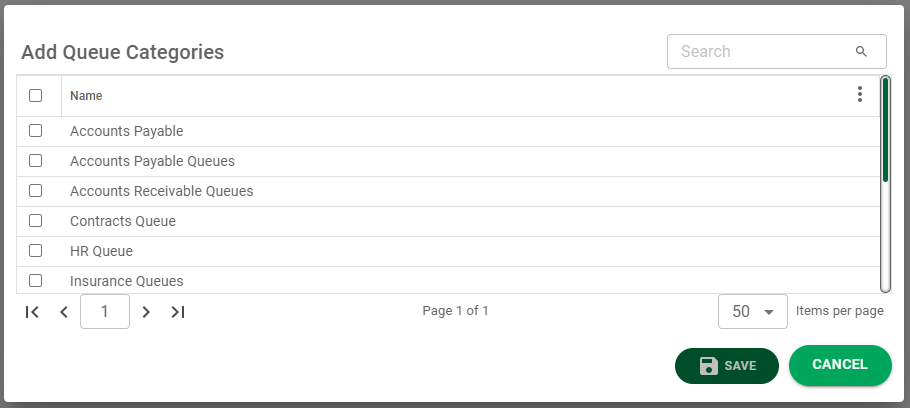
14. Click the check box(es) to select the queue categories to which this new user queue should have access.
15. Click .
16. Click the USERS tab.
A page similar to the following displays:

17. Click  .
.
The Add Users dialog box displays:|
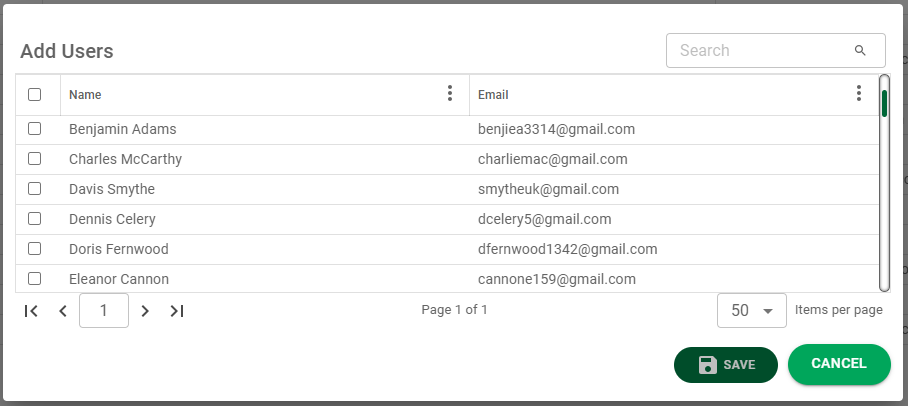
18. Scroll through the user(s) who should have access to this queue and click the associated check box(es).
19. Click .
20. Click the VAULTS tab.
A page similar to the following displays:
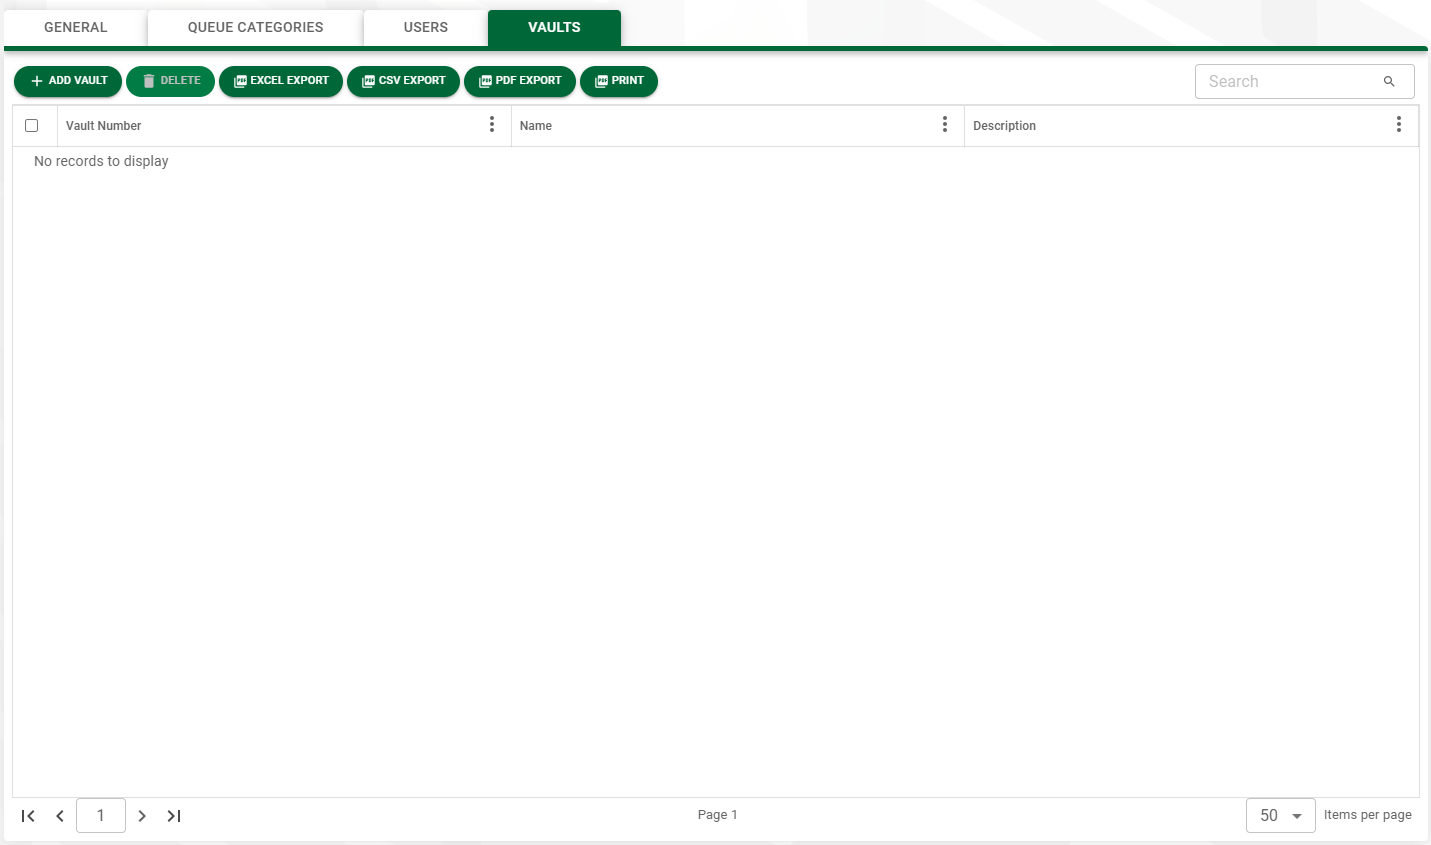
21. Click  .
.
The Add Vaults dialog box displays:
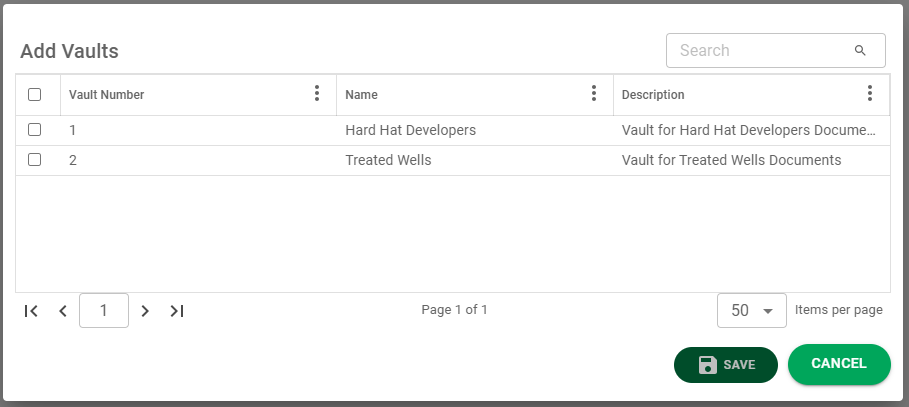
22. Click the check box(es) to select the vault(s) to which this new user queue should have access.
23. Click , to save the new queue.