This is where to see how the backfill is configured. Sage Intacct Paperless Administrators can edit any of the predefined backfills by adding or deleting mapped index types. You can also define and add your company's own custom backfills to the backfill table.
1.From My Paperless, click Global Settings.
2.In the Global Settings navigation bar, click Indexes.
3.From the Indexes dropdown, click Backfills.
The Backfills page displays:

4.Click  .
.
The Backfill Properties dialog displays with the GENERAL tab active:
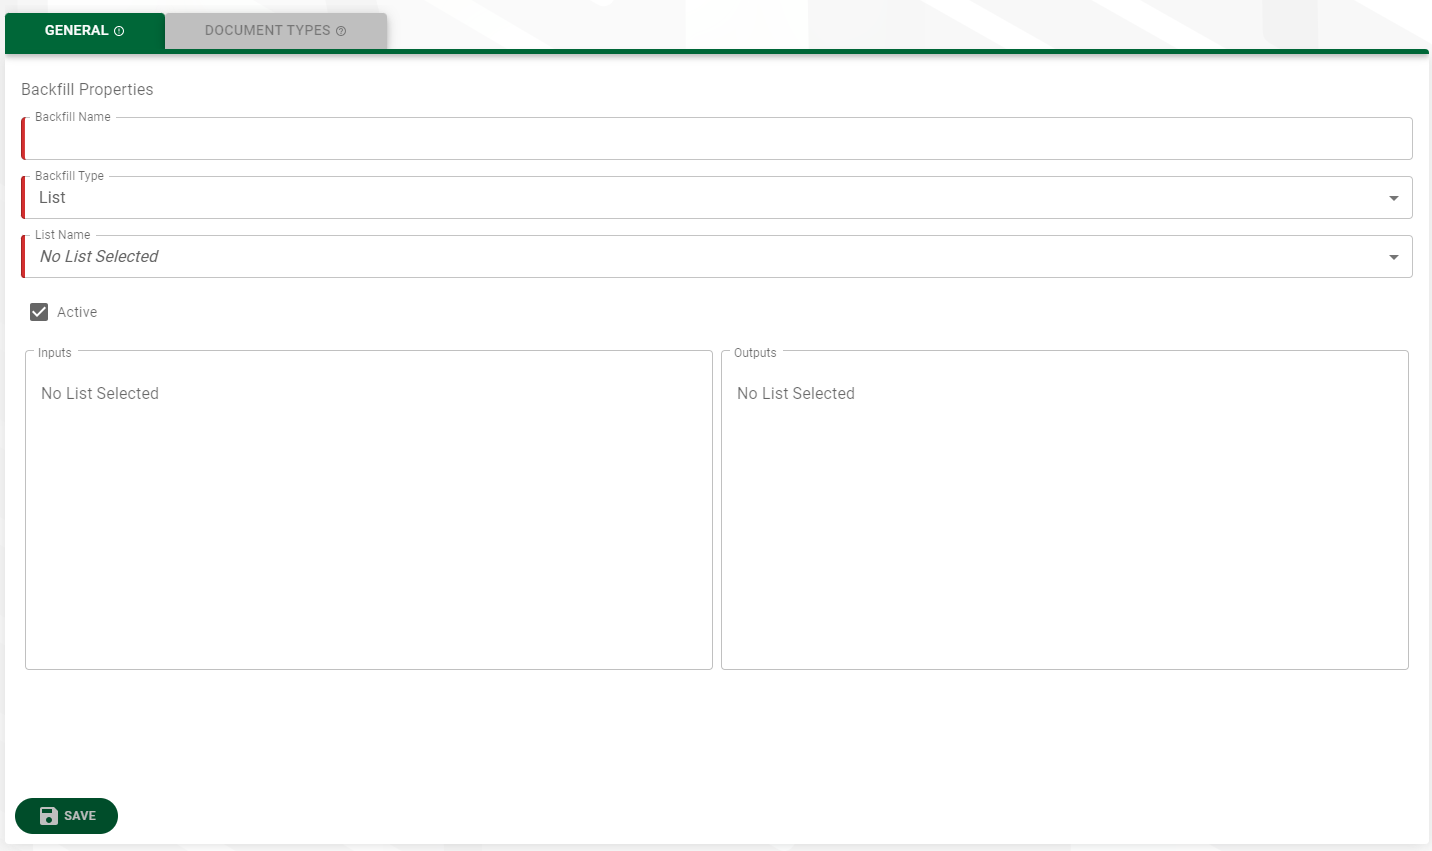
5.In the Backfill Name field, type the name of the custom backfill.
6.In the Backfill Type field, use the dropdown list to select the backfill type.
7.In the List Name field, use the dropdown list to select the list name.
8.In the Inputs grid, the List Column field label system populates based on the List Name you selected.
9.Use the Index Type field dropdown to select the correct index type.
10. In the Outputs grid, the List Column field label is system populated.
11. Use the Index Type field dropdown to select the correct index type.
12. Click  .
.
13. Click the DOCUMENT TYPES tab.
The following page displays:
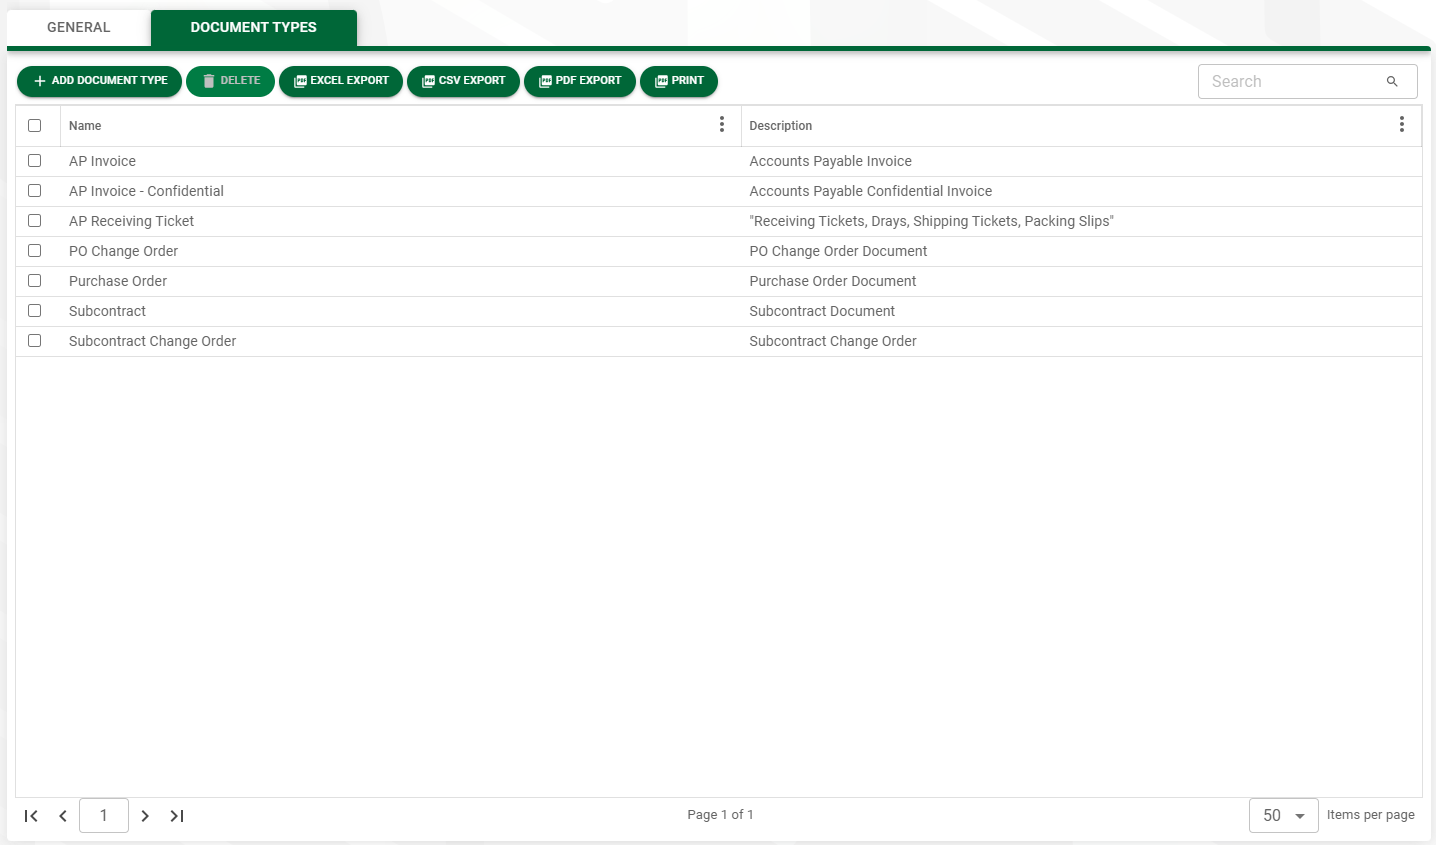
14. Click  .
.
The Add Document Types dialog displays:
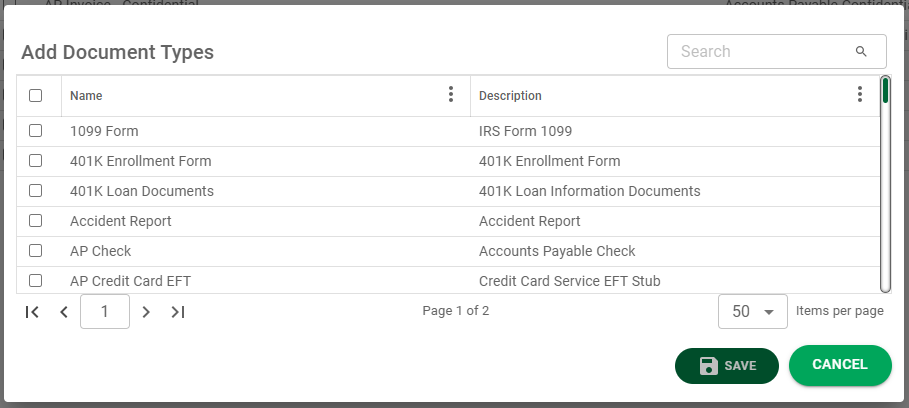
15. Check off the appropriate document types for the selected backfill.
Note: You can also assign the backfill to the appropriate document types by selecting it on the Backfills tab of the Document Type Properties dialog. Click here for details.
16. Click .