1.From the ribbon toolbar, click Administration.
2.Click the Queues dropdown,  .
.
3.Click Queues.
A Queues window similar to the following displays:
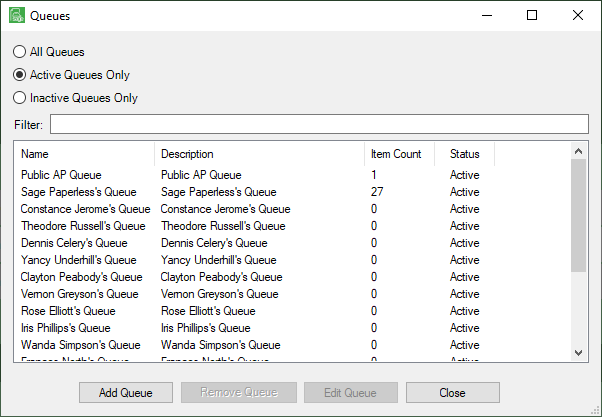
Note that there is a Filter text field where you can start to enter a queue to narrow the list.
4.Start typing in the Filter field to narrow the list similar to the following:

Not only can you filter on the Name column entries, but you can also filter on the Description and Status column entries too.
5.Click Add Queue.
The Queue Properties window similar to the following displays with the General tab active:
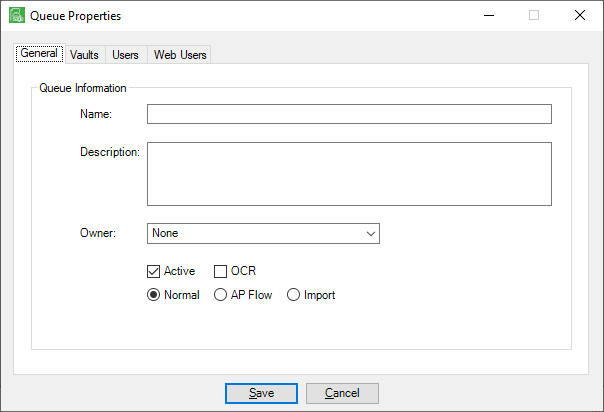
6.In the Name field, enter the name of the new queue.
7.In the Description text box, enter a description of the new queue.
8.In the Owner field, use the dropdown to assign a Sage Paperless Construction user as the principal "owner".
Note: This is an optional field used for reporting purposes only.
9.Click Active to indicate the queue is active in the Sage Paperless Construction system.
10. Click OCR to associate the appropriate OCR Workflow. For additional information, click here.
11. Click APFlow™ to have the queue display in the APFlow™ module.
12. Click Import to identify an import queue, for use with barcode imports.
13. Click the Vaults tab.
A window similar to the following displays:
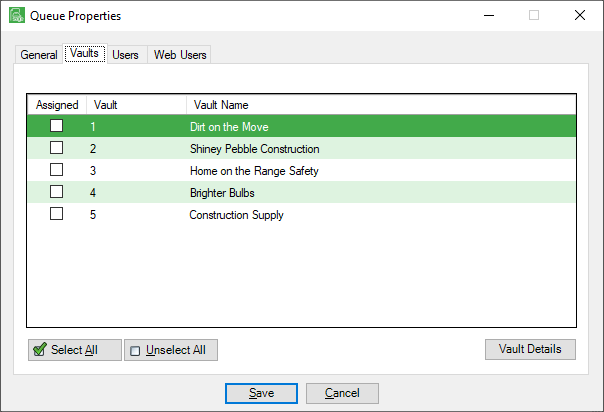
14. In the Assigned column, click to select the vault(s) to which this new user queue should have access.
15.Click the Users tab.
A window similar to the following displays:

16. In the Available pane, scroll through the users who should have access to this queue.
17. Click the  icon to move the names to the Assigned pane.
18. If no Sage Paperless Construction Web Application license, skip to step 19 to save the new queue.
If a Sage Paperless Construction Web Application license was purchased, continue with step 16.
19. Click the Web Users tab.
A window similar to the following displays:
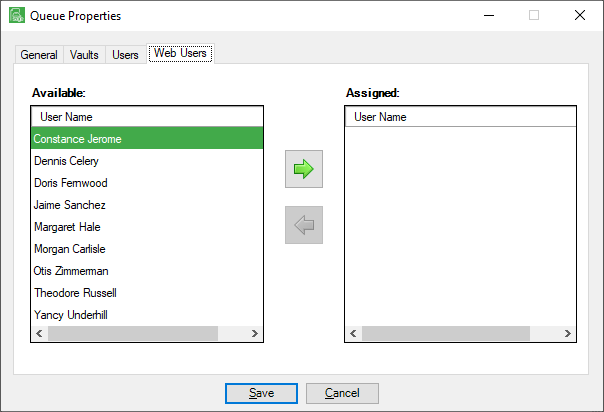
20. In the Available pane, scroll through the web users who should have access to this queue.
21. Click the icon to move the names to the Assigned pane.
22. Click Save to save the new queue.