Go here to:
•Create a new routing rule without going through the wizard.
•Manage user roles.
•Manage routing groups.

1.Click Advanced.
Note: You can also double click on the rule entry to access the Invoice Routing Rule Properties window.
The Invoice Routing Rule Properties window displays:
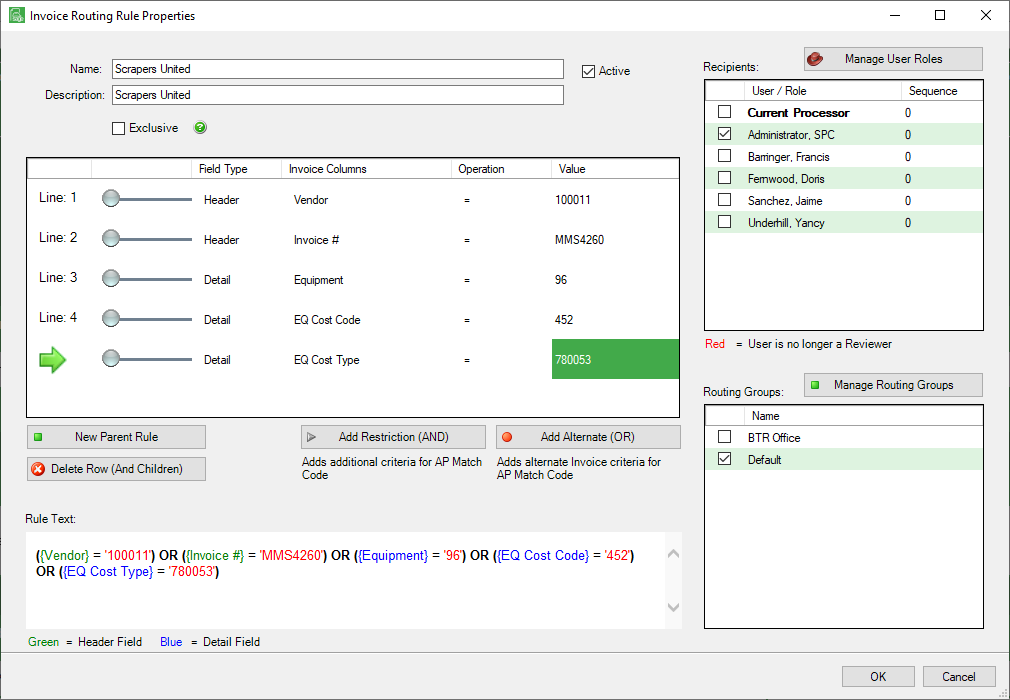
Add New Parent Rules or adjust existing rules here.
2.Click Manage User Roles,  . This is where you can assign users to roles.
The Manage User Roles dialog box similar to the following displays:
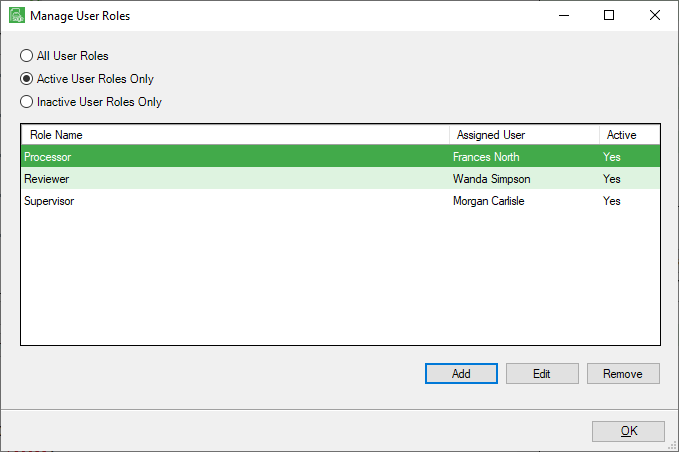
3.Click Add or Edit.
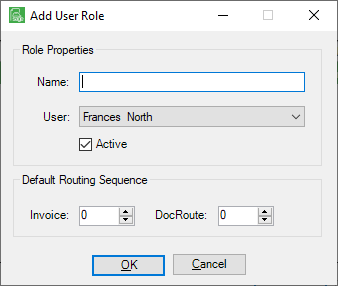
In addition to adding a user role, you can also add or adjust the role's routing sequence for invoices and for DocRoute™.
4.Click OK.
5.Click Manage Routing Groups,  .
.
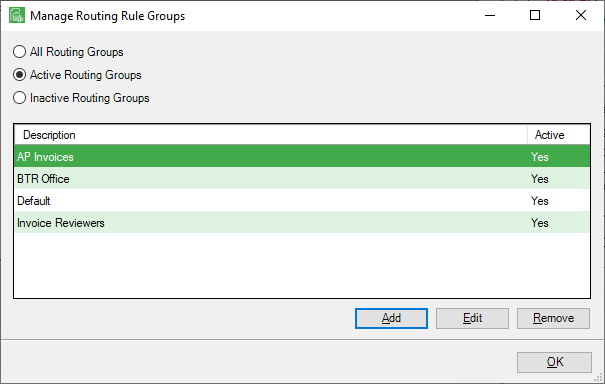
6.Click Add.
The Add Routing Group dialog box displays:
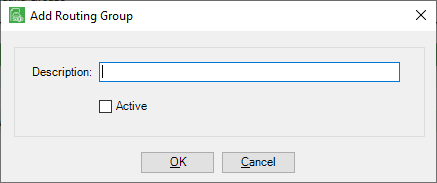
7.In the Description field, add a new routing group.
8.Click the Active check box if the newly added routing group should immediately be active.
9.Click OK.