In the Manage AP Flow screen, the Advanced tab lists APFlow™ settings, Advanced Bridge Settings, that are valid for the current vault only.
1.From the ribbon toolbar, click APFlow™.
2.Click Manage APFlow™,  .
.
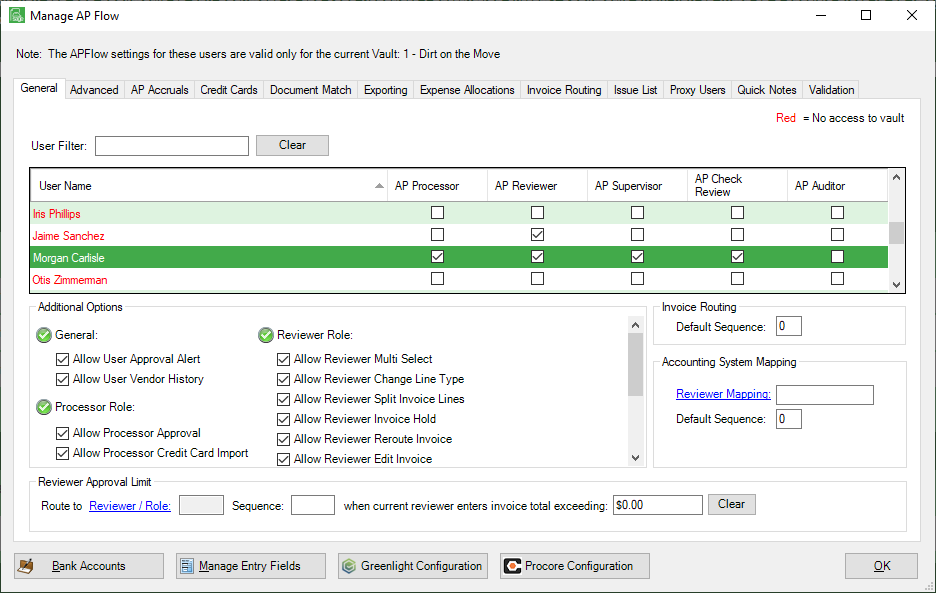
The Manage AP Flow screen similar to the following displays with the General tab active:
3.Click the Advanced tab.
A window similar to the following displays:

Each setting includes a Description that displays in the pane below the list of the Advanced Bridge Settings.
Each Advanced Bridge Setting has an associated field in the Value column.
Value column field options are based on each Advanced Bridge Setting and consist of the following:
True/False |
Select True to enable the setting. |
Warn/Error/None |
Select Warn to generate a warning should this setting occur. |
Blank |
Select Vendor to sort on the vendor. |
0 |
Use the Numeric Up/Down control, |
Blank |
Click the folder icon to open a Browse For Folder dialog box to identify an appropriate path or folder. |
Blank |
Enter a number (or text) assigned to reflect the setting. |
 .
.
•For the list of universal bridge settings available for all vault bridge types, refer to Advanced Bridge Settings.
•For the unique Sage 100 Contractor bridge settings, click here.
•For the unique Sage 300 CRE bridge settings, click here.